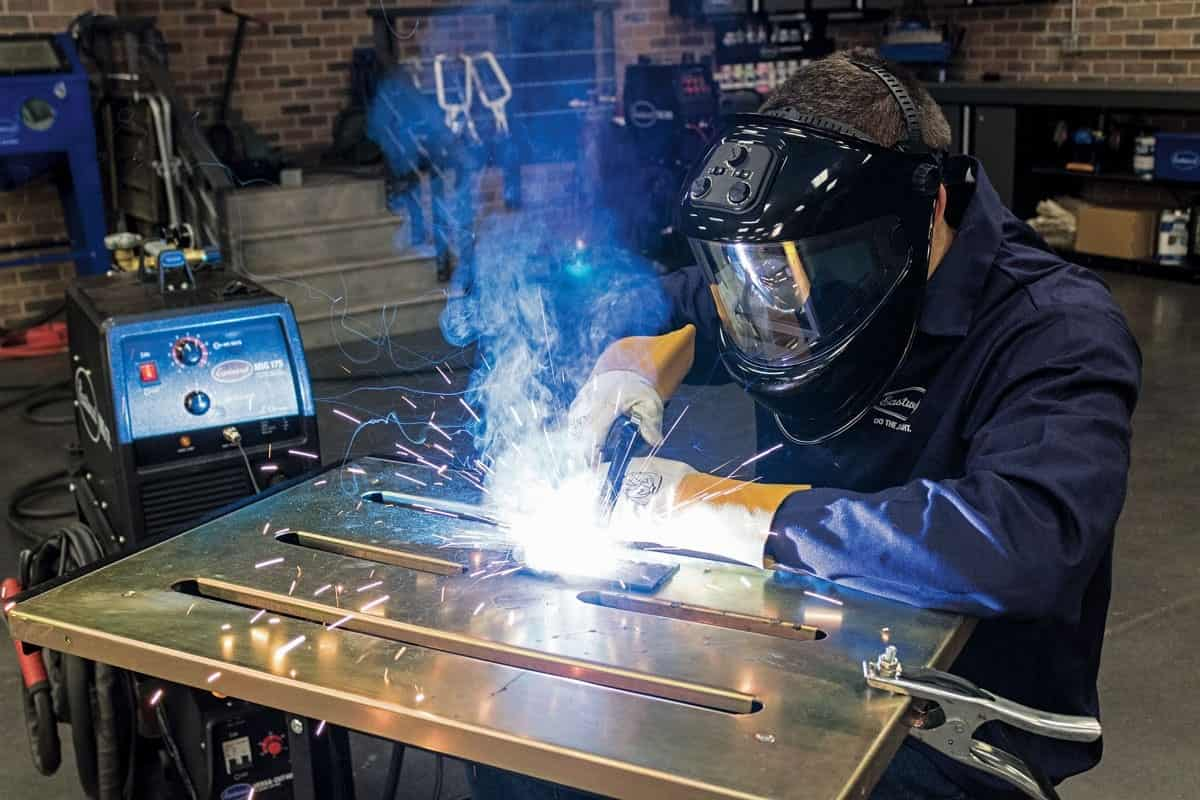
Any welder should know about the right and proper settings for any method of welding like MIG. When it comes to MIG welding, having good equipment makes the process much simpler, but having inadequate equipment can result in increased levels of aggravation as well as inferior welds. MIG welders that are suitable for use on a sporadic basis include the Millermatic 211 and the Millermatic 141, amongst others. We suggest multiprocess welders such as the Multimatic 215 and Multimatic 220 AC/DC if you are seeking for a piece of machinery that can do more than one type of welding process. There have been technological breakthroughs made in some welding equipment, such as the Auto-SetTM technology, which automatically adjusts the parameters to their best settings based on the material thickness and wire diameter. This enables you to concentrate on executing the approach correctly. Watch the video Which Welder is Right for Your Home or Shop or download this guide to learn how to choose the welding equipment that is the greatest fit for your requirements. Obtaining the highest possible performance from your computer Read the owner's manual for your computer, even if you chose something else. It includes essential details on correct operation as well as guidelines for maintaining safety. The vast majority of businesses now host their manuals online. 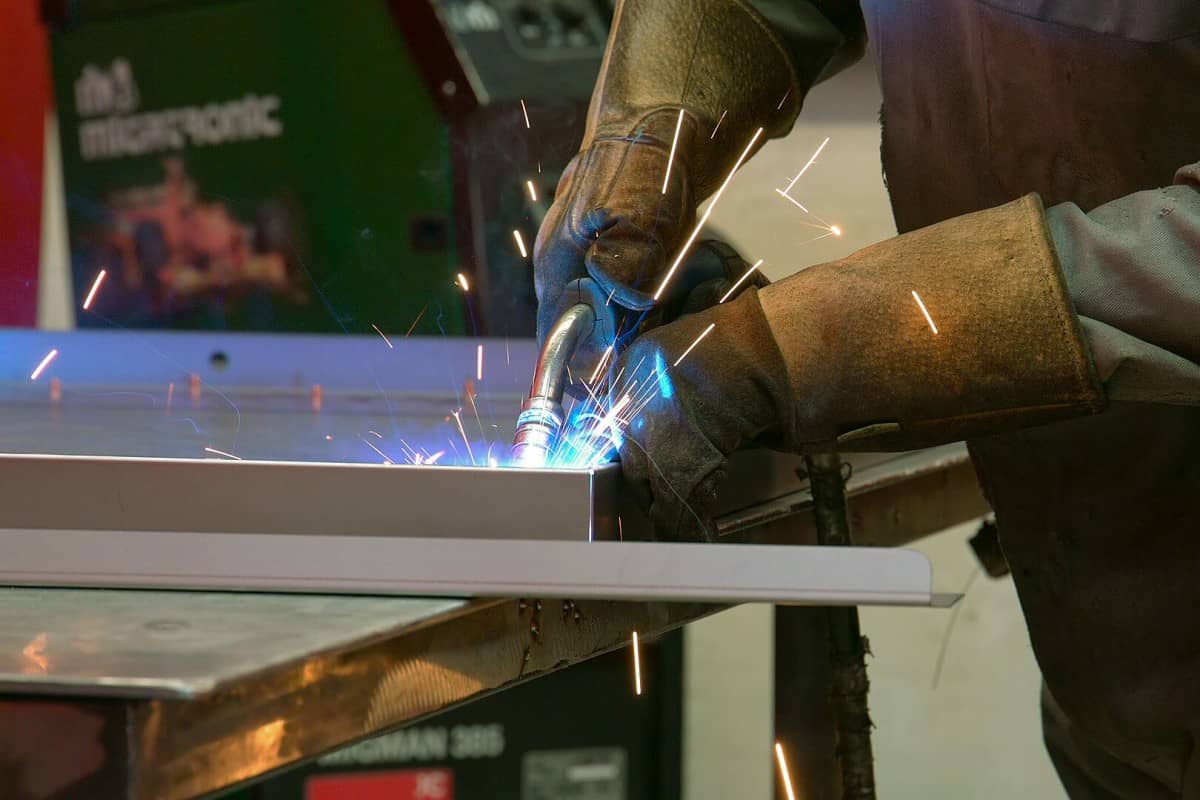 For MIG welding steel using solid wire, the following fundamental rules should be followed. The outcomes and settings are affected by a variety of parameters, including the joint design, position, and others. When you have satisfactory findings, you should write down the relevant parameters.
- The amperage is based on the material's thickness. As a general rule, one amp of output is needed for every.0001 inch (0.001 centimeters) of material thickness. 125 inches is equal to 125 amps.
- Determine the appropriate wire size based on the amount of amperage. Since you do not want to replace the wire, choose one that corresponds to the thickness that you use the most frequently.
.023 inches for currents up to 130 amps; 030 inches for currents up to 145 amps; and. 35 millimeters 75-250 amps; 045 millimeters
- Adjust the voltage as desired. The height and width of the bead are both determined by the voltage. You can try the following if there are no chart, manual, or specifications available for determining the correct voltage for your device: An assistant will reduce the voltage while a welder is working on a piece of scrap metal. This will continue until the arc begins to penetrate the workpiece. After then, begin welding once more and have assistance raise the voltage until the arc becomes unsteady and sloppy. Continue this process until the weld is complete. A voltage that is approximately in the middle of these two points is an effective place to begin.
 The arc voltage and the arc length are related to one another in some way. A brief arc has the effect of lowering the voltage and producing a thin, rope-like bead. A flatter, wider bead is produced by a longer arc, which requires a higher voltage. An excessively long arc length results in a bead that is extremely flat and raises the risk of an undercut.
- Adjust the speed of the wire feed. Both the quantity of weld penetration and the amperage are within the control of the wire speed. Burn-through is something that can happen if the speed is too high. In the event that a manual or weld specification document is not available, you can establish a decent starting point for the wire feed speed by using the multipliers in the accompanying chart. To determine, for instance, the wire feed speed in inches per minute for a 0.030-inch wire, multiply the amp rating of the wire by 2 inches (ipm).
Examining the weld bead is one method you can use to confirm that your parameters are correct. The way it appears reveals what aspects of it require modification. Notice the good penetration into the base material, the flat bead profile, the right bead width, and the good tie-in at the toes of the weld. These are all characteristics of a good weld (the edges where the weld metal meets the base metal). An excessively high voltage results in poor arc control, irregular penetration, and a turbulent weld pool that is unable to reliably penetrate the base material. These characteristics indicate that the voltage is too high.  A voltage that is too low: A voltage that is too low leads to arcs that are difficult to initiate, manage, and penetrate. In addition to this, it results in an excessive amount of spatter, a convex bead profile, and poor tie-in at the weld's toes. A thin, convex bead that has inadequate tie-in at the toes of the weld, insufficient penetration, and an uneven weld bead are all results of going at a speed that is too rapid. This can also cause the weld to not penetrate deeply enough. A travel speed that is too slow: Traveling at a speed that is too slow delivers an excessive amount of heat into the weld, which results in a weld bead that is overly wide and has poor penetration. On material that is thinner, it has the potential to produce burn-through. Setting the wire feed speed or amperage too high can lead to poor arc starts, an abnormally wide weld bead, burn-through, excessive spatter, and poor penetration. Depending on the type of equipment you are using, this can be caused by setting the wire feed speed or amperage too high. Insufficient current or speed being fed into the wire: Insufficient amperage can be identified by a weld with a thin, frequently convex bead that has inadequate tie-in at the toes of the weld. Porosity and pinholes in the weld's face and interior are telltale signs that there is either insufficient shielding gas or none at all due to the absence of shielding gas.
Welding settings
In general, there are a variety of different types of welding machines that need different settings to run according to the welding method and these welding machines can be purchased on the market. Each of these machines has a unique set of settings that can be altered in order to produce a different type of weld. The stick welding machine, the MIG welding machine, and the TIG welding machine are the three primary types of welding machines, each of which has different settings depending on the type of metal and the type of welding that is being done. The settings for stick welding Look up your amperage type and metal thickness in the chart that is located above to begin the process of setting up your stick welder. You can also obtain the required amount of amperage by referring to the instructions provided by the manufacturer of the welding equipment. The amount of amperage needed is determined by the thickness of the metal being welded. Please take note that steel, iron, aluminum, copper, and nickel can all be welded with stick welding. For instance, if you are going to be welding steel that is 1 inch (2.5 cm) thick, the recommended amperage would be somewhere around 200 amps. Aluminum with a thickness of 0.32 centimeters is advised to be welded using 125 amps.  After determining the thickness of the metal and the required amount of amperage, it is time to adjust the amount of amperage that the welder produces. The ampere may be increased by moving the screen to the right, and it can be decreased by moving it to the left. Take note that you can modify the heat while you are welding by pulling back the welding arc, which will cause the welding pit to become hotter and broader. Changing the amperage of the machine during the process of welding is not required because this solution eliminates the need to do so. The amount of amperage that the machine produces has an effect on the thickness of the electrode used for stick welding. For instance, if the amperage of your welding equipment is 125 amps, you should utilize an electrode that is 0.125 inches (0.32 cm) thick. MIG welding settings To determine the needed amperage for MIG welding, just follow the straightforward rule that is provided below. There is a requirement for one amp for every 0.001 inches (0.0025 cm) of metal thickness. The thickness of the metal is taken into account when calculating the needed amperage, just as it is when stick welding. The amperage that was determined should then be used on the MIG welding equipment. If you are planning to weld a piece of metal that is 0.32 centimeters (125 inches) thick, for instance, the needed amperage will be 125. There are many different types of metals that can be welded using MIG welding, including carbon steel, stainless steel, aluminum, magnesium, nickel, and bronze.
 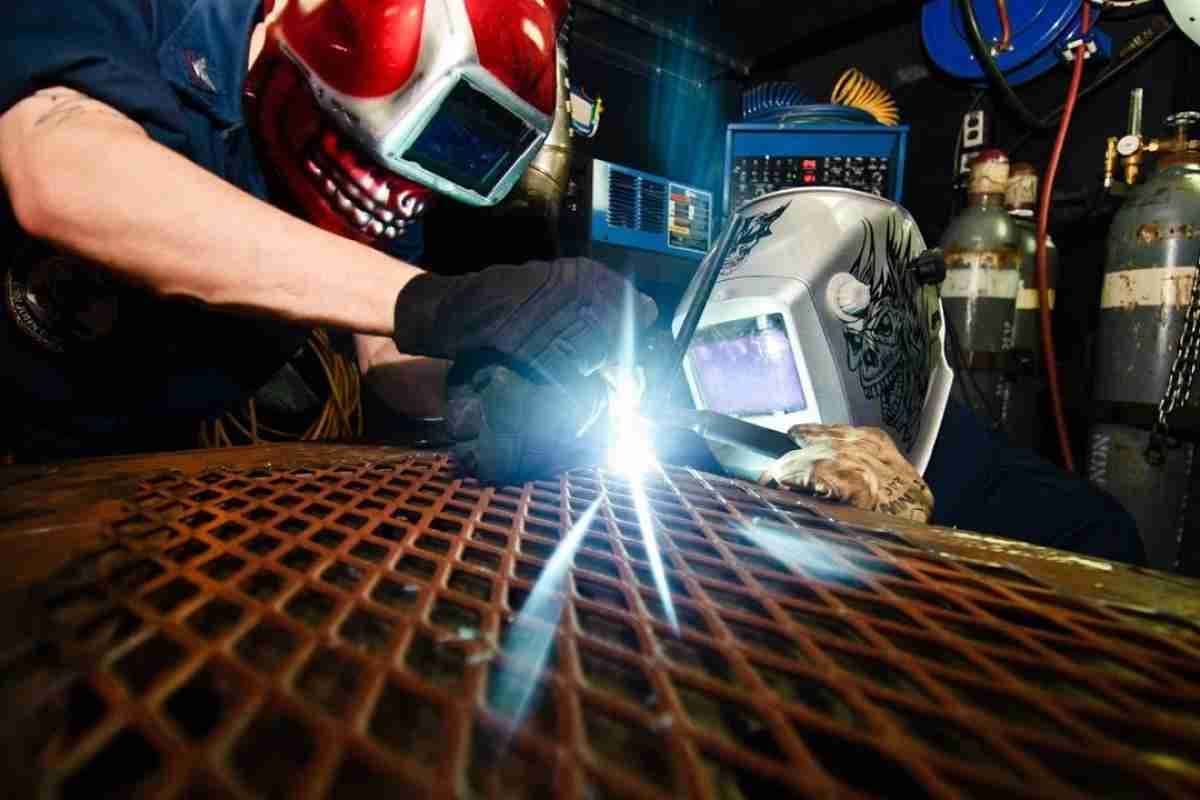 Note that in most cases, the diagram of amp settings as well as other relevant information is printed on the welding equipment; thus, you can refer to these instructions in order to discover the precise settings of the machine. The length of the welding wire should be determined in accordance with the amperage. Pay close attention to the recommended values for the following lengths of welding wire: The minimum length of wire required for 30-120 amps is 0.023 inches (0.058 cm). The minimum length of wire required for 40-145 amps is 0.030 inches (0.076 cm). The minimum length of wire required for 50-180 amps is 0.035 inches (0.089 cm) In order to accommodate 250-75 amps, the wire length must be 0.045 inches or 0.11 cm. The amperage of the machine is another factor that should be considered when selecting the length of the welding wire. If you regularly weld metal that is 150 inches (0.38 cm) thick, for instance, you can use a wire length of 0.035 inches (0.089 cm) because the amperage of your machine is approximately 125 to 150 amps. In general, paying attention to the amperage is the best way to adjust the speed at which the MIG welding wire is fed into the machine. Inches per minute is the unit of measurement for wire feed speed (IPM). For instance, if you are going to be working with 125 amps and 0.11 cm of wire, you need to adjust the wire feeding speed to 125 IPM.
 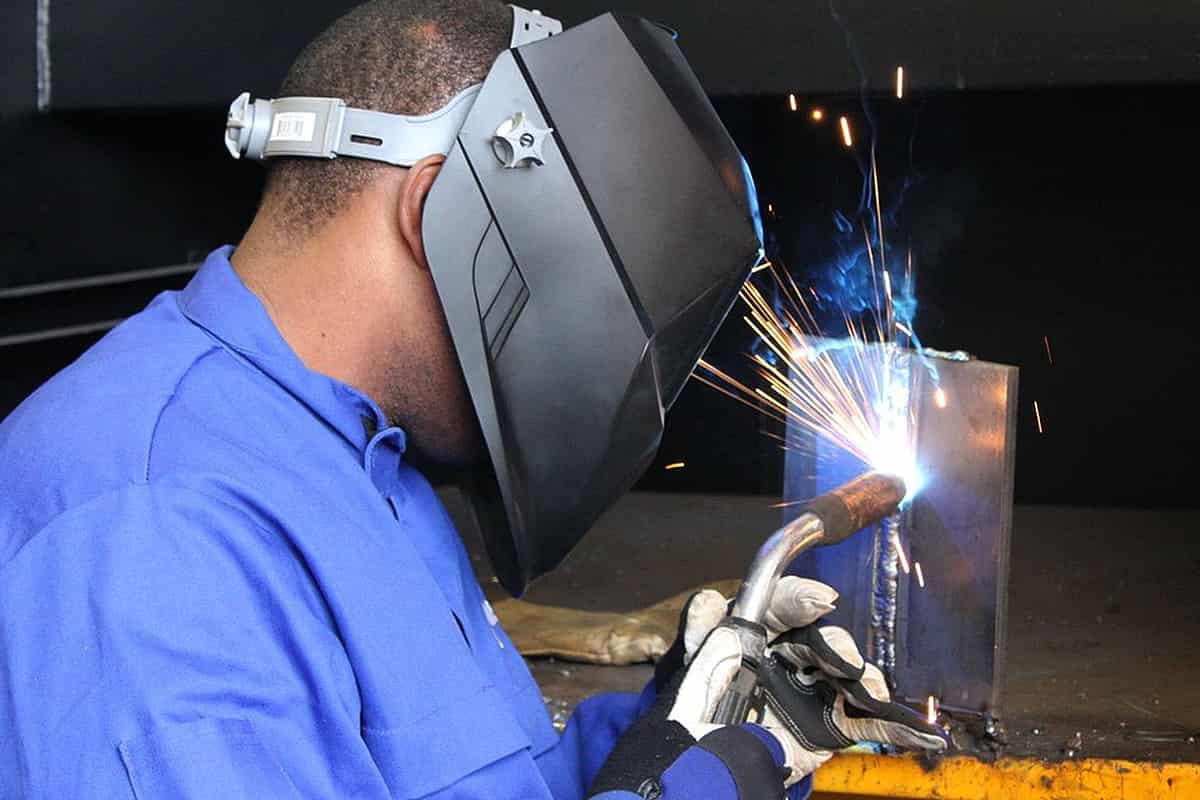 In general, if you want to figure out the voltage that the machine uses for welding, you should look at the diagram that the maker of the machine provides. In general, the voltage needed for welding will be lower if the metal being welded is of a thinner gauge. For example, if you want to weld aluminum with a thickness of 1.3 centimeters, you might utilize 21-23 volts. It is also necessary for welding stainless steel with a thickness of 1.3 cm of 32 voltage. As a result, the device's voltage setting is dependent not only on the type of metal but also on the thickness of the metal. TIG welding settings The temperature and amperage settings of the TIG welding equipment can be adjusted in a number of different ways. In general. The foot pedal serves as a controller for the amount of welding power and heat produced, allowing for its adjustment up and down. Additionally, in some TIG welding machines, you can manually operate the device to make adjustments to the ampere as well as the temperature. TIG welding is typically helpful for jobs that require precision. This process is capable of successfully welding a variety of metals, including steel, aluminum, magnesium, nickel and titanium alloys, brass, copper, bronze, and even gold.
  In the event that the weld bead is too narrow, raise the amperage using the foot pedal or manually until the heat rises, at which point the weld bead should become wider and smoother. It is important to keep in mind that the width of the welding bead has to be comparable to the thickness of the metal that is being welded. For instance, if you are welding a piece of metal that is 1.3 centimeters thick but the amperage is only 0.64 centimeters, you should make an effort to gradually increase the amperage so that the weld bead can expand to 1.3 centimeters. In addition, you have the option of manually lowering the amperage of the TIG welding or lowering it with the foot pedal if the welding bead becomes excessively smooth and wide.