price of solar water heater+Wholesale and cheap packaging specifications
Sometimes you go on a long trip and you may need hot water. What is the solution? No worries if you know how to make a solar water heater for your car.
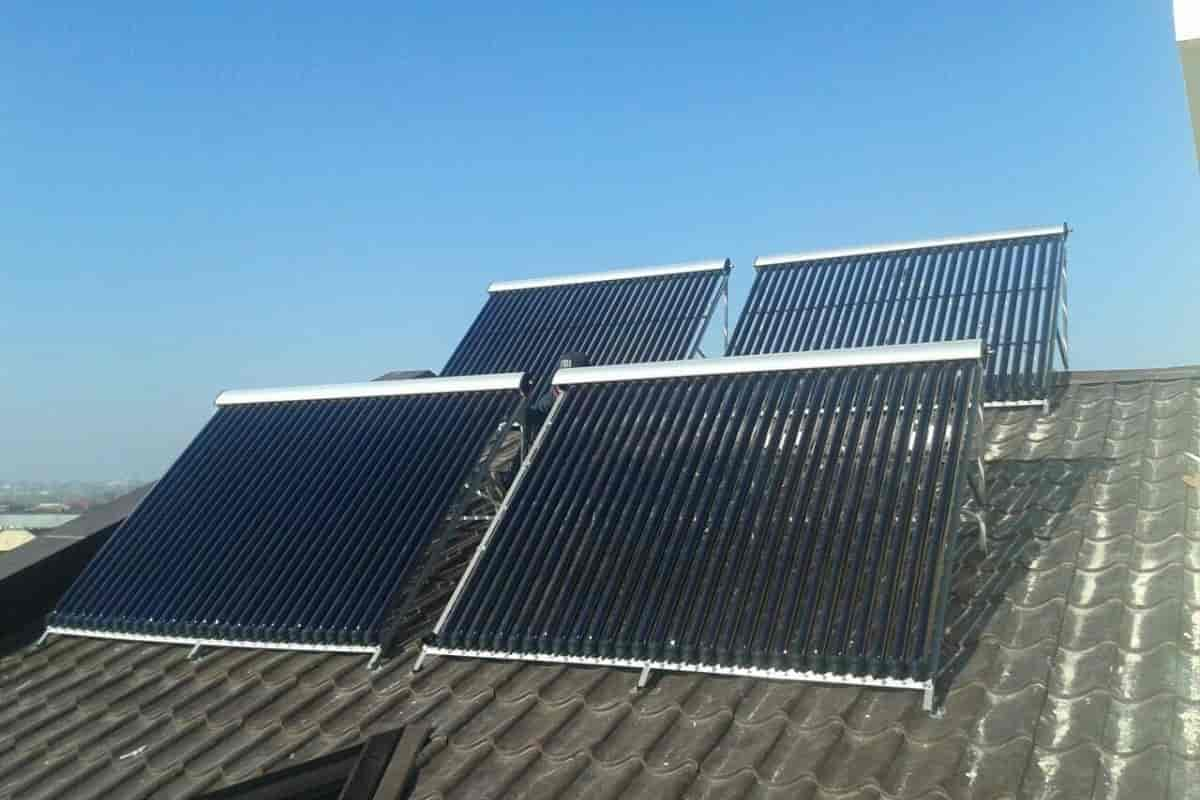
solar water heater for home
You can make a portable solar water heater on the rooftop of your car and have hot water to take shower or for other purposes.
In the article below we explain the steps and list the materials that you need for a DIY solar water heater on your car.
It might be challenging to avoid checking into a hotel when traveling and maintain a fresh and clean appearance.
However, if you construct your own car-top "solar" camp shower, you will be able to maintain a spotless appearance regardless of where you travel.
This do-it-yourself project is a little difficult, but if you have the necessary equipment and supplies, you'll be ready to hit the road in no time.
Tools:
Hacksaw
Drill holes with bits measuring 1/8", 3/4", and 3/8"
Marker
Materials:
One ten-foot section of four-inch Schedule 40 ABS pipe (this will depend on how much water you want the shower to hold)
Two ABS end caps measuring 4"
One T-joint ABS fitting measuring 4 inches in diameter and featuring a top threading opening
Cleanout cap made of 4 inches of ABS for T-joints
One brass locknut measuring a half-inch
One flat rubber O-ring
Two canoe foam blocks (these put on your vehicle's crossbars and make the shower more secure and held off the bars; alternatively, you can just tie the shower straight to the bars)
You have the choice of using these.
One Schrader valve is taken from an aluminum wheel; these may be purchased at any shop that sells tires or wheels.
ABS cleaner/primer
ABS cement
Waterproof silicone sealant
Sandpaper
Straps for securing items
Petroleum jelly
Schrader bike pump
One hose spigot that is 3/4 inches.
a hose fitted with a nozzle
Components needed to construct a camping shower on your own
Directions
First, determine how much water you require.
The first thing you need to do is determine how much water you want the shower to hold while also keeping in mind how much it will weigh once it is full.
We decided to design our shower around six feet long, which allows it to hold approximately 4.5 gallons of water.
We were able to get around 15 minutes of shower time out of our water capacity.
The quantity of shower time you get depends on the pressure that you pump the shower up to and the type of nozzle that you choose.
The second step is to cut the primary ABS pipe.

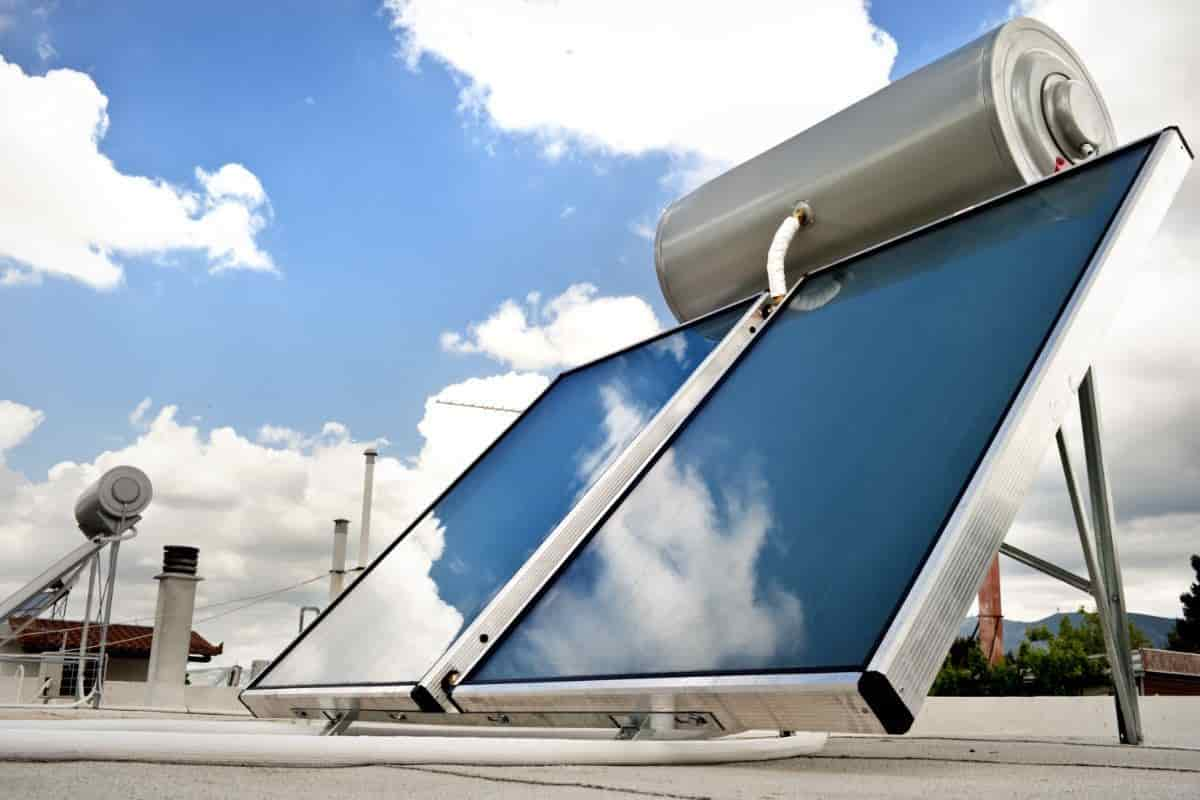
solar water heater Germany
Mark the point where the length of ABS, which is 10 feet long, reaches 5 feet 6 inches with a marker. Make cuts according to your measurement with the hacksaw.
After taking measurements and marking a length of pipe that is 6 inches long, cut the pipe at the mark.
You will now have a length that is 5 feet 6 inches long, a length that is 6 inches long, and an additional piece.
To sever the pipe
Cutting foam blocks is the third step (optional).
If you are going to use the foam canoe blocks, you should place one end of the ABS pipe that is four inches long on the side of one of the blocks that does not have any bar cuts.
Maintain the pipe so that its base is as close to the block's center as you can get it without causing it to overrun the cutout for the bar.
Make a mark along the perimeter of the pipe using the marker. Make a cut in the foam in the shape of a half circle using the hacksaw. Perform the same steps with the opposite block.
mount for cars
Drill a hole for the spigot in the fourth step of the process.
Put the brass locknut inside of one of the end caps so that it is as close to the edge as feasible without actually making contact with it.
Put a marking inside of the circle.
First, take off the locknut, and then place a dot in the center of the circle. Drill a hole at the dot all the way end cap, beginning with a 1/8-inch bit and working your way up to a 3/4-inch bit.
You want the completed hole to have a diameter of three-quarters of an inch, which is just broad enough to accommodate the spigot.
To make room for the spigot, we had to ream the aperture a little bit.
Installing the Schrader valve is the fifth step.
Make a mark on the end cap approximately 3/4 of an inch away from the edge, exactly above the hole for the spigot. Drill a hole with the 3/8-inch bit exactly where it says to.
Move the valve through the hole in the backward direction, so that it emerges on the smooth face side. When installing the flanged washer onto the valve stem, start with the thin side facing forward.
While maintaining the position of the washer and valve with one hand, use the other to apply a bead of silicone all the way front aperture and all the way stem of the valve.
Place the Schrader valve in its housing.
Installing the spigot is the sixth step.
Put a rubber O-ring over the spigot's threads so that it can't leak. We utilized a round O-ring, but it would have been preferable if we had used a flat one.
After applying a bead of silicone all the way bottom of the O-ring, place the spigot inside the front face of the end cap.
After the silicone has been set, you maybe remove the O-ring.
solar water heater diy
To form a seal that is impermeable to air, put another bead of silicone over the threads of the spigot on the inside face of the end cap while simultaneously holding it in place with one hand.
Turn the screw that is attached to the spigot until it is hand-tight. Allow the silicone to harden according to the container.
Put in place the spigot.
Step 7: Put the shower's body together and secure it with adhesive.
Sandpaper should be used to give the pipe's edges a more rugged appearance. Use the ABS in an area with adequate air to clean and prime your pipes so that they are ready to be glued.
You need to clean the inside edges of the T-joint as well as the end caps and the outer edges of the 4-inch ABS cement to the interior of an end cap, then to the outside of the pipe edge, and finally, press the two pieces firmly together while working on one piece at a time.
Put the parts together in the following sequence: End cap with no spigot, 5 feet of ABS pipe, T-joint, 6 inches of ABS pipe, and end cap with spigot.
Make sure that the T-joint opening and the end cap valve are aligned at the "top" of the shower, and that the spigot is facing "down." Allow the cement to cure as per the guidelines on the packaging.
Add end caps
Install on your vehicle as the eighth step.
If you're going to use them, slide the foam blocks into your crossbars.
Put the shower on top of the blocks, with the end that connects to the spigot towards the back of the vehicle.
Make sure that the spigot is pointing downward before you fasten the shower to the crossbars with the tie-down straps.
Another option is to attach the shower directly to the bars; however, this method requires a companion to hold the shower in place while you attach it.
Mount must be attached, then secured using straps.
Step 9: Pour water into the container.
Turn the screw that secures the cleanout cap to the T-joint aperture counterclockwise. After you have placed your shower on top of your vehicle, you may use a hose or a jug to fill it with water.
If you execute this step first, it will be far too heavy for you to lift! It is necessary to allow space for the air to be pressured.
therefore don't fill it all the way Apply petroleum jelly to the threads of the cleanout cap, then hand-tighten the cap after screwing it back on. This will guarantee that the seal is as good as new.
Fill the shower at the campsite with water.
Tenth step: Adjust the water pressure in the shower.
Attach the hose with the nozzle to the spigot using the screw.
solar water heater near me
Remove the cap from the Schrader valve by unscrewing it, and then attach your bicycle pump or air compressor to the valve.
Continue pumping up the pressure until it reaches the desired level, then replace the valve cap.
Take note: The pressure rating of your pipe should NOT be exceeded at any time. We utilized roughly 30 pounds per square inch, which is plenty for a good flow of water.
Depending on how long you spend in the shower at a time, you may need to re-pressurize the system.
The eleventh step is to tidy up!
Turn on the faucet, and make use of your brand-new shower.
The water in the shower will become warmer if it is left in the sun for a longer period.
Apply on filthy feet, sticky hands, muddy dogs, sweaty children, and whatever else your filthy little heart wants.
Whenever you use your new shower in a new location, be sure to observe the Leave No Trace principles.
Please take note that the water from the shower should not be used for either drinking or cooking.

How useful is this article to you?
Average Score
5
/
Number of votes:
1