The standard method for laying stone or outdoor porcelain paving slab tiles is to create a bed of wet sand and cement. After emptying this material on a prepared subbase, it would be spread to a thickness of 50 to 75 mm which makes the surface more durable. The slabs then are placed in the mixture and tapped until they reached the required depth. Currently, porcelain slabs are being glued with variable degrees of effectiveness using this approach. People typically want to tile a concrete patio or porch and are wondering about how outdoor tile installation differs from inside tile installation. A waterproofing and crack-isolating membrane must be put to the slab prior to construction because moisture and cracking are big issues outside. 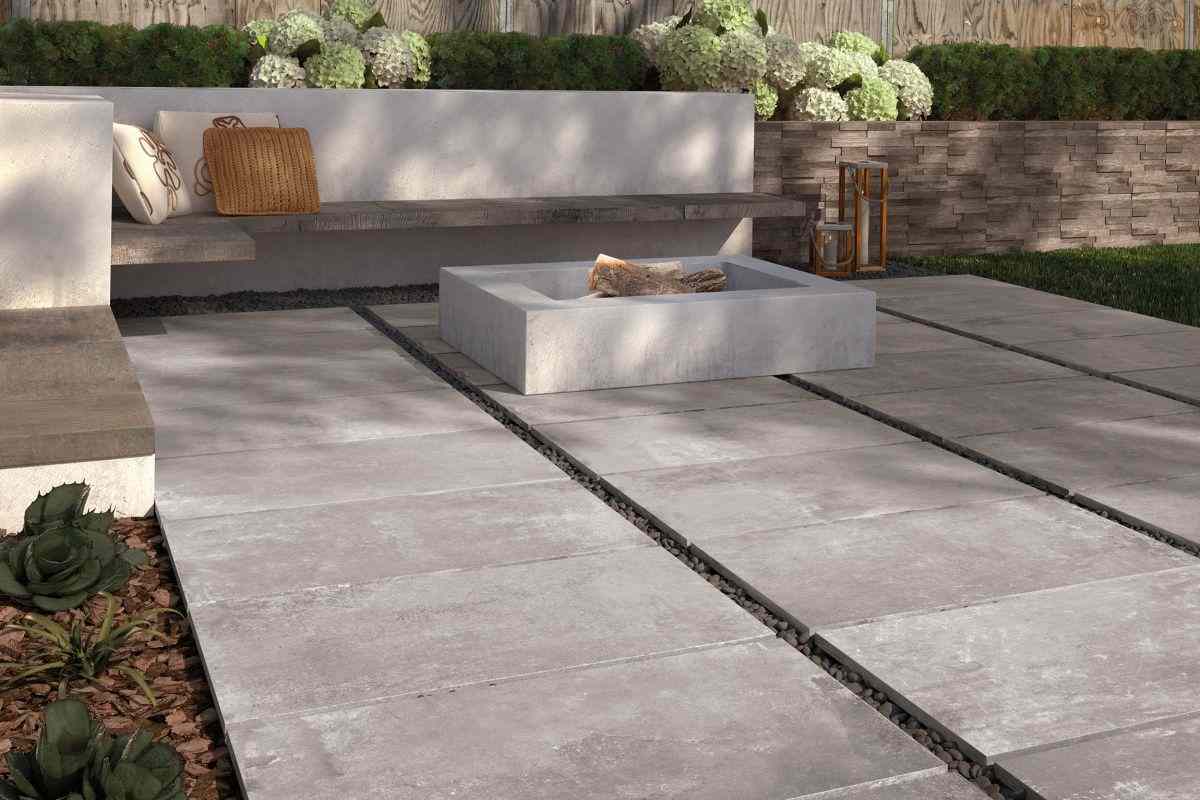 This Red Gard changes from pink to red when dried. To install the tiles, use a polymer-modified dry-set mortar that is certified for use outdoors and in moist environments. In addition to applying mortar to the slab, it is important to back butter the titles because complete mortar coverage is essential. Furthermore, the tile itself must be certified for outdoor use. Typically, porcelain is more durable than ceramic. Obviously, it should have a slip-resistant surface. Choose a grout that will not fade or absorb stains so that your project will continue to look great for many years. These remedies should aid in preventing slab cracks from damaging the newly installed tile. In addition to preventing cracking, the membrane functions as a vapor management system and prevents the intrusion of moisture into the substrate. Ensure the subfloor is clean before installing new flooring. Using scraping tools and a little elbow grease, you can remove any old adhesives or materials without the use of chemicals. After that, sweep up any remaining debris, mop the floor, and allow it to air dry. Due to fractures, transitions, and intricate cutting, flooring jobs are frequently complicated. Consider employing a professional if you want to be certain of achieving the desired results. Many contractors will install the flooring of your choice for less money than you might imagine.
 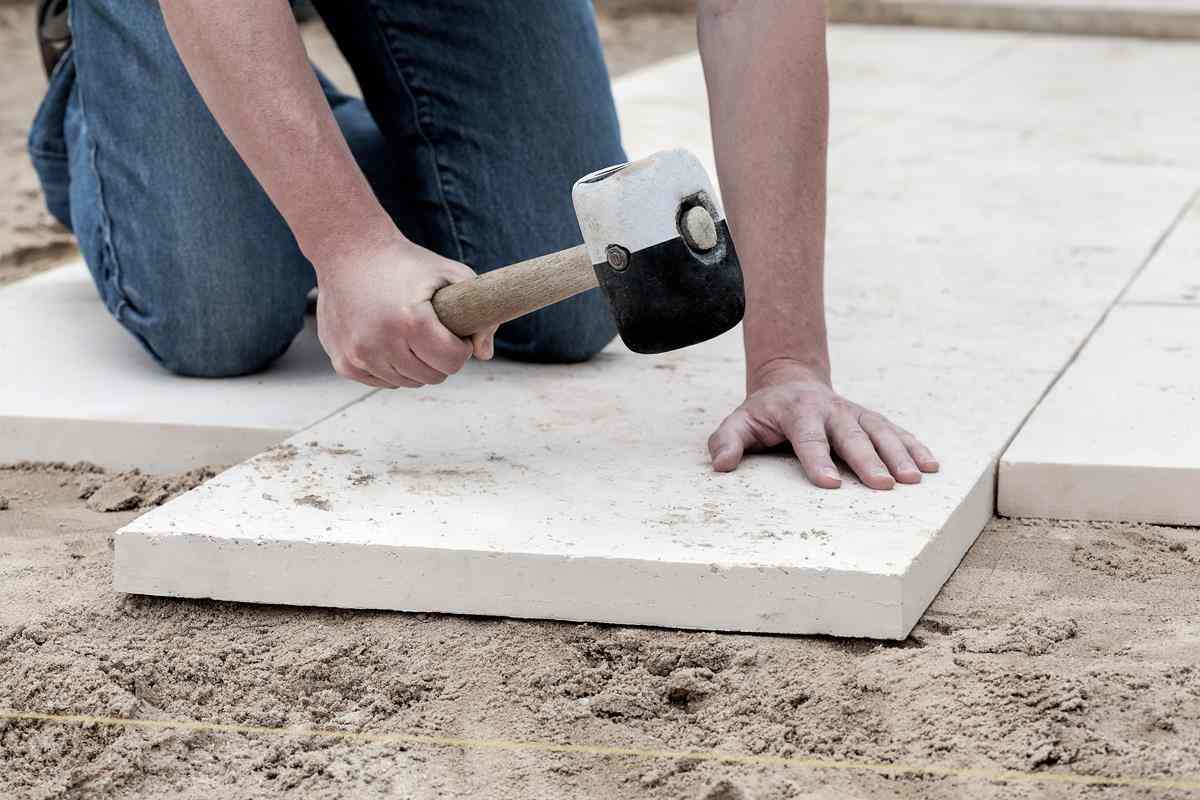 Incorporating porcelain slabs into a wet bed mortar mixture carries with it a variety of potential dangers. Because porcelain tiles are manufactured from vitrified material, they are impermeable. If porcelain is not the surface to which a wet bed mortar adheres, there is a chance that the porcelain tiles will detach and the patio will not be stable. Adding a polymer admix to the mortar or covering the underside of the slab with a polymer slurry can resolve this issue. Unfortunately, many mortar primers and admixtures are of variable quality or are not designed for use with porcelain, so failures may still occur. In addition, it is crucial that the correct admixtures are mixed in the correct proportions, which usually does not occur on-site. Unfortunately, repairing porcelain tiles with wet bed mortar risks further failure. The second issue is the appearance of the final product. Compared to stone or concrete, porcelain tiles have much more precise dimensional tolerances. Typically, porcelain will have significantly more uniform surface textures. Customers prefer porcelain to the conventional 8–12mm seams found in many stone and concrete projects to produce a more contemporary appearance. When pouring concrete or stone, it is easy to "forget" tiny height discrepancies between slabs when the slab surface is often riven and there is a joint of around 10 mm.
 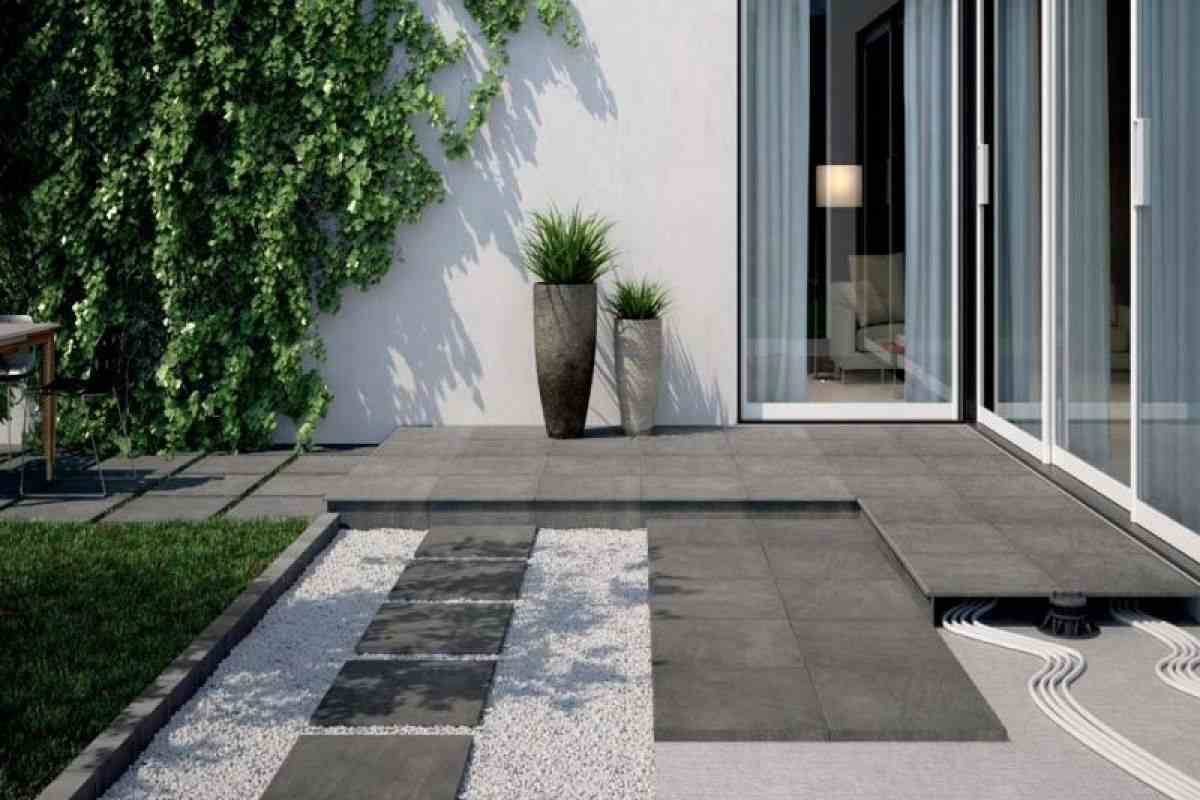 When connecting engineered porcelain with a narrow connection, a slight height difference between slabs comes out as an extremely ugly lipping issue. The wet bed method makes it far more challenging and time-consuming to achieve aesthetically pleasing porcelain finishes. The wet bed method leaves fingerprints covered in wet mortar on the tile surface, making it a messier way of placement. Once polymer admixtures are applied to the mortar, it will be substantially more difficult to remove these fingerprints from the slab's surface. External porcelain slabs with a thickness of less than 18 mm are becoming increasingly popular. Typically, porcelain slabs with a minimum thickness of 18 mm and a breaking strength of 1,000 kg can span a void. Therefore, they are suitable for placing on pedestals that will be stepped upon. The wet bed attaching method frequently leaves cavities beneath the tiles. However, if porcelain is installed thinner than 18mm, these voids may cause cracking, especially in places with just foot traffic, even if the tiles are thicker than 18mm and used in foot-traffic zones. We recommend using a robust foundation or pedestal system for the installation of porcelain tiles outside. A pedestal method may be more practical because a solid base requires a great deal of resources and prolongs the duration of the project. Eterno Ivica's self-leveling pedestals are suitable for roof terraces and balconies due to their integrated drainage through the open joints. Cables can be run underneath the tiled surface, and the tiles can be removed at any moment for access.
  Installing porcelain tiles:
- First, install the porcelain pavers on a brand-new mortar base. To ensure accurate installation, we recommend laying the slab one corner at a time. Work on one paver at a time rather than laying a mortar base for all of your pavers simultaneously. This will prevent the mortar from drying before the pavers can be properly set.
- Then, using a hammer, lightly tap the slab in order to secure the paver installation. Even though porcelain pavers are durable and long-lasting, it is necessary to use caution. For optimal results, the paver should be in complete contact with the mortar bed. This will result in a stronger bond and increased longevity.
- If you need to relocate a paver after it has been installed, you must act quickly because it will be nearly impossible to do so once the mortar has hardened. Before proceeding on to the next slab, check the paver's flatness with a spirit level. If the thought of moving heavy pavers causes your muscles to hurt, go to one of our porcelain pavers for a less taxing alternative.
- Regardless of the paving design you select, leave approximately 5mm between each paver when laying the following batch of slabs. If you need to trim porcelain pavers to size, consult our instructions on how to cut paving slabs.
- Apply joint compound to the five-millimeter gaps. After filling each pavement depression, sweep away any excess material.
- You are finished after at least 24 hours of drying (and, if rain is forecast, covering with a tarp).
Now that you understand the ins and outs of porcelain pavement installation, it is time to search for the pavers that will make your garden stand out. Visit our extensive selection of pavement or call us for more information on installing porcelain paving.