In order to maintain a unified appearance throughout the bathroom, the finish of the drain flange with the widespread faucet all needs to be the same. A matching drain assembly is typically included with the purchase of a faucet because manufacturers understand that consumers place a high value on aesthetically consistent products. When considering the purchase of a less costly faucet, it is important to thoroughly investigate the features of the product. If you purchase a faucet that does not include these components, you will have the option to buy the drain flange and stopper separately. New drain plugs and faucets have been installed Typically, drain plugs are included with the purchase of new bathroom faucets. Your new bathroom faucet will come complete with pull rod attachments as well as, in some cases, the lengthy rod that extends from the base of the faucet to its location under the sink. You have to pull on this rod in order to open or close the drain. Some manufacturers do not give anything save the drain plug and the associated hardware, and this is an oversight that is very typical of the industry. Included Components for the Faucet The pop-up drain stopper, despite its outward look, is a fairly straightforward lever mechanism. The very first component is the drain, which is a circular piece of metal that is installed in the center of the sink. A long drainpipe is attached to the sink's drain hole for attachment purposes. The pipe is fastened to the sink using an anchoring nut. The mechanism for the pop-up drain is incorporated into the drainpipe itself. This component consists of a rod that may be attached to the faucet's vertical drain rod using the attachment that comes with it. 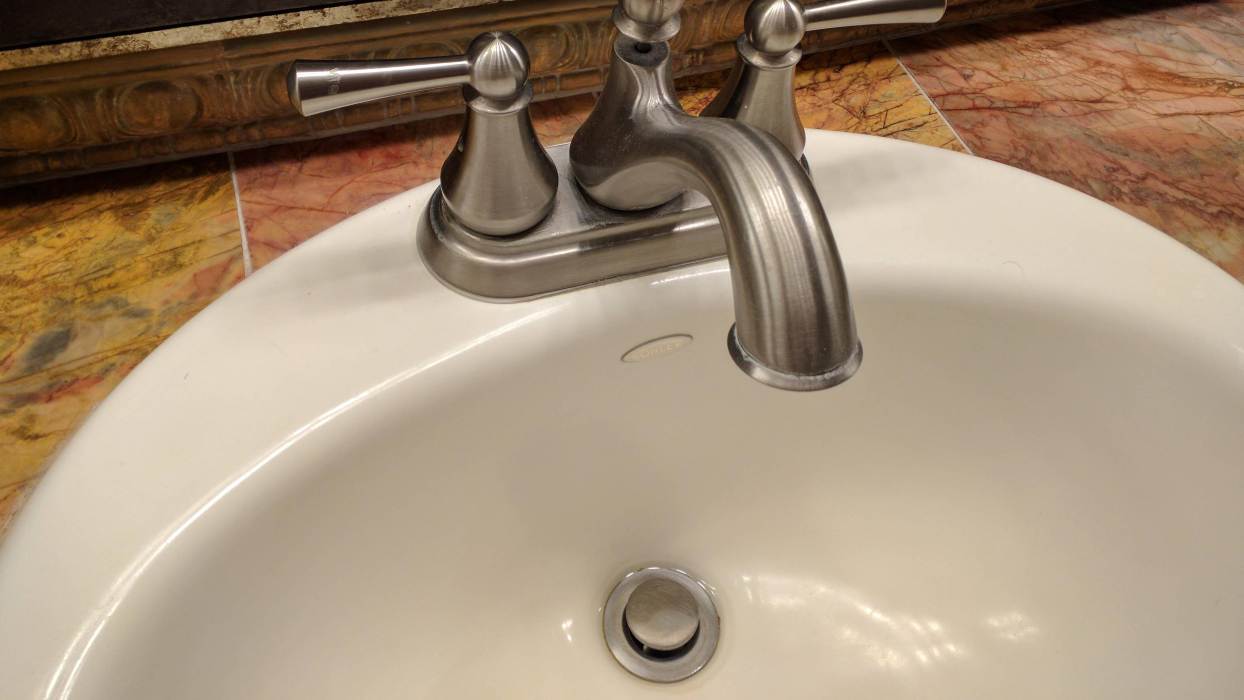 The two are joined together by a piece of metal hardware. Simply sliding it over the top of the drain rod will do the trick for securing it in place. Construction of a Plug for a Drain The drain plug that is included in the design is there more for cosmetic reasons than for functional ones. Since the finish of the drain is the only part of the faucet and sink that is not covered by the finish of the faucet, the two must be compatible. If the plug is not included with your faucet and you decide to install the chrome faucet instead, your bathroom will have an awkward appearance because the drain will be brushed nickel and the faucet will be glossy chrome. If you replace the drain at the same time as the faucet, you can assure that it will continue to operate correctly after it has been worn out. Installation of the Drain Assemblage Before installing the drain for the faucet, silicone or plumber's putty should be applied to the lip of the drain. After sliding the drainpipe through the sink, secure it in place by attaching the mounting nut underneath the drain and then tightening it. After drilling a hole in the part of the drain stopper rod that is horizontally extending from the faucet, place a horizontal lever into the hole you just made. A drain rod is held firmly in place when a connecting sleeve is slid onto it first. To test whether or not the drain rod on the faucet is functioning correctly, raise and lower it. To get the desired level of tension on the spring, it is possible to fine-tune the level of tension by moving the horizontal rod to a different hole in the vertical rod, if necessary.
widespread bathroom faucet drain
You will need to complete a number of important tasks in order to install the widespread faucet in your bathroom that is also fitted with a drain. Check the Installation Screws and Pits Sink or vanity countertops are sometimes known as Hole in a Wall: A widespread faucet has two different handles for controlling the flow of water. In most circumstances, three holes are required for the installation of this style of faucet. The faucet is normally fitted through one or three holes in the sink or vanity top. What is the distance between the holes? When installing a wider faucet, you don't have to bother about the distance between the holes unless it's a center set design. Keep in mind that widespread faucets have separate spouts and handles, which means you'll have greater flexibility in putting them. As a result, there is no need to be concerned about correctly measuring the diameter of the hole. You simply need three holes bored in your sink or vanity top to install your newly purchased widespread faucet. An installed whole new drain assembly A common question when installing a new faucet is, "Can I use my old drain assembly? As a result, if you replace your present widespread faucet with a model that has the same Drain Assembly arrangement, you won't have to change your Drain Assembly. However, there are four situations in which you must install a new drain assembly compatible with your system: Changing the Faucet's Finish Replacing the Faucet (eg. Widespread to Wall mount). Installation of a New Faucet from the Ground Up (In some cases) Installing a New Faucet Manufacturer The drain assembly kit is suited for installing wide-flange faucets. The kit includes a hose connector, spout shank, valves, waste seat, drain body, and other components. Installation Instructions for Widespread Bathroom Faucets with drain Bring all of your equipment with you. Before you begin, make sure you have all of the necessary equipment. You will need the following items to effectively install a widespread faucet: Protective Eyewear, Screwdriver with Adjustable Phillips, Head Pliers. Wrench Valves and the Spout Shank are now attached using Adjustable Sealant, Plumber's Putty, or Thread Tape. 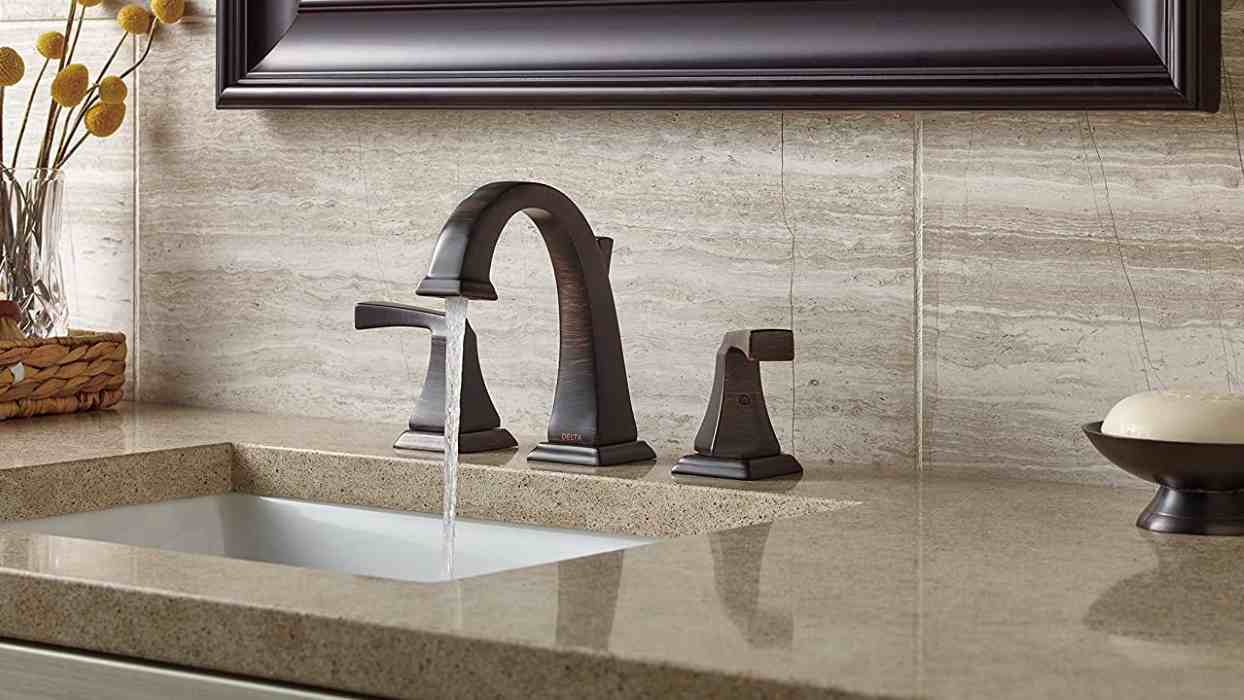 Once you have the proper tools, you may attach the spout shank and valves to the bathroom sink or vanity top. Apply plumber's putty to the spout shank's bottom. Do the same with the top washers. After that, place the spout shank into the center mounting hole. Before attaching the Spout Shank to your device, make sure the O-rings are facing you. Washers should be placed on both sides of the hole. Using lower mounting nuts, ensure that each mounting washer is about half an inch above each valve body's groove. Place the mounting washer on the body of each valve. The mounting bracket must then be attached to the spout's shank. If your sink or vanity top is less than 1/4-inch thick, use the complete mounting bracket. It is advisable to use only the metal piece of the mounting bracket if it is larger. To secure the mounting bracket, slide it onto the spout shank and tighten it using a mounting nut. Adjustable pliers can be used to fasten the bottom mounting nuts on both valves, so ensure that the valve outlets face the spout. The hose should now be connected After properly attaching the spout shank and valves, it's time to install the hose assembly that will guide the water flow. Hose assembly connectors are not included with the faucet and must be ordered separately; the faucet itself does not include them. Connect the middle connector to the spout shank's outlet and the other two to the outlets of the two valves. Connect the Water Supply Lines
  The next stage is to connect the water supply lines. To begin, thread the water supply lines onto the valves and tighten the valves. To begin, you can move the cursor with your fingers. To tighten it further, use adjustable pliers or a basin wrench. Connect the cold and hot water supply lines to the opposite end's inlets. Tighten each connection with an adjustable wrench, but be careful not to overtighten. The faucet spout and handles have been installed. Apply the silicon before installing the spout. Before moving on to the faucet handles, make sure the valves are turned off. Following that, each valve should be tightened by hand. Your widespread faucet may have two caps for each handle. Install the Drain Assembly Install the spout and handle that came with the drain assembly Kit first. Follow these simple steps to install the drain assembly: Putty the waste seat's base with the plumber's putty. After that, insert the waste seat into the drain aperture to allow water to flow out. Seal tape should be wrapped clockwise around the tailpiece and threaded into the drain body. Keep the waste seat in place while threading the drain body onto the waste seat's base. The pivot rod aperture on the drain's body should always face the back side of the sink. Tighten the lower mounting nut and press the gasket up against the drain aperture. After removing the pivot nut, slide the pivot rod nut onto the pivot rod. Insert and tighten the rod in this situation. You're ready to use the lift rod once you've inserted it into the spout's opening. Insert the pop-up plug, also known as a stopper, into the drain hole. Attach the strap on the lift rod to keep it in place. Insert the pivot rod clip into the corresponding hole in the lift rod strap.
  Finally, ensure that everything is in working order. Simply remove the aerator from the spout. Turn on the water inlets and faucet knobs to let the water run for a few minutes. Remove any dust or debris that may be present, and check for any leaks. If there are no leaks, the aerator can be restored. And you're finished!
0
0