By reading the reviews of a wet tile saw, you can understand useful information about this device which can lead you to buy it or rent it. A wet tile saw is similar to a small stationary table saw, miter saw, or radial arm saw, but uses water to help keep the special diamond-encrusted blades cool during the cutting process. It is an excellent tool for safely and efficiently cutting tiles and tiles as well as stone tiles. Wet tile saws can produce smooth, even cuts, especially compared to the often unpredictable edges of fast tile cutters. When used safely, a wet tile saw can help you produce many clean cut tiles to your exact specifications in a fraction of the time. In addition to straight cuts, the wet saw can easily cut bevels, small shapes, and odd corners. The Wet Tile Saw is a small stationary electric saw for cutting ceramic, porcelain, and stone tiles. Functionally similar to a small table saw or radial arm saw, wet tile saws use water flow to keep diamond-encrusted cutting blades cool when cutting hard materials. This tool dramatically speeds up and simplifies tile installation projects.
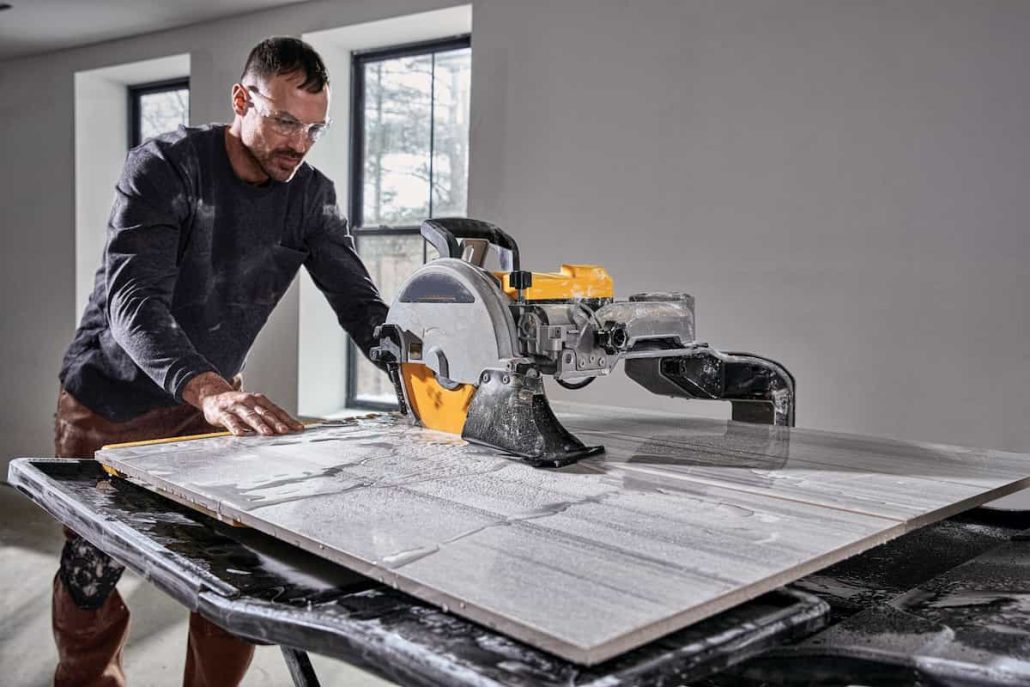
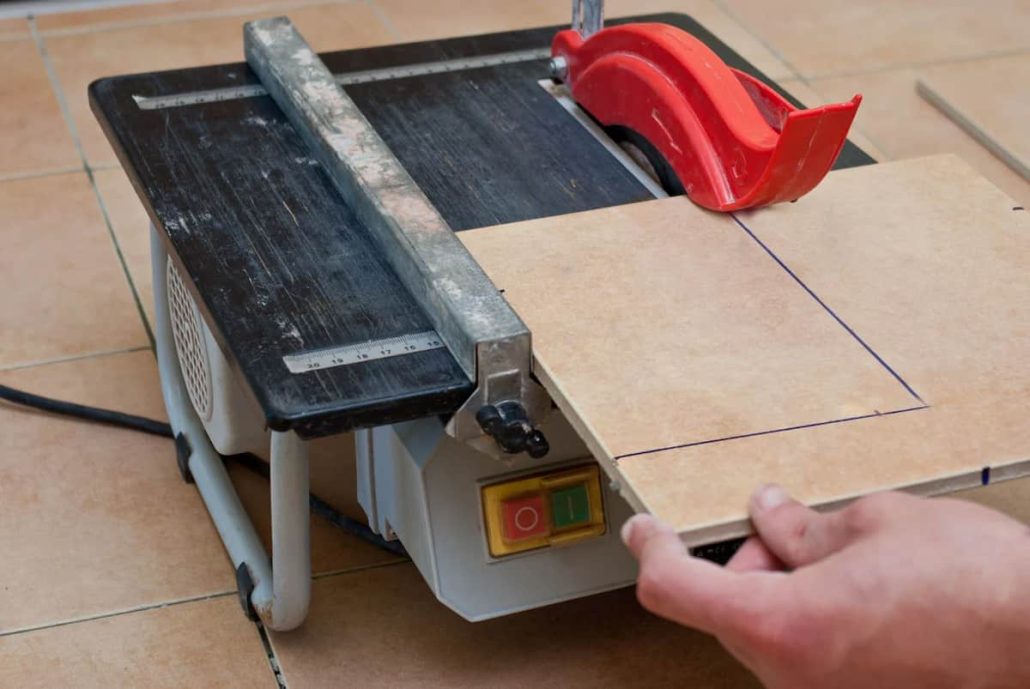
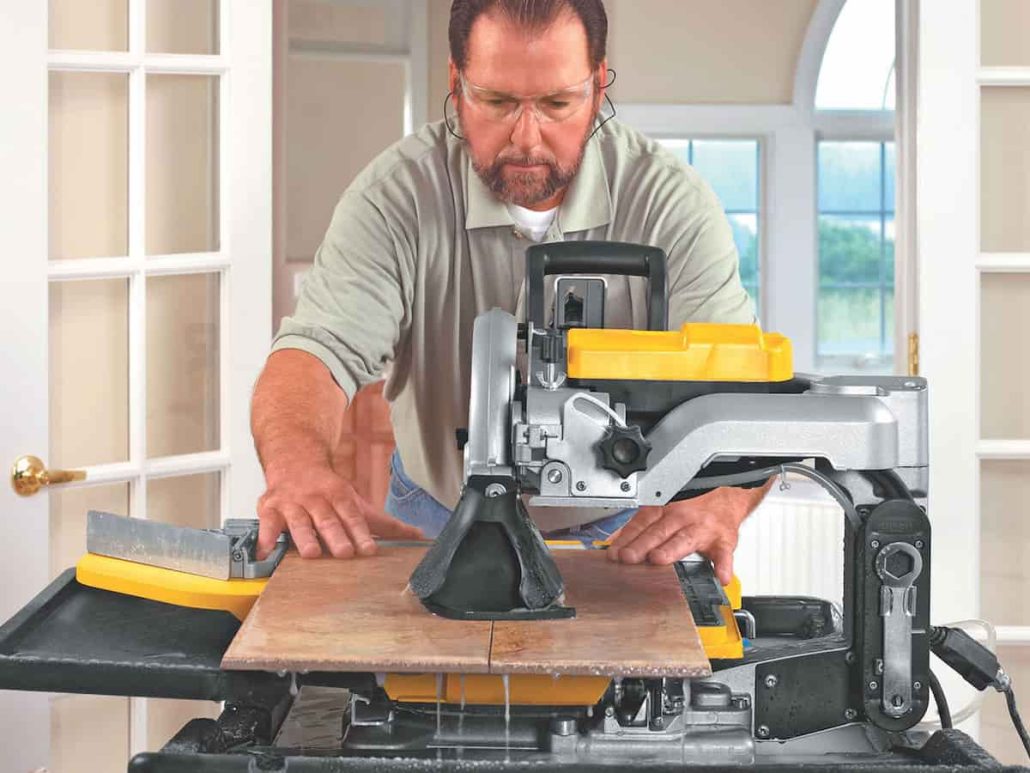
Most consumer-grade wet tile saws look and function much like a small table saw, with the blade extending through a slot in the table. During the cutting process, the tile slides on the table and on the blade. Most saws have an adjustable fence, as well as a miter gauge that allows you to cut tiles at an angle. Most DIYers buy this type of saw, which usually costs between $75 and $200. More expensive contractor-grade wet saws are more like electric miter saws. They have a ceiling mounted motor and blade. With this design, the tile rests on a table that slides forward on the rails as you pass the tile through the blade. With this style, the blade and motor assembly can be rotated to create a bevel, and the table can be rotated to bevel the tile. Other more expensive designs operate like a radial arm saw, where the tile remains stationary while the motor and blade slide on a track overhead to cut the tile from above. While high-end wet saws can be useful if you're cutting very large tiles, they cost hundreds of dollars, making them impractical for most DIYers. Many novice do-it-yourselfers use a fast hand cutter for their first tiling jobs. The operation of a fast glass cutter is similar to that of a glass cutter. It features a carbide cut-off wheel attached to a lever. Pull the wheel on the tile to engrave the face, then use the built-in snapper to press the scribe to align the tile to the score.
There's nothing wrong with a fast cutter, especially for small jobs. But it's not very effective for making bevel cuts or cutting small squares. The cuts are usually a little rough and may require hand sanding to smooth them out. For large jobs that require cutting many tiles, using a fast cutter can become very tedious. The parts of a wet tile saw can vary depending on the manufacturer's design, but most basic DIY-grade wet saws are similar to small table saws. A motor drives a spindle or belt, which spins a diamond-encrusted saw blade that protrudes upward through the dado table. Tiles are pushed through the blade to cut them. All wet saws have a nozzle that sprays water onto the blade while cutting to cool and lubricate the blade and remove dust. Most saws draw water from a reservoir built into the saw table, but others are designed to attach to a hose that provides a constant flow of water as the old water drains out. All wet tile saws use round diamond set blades for cutting, but come in a variety of sizes and styles. Sizes vary from 4 to 10 inches in diameter. Some styles have slots or holes in the blade body to help dissipate heat. The ultra-fine blades are designed to easily cut thick stone or tile, and there are also blades with extra-fine diamond grit for cutting glass. But for general use on standard ceramic walls or floor tiles, any standard continuous edge diamond blade will do. Choose the blade size that matches your saw design. Most consumer saws use 7 inch blades.
Be careful with wet tile saws. The combination of water, electricity, and fast-spinning diamond-encrusted blades make this an experience that demands your full attention. Even at the best of times, cutting with a wet saw is a heavy-duty operation that sprays water onto the work area. If possible, work outdoors or in a garage so that there are no water spray problems. If you must work indoors, cover the floor and surrounding surfaces with plastic to prevent splashing. Choose a work area that will accept a GFCI outlet and make sure you have a sturdy, stable work surface to support the saw. A good portable workbench or picnic table will serve this purpose; many people prefer to simply place the wet saw on the ground or on a concrete slab. If you're using a saw that requires a constant supply of water, you'll also need to use a hose bib. Read the manufacturer's safety instructions before using the tool. Power tools that operate around water should always be plugged into an outlet protected by a GFCI and be sure to wear goggles and hearing protection when using the saw.
- Prepare the work area
Choose a well-lit area with no obstructions as your cutting work area. Make sure an outlet is available. If necessary, cover floors and other surfaces in the work area with plastic sheeting to waterproof them. Build a sturdy, stable work surface to support the wet tile saw, then set the saw in place.
- ready the saw
Fill the saw tank with water, making sure the water level covers the circulation pump. Plug the saw into a GFCI ensured outlet. If you don't have access to a nearby protected outlet, you can use a GFCI extension cord. GFCI protection is essential when water and electricity are mixed. Make sure there is a drip ring in the wire running from the saw to the socket. The drip ring should be under the saw and the outlet so that water does not run down the rope to the outlet.

- Prepare to cut
Use an oil-based pencil or a thin permanent marker to draw a cutting line on the tile. Adjust the saw guide to the width you want to cut. If you are cutting at an angle, set the saw's miter gauge to the desired angle. Place the tile on the saw flush with the fence or miter gauge and check that the position of the blade lines up with the marked line on the tile. Pull the tile to a point in front of the blade.
- cut the tile
Wear goggles and hearing protection, then turn on the saw and wait for the blade to spin at full speed. Make sure the water hits the blade, but doesn't splash too hard. If necessary, adjust the water flow according to the saw manufacturer's instructions. Slowly but steadily push the tile onto the rotating blade, holding it by the sides with both hands away from the blade. Do not force the tile through the blade, but allow it to advance gradually; you shouldn't hear the saw motor and slow it down too much while cutting. If you are cutting particularly hard tiles, such as porcelain or stone tiles, you will need a slower feed rate. Slow the feed as the blade approaches the back end of the tile; this is where most breakouts occur. When the tile leaves the saw blade, turn off the saw blade and wait for the blade to come to a complete stop before removing the tile from the saw. Numerous saws have a programmed brake that stops the blade quickly.
- Refresh the water as needed
After repeated cuts, the cistern will fill with sediment. If the water becomes too cloudy or visibly clogged with particles, stop working to remove and rinse the tank, then refill with fresh water and continue cutting.