The installation of the shower tile is a cumbersome task for some customers. Here we have some untold tips and tricks that by following these steps you can do yourself. Shower tile installation is not for the faint of heart. This home improvement project will walk you through the three main steps of shower tile installation, including shower waterproofing, tile installation, grouting, and caulking. This article also contains affiliate links, but I wouldn't recommend them wholeheartedly. Today we are talking about tiling, but this time it is about shower tiling installations. The laying of shower tiles is mainly broken down into three steps:
- waterproof shower
- Install tiles
- Grout and caulking
This DIY project isn't for the faint of heart! Although installing shower tiles is quite a laborious project, you can definitely save a fortune by doing it yourself. Do your research and make sure you understand the ins and outs of the whole process. As with any project, there are multiple trips to the home improvement store throughout the process. 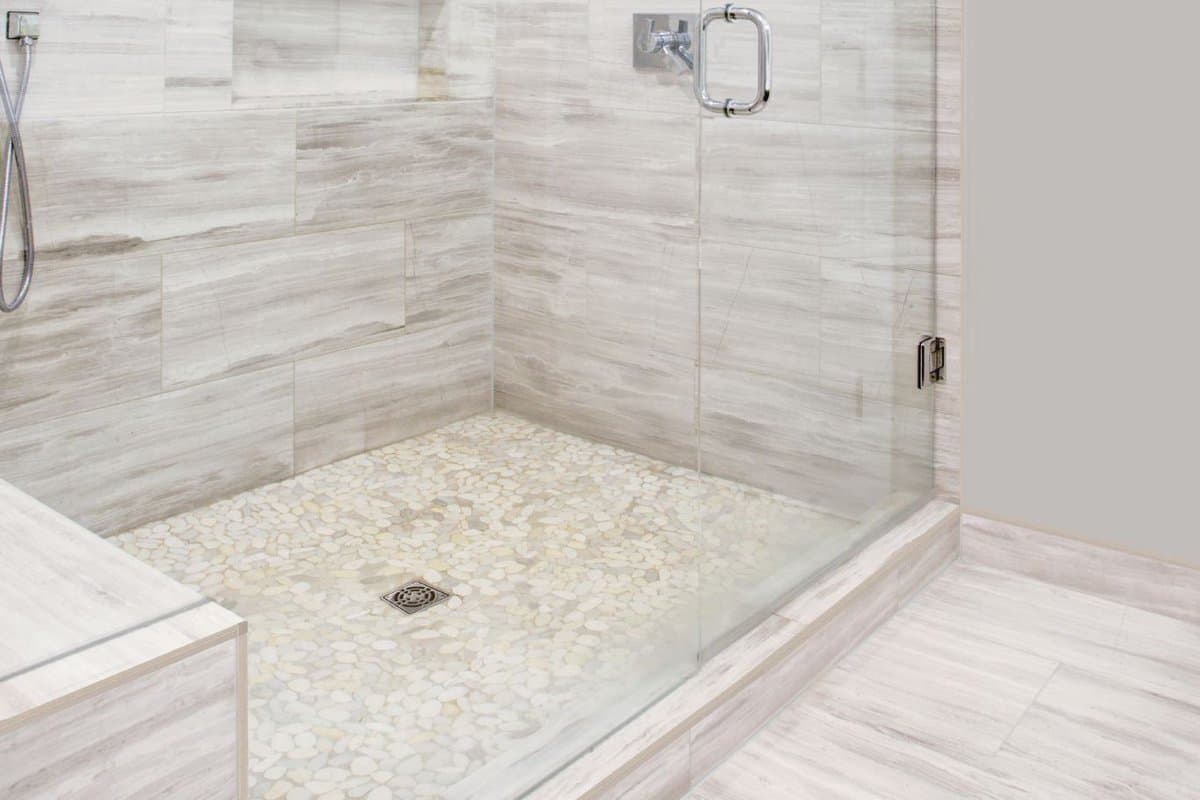 To induce you to begin, here are the devices we utilized for this project:
- A Seal Ultra Premium Siliconized Sealant
- A Silicone Max 100% Premium Kitchen and Bath Silicone Sealant (for shower niche)
- Visqueen barrier
- Staple gun
- Wonderboard
- Concrete screws
- Utility knife
- Cement board tape
- Thinset mortar
- Trowel
- Buckets
- Sponge
- Shower tile – we used this classic white subway tile
- Grout
- Tile saw
- Rubber grout float
- Shower niche insert
 part 1. waterproof shower Before installing the tile, you absolutely must ensure that your shower is waterproof. Contrary to popular belief, only grout and tile are not waterproof. In fact, they are extremely porous surfaces that absorb moisture. If you don't waterproof your shower, you could end up with a dangerously moldy bathroom that needs renovation! To waterproof our shower, we attached the viscose barrier directly to the studs under the cement board. This can protect interior walls if water somehow seeps behind tiles, thin set mortar, and backing boards. Likewise, if your shower tile is properly installed, water is unlikely to return to it. But if so, it can cause a lot of problems, so you want to make sure you create a watertight barrier...you know, just in case. As an additional safety net, you can also add a silicone max to the backplate screws. This helps with waterproofing where the cement board is damaged. The cement backing serves as the base layer, behind the shower tiles. It has no organic matter; therefore, it is not prone to mold, rot, shrink or decompose due to moisture. The tiles can be directly attached to the backboard, and the structure is sturdy and durable. When installing tiles, you need a backing that will accept thin set mortar, this is how your tiles will adhere to the wall.
 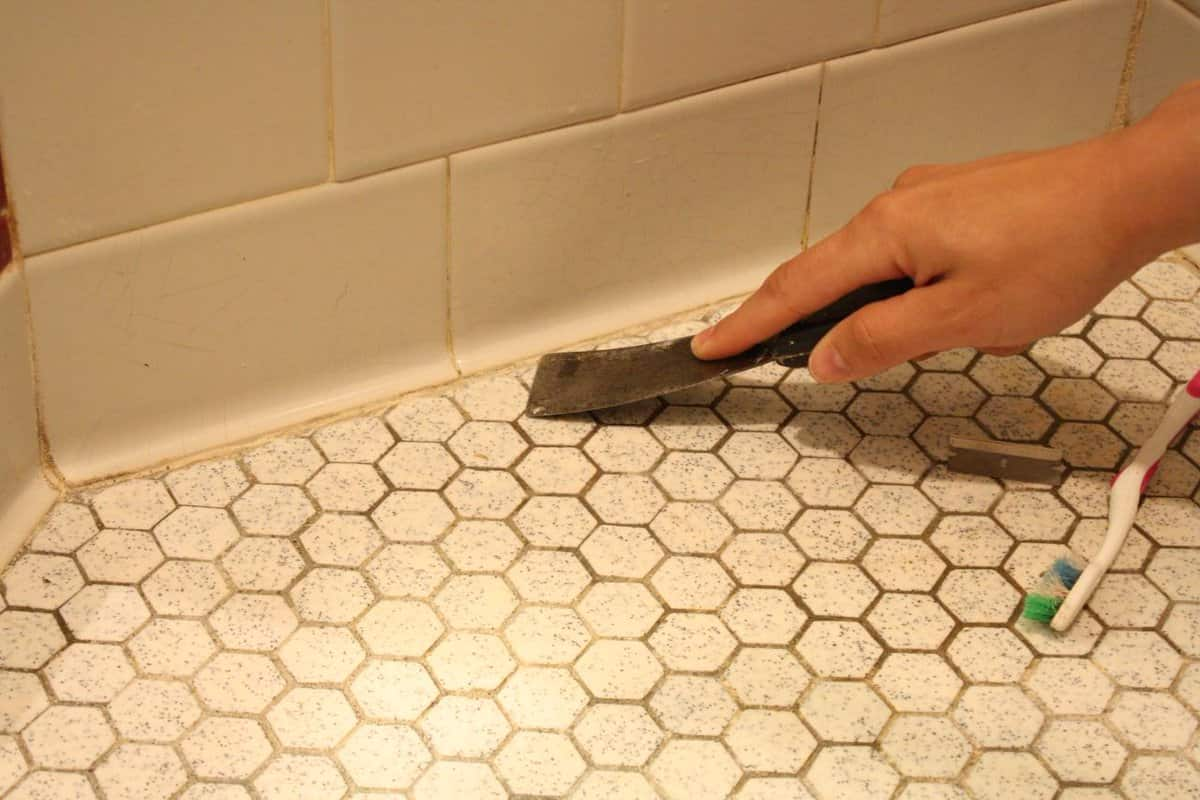 Although the cement backing itself is not "waterproof", it is "dimensionally stable when wet", i.e., it does not swell. The cement backing also provides an excellent surface for thinset mortars as it has a mesh cushion. You might be wondering if you can just use green planks when installing shower tiles. You will find that while green leaves are good for wet areas, it is not a good idea to use them on shower walls that are subject to a lot of water. Once the adhesive barrier is nailed to the studs, you can attach the cement board with the cement board screws where the studs are and space them every 6 to 8 inches. Start your first cement board screws within 1/2" - 2 1/2" of the edge of the board (per the manufacturer's instructions on the Wonderboard we used). As I mentioned before, if you want to waterproof the shower, you can check the area where you added the cement board screws with a dab. Make sure all corners and joints of the shower cement board are taped with cement board tape, then trowel the flat side with thin set mortar. It's a great way to glue the two boards together so there's a stable support behind the tiles. Once your tiles are laid, you don't want those planks to move, which could lead to cracking. part 2. Install shower tiles When choosing shower tiles (if you need great modern farmhouse tile ideas, you'll love this article), keep in mind that the smaller the tile, the more time-consuming the job.
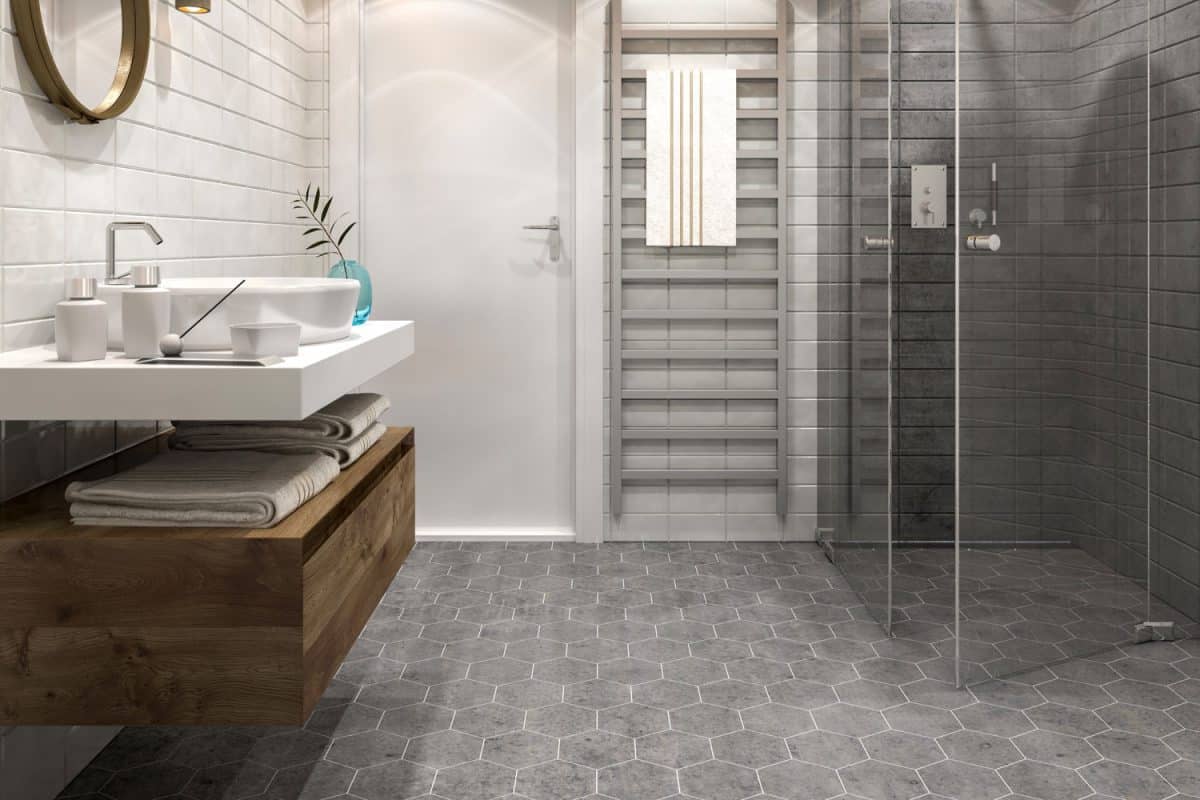
 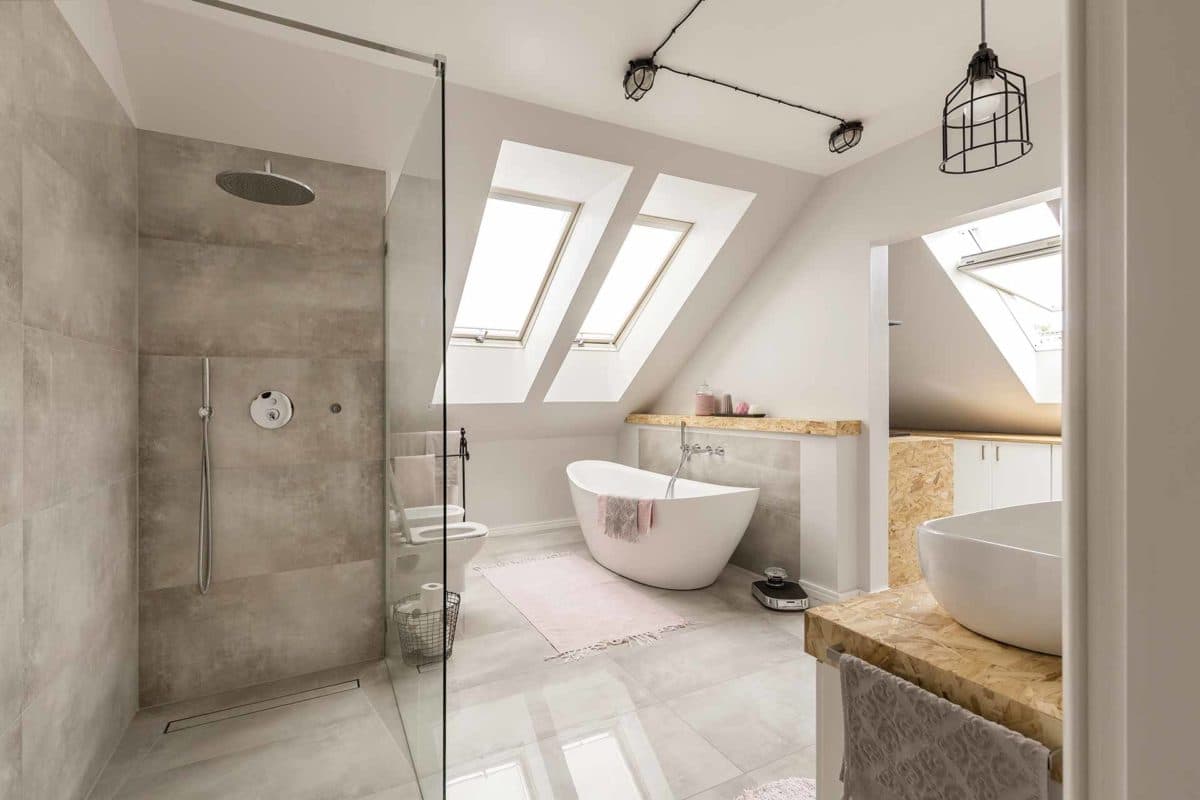 The size of the shower tile is directly related to the strength of the installation process. Most of the customers love the look of the classic 3x6 white subway tile. We, therefore, have an arduous task ahead of us. If you like the look of your tiles in smaller sizes, consider getting mosaic tiles - this means they will be grouped together on the mat, making it a bit quicker to install. Probably one of the most important parts of installing shower tile is making sure the item is nice and flat. If you're installing tile above your tub as we did, you also need to make sure your tub is perfectly level. Finally, make sure the walls are square. The bottom row of tiles should be perfectly level, take your time on this one. Keep showering with tiles. Cut debris as needed with a wet tile saw. You can learn how to use a wet tile saw in this article. Hands down, I think my favorite part of the whole bathroom is our cute little shower. The cement tiles on the back of the shower add a lot of character, don't you think!? Part 3. Grout and Caulking After installing the shower tile, wait 24 hours to make sure everything is completely dry, then it's time to grout. Grout bricks are really easy. Simply lay it over the tiles and use a rubber float held at 45 degrees to push the grout into any gaps between the tiles. Then clean with a slightly damp sponge.
  Be sure to read the manufacturer's instructions for how long you should let the grout set before wiping it away with a damp sponge. We thought 10-20 minutes would be enough and we could come back and wipe it off (like we did on the tile floor last week), but we couldn't. When we came back and wiped it off, the material had hardened. We ended up having to come back and scrape off the grout for the tiles, which was a super tedious process (about 3.5 hours for the two of us), so be mindful of the drying time. To remove the hardened grout, Logan used this handy grout removal tool to scrape the hardened grout from the tile and clean up the grout lines, while I used a razor blade. At this point, you should examine the grout lines and make sure they are clean and tidy. Repair whatever is necessary, then wait at least 2 hours to clean the grout haze from the tile with a grout haze cleaner. Distilled white vinegar mixed with water also works well. Generally, blend 3 parts water with 1 part vinegar. Once the grout is complete, it's time for the caulking - the final part of the project. If you're not sure what type of caulking to use and how to apply it, check out our full caulking tips and tricks article! Make sure the area you want to seal is clean and dry. We recommend applying rubbing alcohol to the seams to remove any residue.
  It's a good idea to add paint tape to both sides of the joint before adding the shower sealant. This will give you nice clean lines. Cut the nozzle of Kwik Seal Ultra Caulk at a 45-degree angle and load it into the caulking gun. Hold the caulking gun at a 45 degree angle to the joint and gently squeeze the trigger with steady pressure to apply an even, consistent bead of caulk. Move the caulking gun slowly and steadily to fill the joint with the caulk. Immediately after adding the sealant, smooth the shower sealant beads with slightly damp fingers, or you can grab a sealant finishing tool. Be sure to remove the tape while the shower sealant is still wet. When adding shower sealant, make sure there are any seams or corners. Where the tub meets the tile wall, where the tub meets the tile floor, all corners, ceilings, and everywhere in the shower. As you can see, installing shower tiles is quite a laborious home improvement project. Knowing the entire shower tile installation process will ensure you have a beautiful bathroom you will be proud of!