With the usage of the canning technique, the preservation of tomato paste will be increased. For this approach, there is an easy recipe with a high amount of demand. It makes no difference whether you procured your tomato paste from your own kitchen or from the bulk bins of nearby stores. The question of how it should be stored is an essential one. There is a wide variety of options available to you for storing and packaging your tomato paste. Putting the product in cans is one of these potential alternatives. Perhaps you have attempted this procedure in the past, but you were unable to make effective and efficient use of the remaining tomato paste in the can. Therefore, I recommend that you make use of the procedure that I am instructing you on so that you can efficiently perform your packaging and also avoid contamination to the greatest extent feasible.  There is a wide range of applications for this procedure, which I am recommending to you since not only is it incredibly easy and uncomplicated, but also because it extends the shelf life of the food you eat. Because tomato paste is typically purchased in big amounts in restaurants and commercial kitchens, many of these establishments make use of this recipe for packing tomato paste. This is because the necessity of ensuring that tomato paste is properly packaged is magnified in these settings. Making tomato paste in a simmering water canner is a simple method of preserving tomatoes. Similar to tomato sauce, but much more concentrated due to the cooking process, homemade tomato paste is a staple in many households. That not only makes better use of storage space in the kitchen but also improves the taste of meals with every serving. We plant many of pounds of tomatoes every year, and while we enjoy them fresh while in season, we're always on the lookout for smart methods to store them for the colder months. Although they take up a lot of room on the pantry shelf, I will can whole tomatoes because they are quick and simple to preserve. To make things even simpler, you may use a food mill to remove the skins and seeds from tomatoes before canning them as tomato sauce. However, keep in mind that you're still keeping a lot of water in each jar. However, tomato paste is a concentrated form of tomato that has been boiled down to preserve its flavor and nutritional value. You only need a tablespoon to enhance the flavor of any dish. Since the majority of the liquid has already been evaporated, you may now add flavorings without adding any additional water (which would require additional cooking time). Making tomato paste requires some extra time and effort in the beginning, but it will make your meals much faster in the long run.
TOMATO CHOICE FOR PASTA
Roma tomatoes, because of their low moisture content and small seeds, are ideal for creating tomato paste. Unlike other tomato varieties, Roma tomatoes have substantial, meaty flesh that may be easily reduced to a silky paste. Most Roma tomatoes found in supermarkets are the flavorless Heinz variety, created by the same corporation that produces Heinz ketchup. However, if Heinz tomatoes are all you have, by all means, use them. In the end, you'll still have a tasty tomato paste because the longer heating and canning procedure will pull out any of the fruit's delicate sweet overtones. The options for heirloom tomato varieties are numerous and varied, so if you have the room to cultivate your own, I recommend planting a couple of those. After gathering them, you can enjoy experimenting with their various tastes and textures. Though there are many different types of Roma tomatoes to choose from, my personal favorites are Amish Paste, Hogs Heart, and Opalka. 
TOMATO PASTE PREPARATION
All you need is 14 pounds of Roma or paste-type tomatoes, a pinch of citric acid, two bay leaves, a pinch of canning or pickling salt, and a full clove of garlic to make your own homemade tomato paste. Ideally, half-pint jars should be used when canning tomato paste, and this amount should make about 8 to 9. During the cooking process, the thick paste is heated to its ideal consistency, but if you use a larger jar, the heat may not be able to penetrate the paste. Tomato paste is prepared in the same way as tomato sauce, the only difference being that the sauce is reduced further to a thicker consistency while cooking. Cooking down tomato sauce by one-third, by half for a thick sauce, and by three-quarters or more for tomato paste is how you get the desired consistency. Tomato sauce that has been reduced to the point where it sets up like paste on a spoon is no longer sauce. Clean the tomatoes by removing the stems one at a time and cutting off any discolored or bruised areas. If you have a large sieve/chinois or a food mill, you don't need to remove the skin or seeds at this step. If you don't have either tool, you can remove the skins and seeds from the tomatoes by hand before adding them to the sauce pot to cook. In my piece about preserving diced or crushed tomatoes, I outline the steps you should take to ensure the best results. Once a tomato is chopped, the liquids begin to separate quickly. However, if the tomato is subjected to high heat while being continuously crushed or mashed, the separation of the juices is prevented. 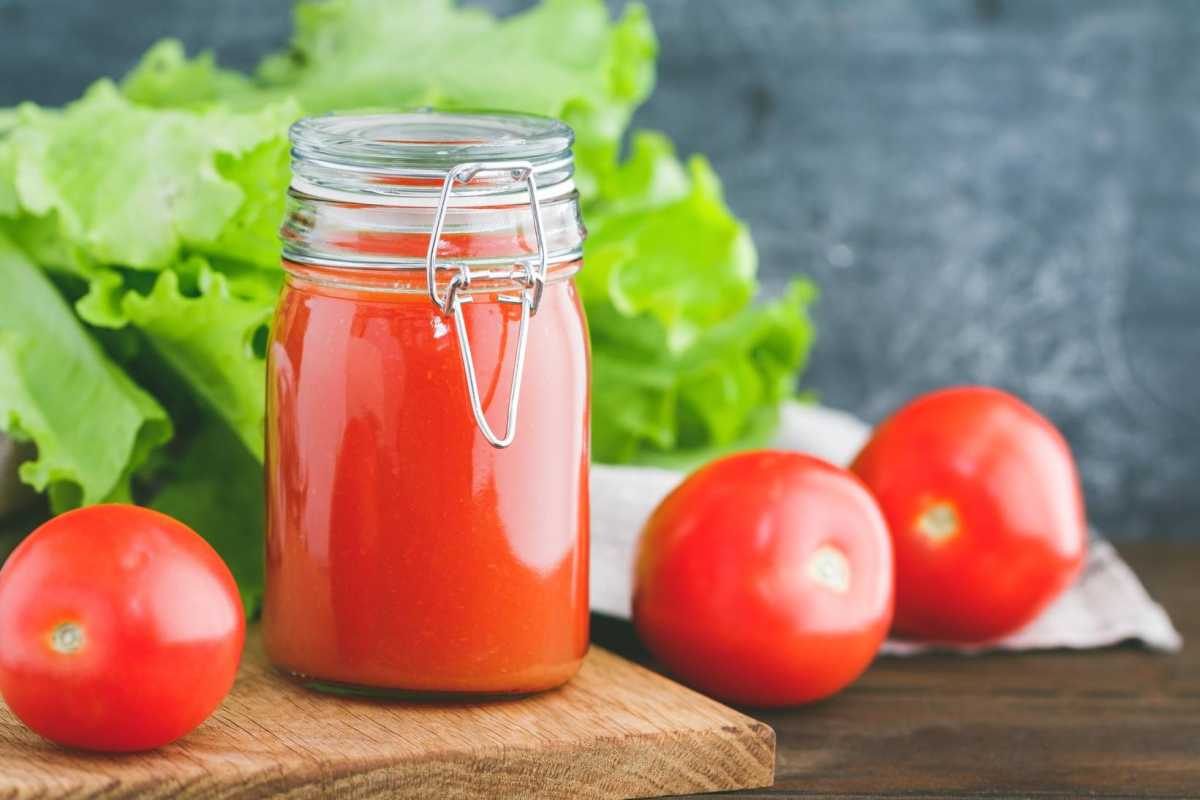 The next step is optional, as the fluids that have separated from the tomatoes are safe to consume (and more difficult to avoid if you're peeling and planting by hand), but it does provide for a more uniform and consistent product when canning tomato paste, sauce, or juice. Tomatoes should be quartered after being washed, stemmed, and prepared, and this should be done in batches of around a pound. When the tomatoes are at a rolling boil, add them immediately to the saucepan and crush them with a potato crusher or large spoon. Cutting up tomatoes ahead of time is not recommended since the fluids will start to separate almost immediately. Repeat the process of boiling and crushing the tomatoes until they are all used. Make sure the tomatoes don't stick to the bottom of the pan by constantly stirring the sauce. Simmer the tomatoes uncovered over low heat for an hour, or until the volume is reduced by half, after adding all of the tomatoes. Once the volume of the crushed tomatoes has decreased to half, you can pass the mixture through a food mill or a big sieve/chinois. The food mill attachments for my Kitchen Aid stand blender makes short work of the job. The cooked tomatoes should be processed through a sieve or food mill to get rid of the skins and seeds. The temptation to use a mixer or food grinder to make a uniform paste will be strong, but you should fight it. While the blades of these gadgets provide a silky texture, they also whip in excess air, which isn't ideal for tomato paste that will be canned later. Once the tomatoes have been reduced, return them to the pot and add the citric acid*, stirring to combine. Bring to a boil, then reduce to a simmer, and add the bay leaves, salt, and garlic clove, whole, if using. You shouldn't avoid adding citric acid to your canned tomatoes before processing. Tomatoes are not as acidic as most people think they are; in fact, they are very close to neutral on the pH scale. In order to make the tomatoes acidic enough to be processed in a boiling water canner, citric acid or bottled lemon juice (not fresh lemon juice) must be added.
  Tomato acidification with white vinegar is an option at the last minute, but it would give the paste a pickled, vinegary flavor, so I don't recommend it. Because tomato paste is thicker than sauce, it is best to add the citric acid to the paste while it is cooking instead of to the unfilled jars before filling them with sauce. Cover and continue cooking the tomato paste over moderate flame until it is thick enough to form a ball when dropped from a spoon. The tomatoes are done cooking when the paste "traces," or parts like the Red Sea when a spoon is drawn through it while it is boiling hot, and does not continue to fill in after the spoon is removed. To avoid burning or adhering to the bottom of the saucepan, stir the paste regularly (and more often near the end) during the entire reduction process, which takes about 2 1/2 hours. You should take precautions to avoid getting burned by splattering tomato paste. The next stage is to prepare the tomato paste for canning in a heating water canner once the reduction process is complete and while the paste is still hot.
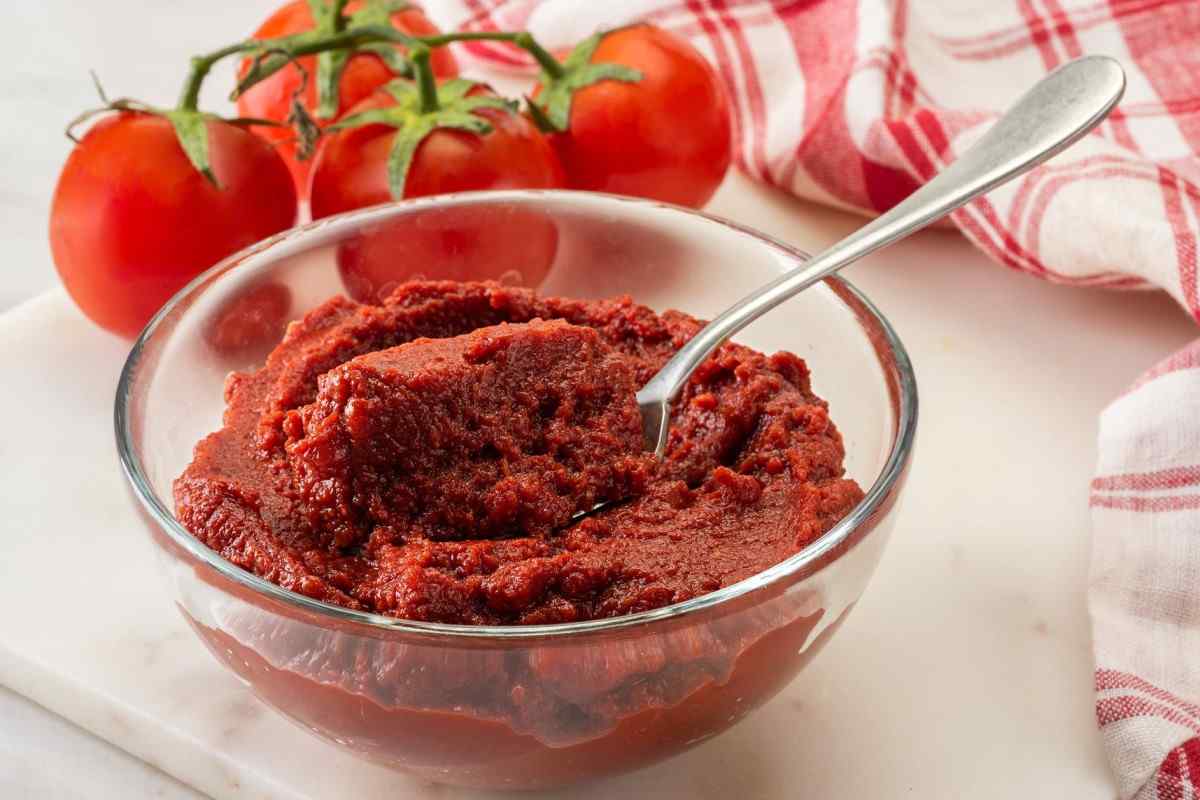
PASTA FROM TOMATOES, CANNED
Get ready an 8- or 9-cup canning jars and their matching two-piece lids, as well as a canner full of boiling water. Read my post, "A Beginner's Guide to Water Bath Canning," for all the information you need to get started with water bath canning. While it may be possible to use a pressure canner to preserve this tomato paste, it has not been proven, therefore I recommend using the boiling water canner technique instead. Due to its high viscosity, tomato paste has a limited capacity to absorb heat. This is why I usually use half-pint jars, which have been shown to reliably preserve foods without posing any health risks. Remove the bay leaves and whole garlic clove from the tomato paste before dividing it among the jars. Divide the hot tomato paste between the jars, making sure to leave 1/2 inch of headspace. The jars need to be hot for any canning operation to avoid unintentional thermal shock.  Using a plastic knife, wooden chopstick, or another nonmetal implement, slide it into the container between the tomato paste and the edge of the jar to eliminate any leftover air bubbles. Apply the ready-made canning lids after giving the containers a careful wipe with a dampened clean paper towel. Tighten the caps until you can no longer turn the ring with your fingertip (this is when they are properly tightened). Don't overtighten the rings, and don't fiddle with them again until the tomato paste has been ground. After 5 minutes of resting in the hot water after processing, turn off the heat and carefully remove the containers using a jar lifter. Leave at least a centimeter of space between each jar as you set them on a cooling rack or clean towel. The risk of glass breaking from thermal shock can be reduced by avoiding contact with cold surfaces and chilly drafts.