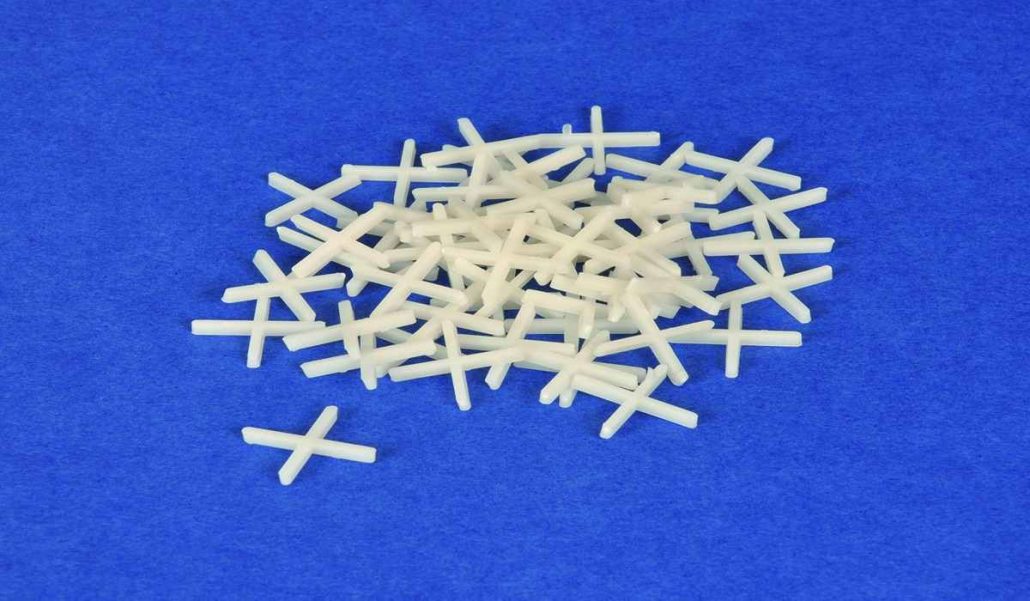
The appearance of a room can be revived by replacing old, cracked, and chipped tile, but this is not a process that can be finished in a short period of time, particularly when you need to line up every tile in close to ideal spacing to get the required finish. Tile spacers, however, are made specifically to make this operation easier. To guarantee that the spaces between the tiles are uniform in width, these little plastic things should be inserted between them as they are installed. For swiftly and efficiently spacing out new tiles during a tile installation operation, such as installing a new shower, changing the floor tiles, or installing a new backsplash, tile spacers are a cheap and reusable option. They even come in a variety of sizes so that the gap between tiles can be altered to suit your preferences. These T-shaped or cross-shaped devices make generating uniform intervals between tiles simple. How Do Tile Spacers Work? Tile spacers are tiny, plastic items that might have a cross or a T form. They are designed to fit between tiles during installation in order to maintain a constant distance between each tile.
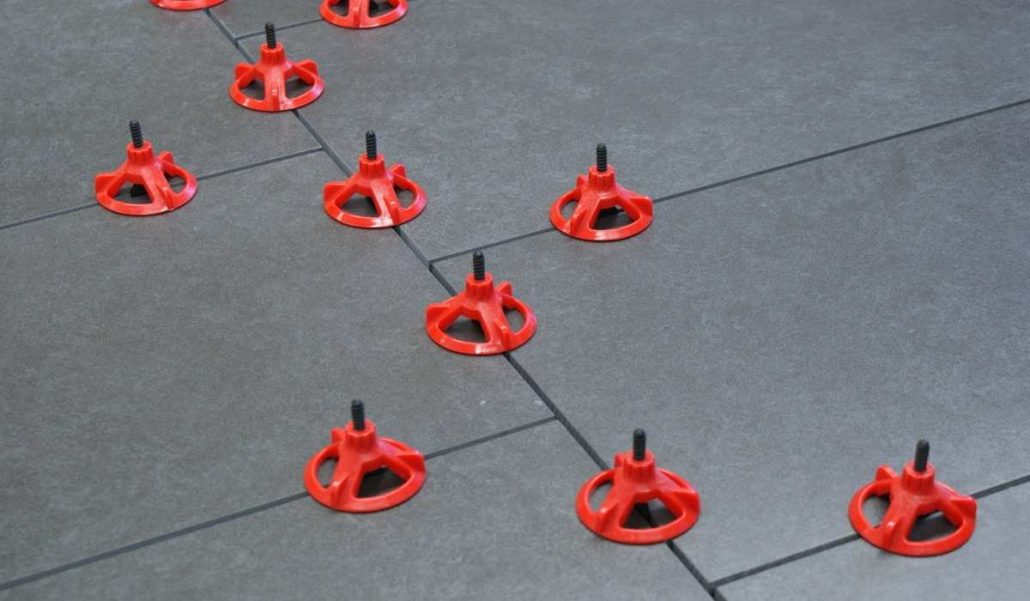
This enhances the project's overall aesthetic by assisting in preventing tile misalignment during installation. Some tile spacers even contain a self-leveling technology to assist further your tile installation look polished. Utilizing Tile Spacers Select Tile Spacers Based on Size Before beginning the project, it's crucial to take the time to decide on the desired size of the gap between the tiles. The sizes of tile spacers range from 1/8 inch to 3/8 inch. Grout lines for floor tiles and other horizontal surfaces should typically be a little bit larger, ranging from about 1/4 inch to 3/8 inch, while grout lines for tiled walls, backsplashes, and shower stalls should typically be thinner, between 1/8 inch and 1/4 inch. Since there is less surface area to collect dust, dirt, and debris after installation, thin grout lines are typically easier to keep clean. Thicker grout lines, on the other hand, can help to cover some of the imperfections and give the project a more even appearance if the measurements of the room, wall, or floor are somewhat wrong. Go to your neighborhood home improvement store and choose the tile spacers you require based on the desired width of the gap between tiles. Increase the number of tiles by 4, then add an extra 10% to account for any differences to determine how many spacers you'll need for the project.
Set the first tile and the tile spacers in place. You can start the tiling operation by aligning the first tile once you have the appropriate size and quantity of tile spacers available. Since all subsequent tiles will be positioned in accordance with the placement of the initial tile, this tile must be set with the greatest precision. Before continuing, it is advised to use a chalk line or laser level to make sure the initial tile is put properly. If you are certain that the room or wall is not out of square, you can also place the initial tile in the corner of the space. After placing the first tile, you can move on to placing the surrounding tiles. The next tile should be placed on the floor or wall after applying enough adhesive to cover it. Place the tile spacers between the first and second tiles to adjust the gap size and tile alignment. Remember that you must use at least two tile spacers along the tile's edge in order to get a uniform gap. Include more tiles Apply glue to the floor or wall once more, then place a tile on top of it while using tile spacers to correct the gap and alignment. To provide a consistent appearance, two or more tile spacers should be positioned vertically in the space between each tile.
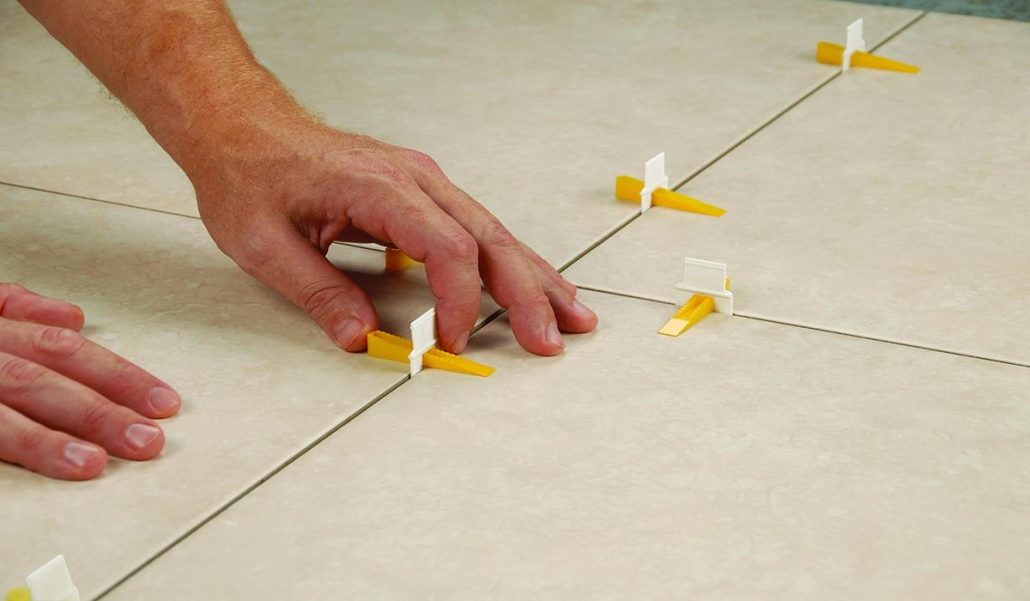
Make sure that each succeeding tile touches the spacers on the tile next to it without compressing or deforming the spacers as you lay each next tile. To prevent the tiles from becoming out of place before the grout can be placed, the tile spacers must remain in place until the glue has had enough time to cure fully. Normally, this takes 20 to 30 minutes. Tip: To create various effects and designs with the grout lines, alter the spacers' sizes. This technique is frequently applied to produce eye-catching designs and mosaics. Get rid of the tile spacers. Tile spacers are used during installation to align the tiles and to prevent them from sliding while the adhesive sets. The tiles must stay in place for 20 to 30 minutes. The tiles may move and get out of alignment if the tile spacers are taken out before the adhesive has a chance to set. The tile spacers, however, might become stuck to the glue if they are kept in place for an extended period of time, making removal challenging. Tile spacers can be taken out by slipping a chisel, scraper, or flat-head screwdriver under the spacer's horizontal arm and applying pressure to force it out of the crack. The majority of spacers are simple to remove and can even be recycled for additional projects. If a spacer does become trapped, avoid grouting over and around it since it won't set correctly or, if it does, it will collapse quickly.
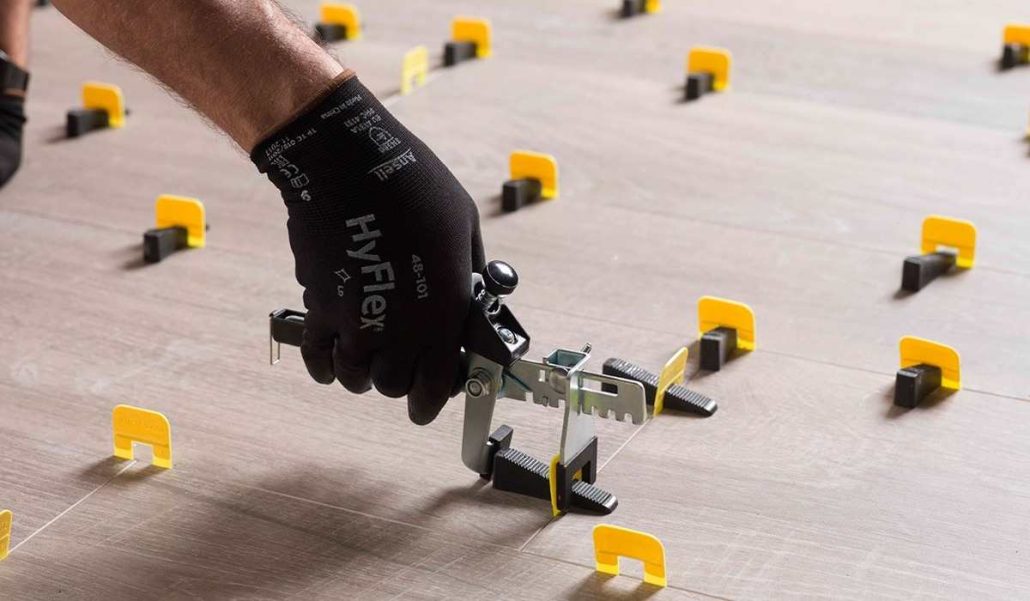
Try to separate the spacer from the glue instead by using a chisel, scraper, or flat-head screwdriver. The spacer can be grabbed and pulled out of the opening with the aid of needle-nose pliers. Clean and Organize Tile Spacers The majority of tile spacers will remove without incident. These spacers can be thoroughly cleaned, dried, placed in a zip-lock bag, and kept in a toolbox for safekeeping. Any tile spacers that cracked, broke, or became distorted during installation should be replaced for future projects. Preserving the Quality of the Tile Spacers Due to their low cost and specific application, tile spacers are frequently mistaken for being disposable, but if they are removed promptly, cleaned, and stored properly, they can really be reused. Tile spacers should be rinsed to get rid of any last bits of glue once a tile job is finished and then dried. In the workshop, the spacers can be kept secure in a bag, toolbox, compartment, or drawer. Consider placing the tile spacers in their own designated compartment or drawer in the workbench, or store them with any other tiling supplies to keep things simple and organized in the workshop.