The look of a bathroom floor, wall, or backsplash may be updated with peel and stick tiles. Consider using peel-and-stick tile on surfaces such as a kitchen, bathroom, or basement, that are in need of some TLC but you lack the time or finances to install a tile floor or wall. The installation process is easy enough that the majority of do-it-yourselfers can perform it without engaging a professional. Peel-and-stick tiling may be created using vinyl, glass, and even metal. The self-adhesive backing of these tiles enables quick and simple floor or backsplash installation on a variety of surfaces. However, if the surface isn't properly prepared or if the area isn't measured and planned, the strong adhesive on the back of the tile may also cause problems. These issues may entail broken or cracked tiles, tiles that are twisted, or patterns that are inconsistent. Continue reading to understand how to utilize peel-and stick tile and how to avoid these issues. Before commencing any tiling activity, it is necessary to carefully prepare the wall or floor. A tile can cling to a flat, smooth surface. If necessary, use a degreaser to clean the wall or floor after sanding or scraping away any old adhesive or protrusions that might prevent the new tile from laying flat. On many popular wall and floor surfaces, including painted drywall, old linoleum, ceramic, and concrete, peel-and-stick tiles can be put. However, the grout joints must be level with the top of the tile if the tile is being laid over ceramic or marble that has previously been installed. In its absence, the peel-and-stick tile will adhere to the dents, resulting in an uneven surface. Not adhering tiles will lay flat against the wall, but there will still be a gap between them and the grout seam. In addition to providing a breeding ground for mold and mildew, these gaps may cause tiles to separate from the wall. Prior to installing the new tile, it is best to fill the grout lines with additional grout to provide a clean and smooth surface. Even though peel-and-stick tiles are very straightforward to install, users who begin the process without first measuring the space or arranging the arrangement frequently make mistakes.
Before installing a small backsplash or an entire floor, the entire surface area must be measured in order to determine how many tiles are needed for the job and whether any half or partial tiles will be needed to fill in minor gaps along any of the edges. This is necessary in order to determine how many tiles are needed for the job and whether any half or partial tiles will be needed to fill in minor gaps along any of the edges. When you have accumulated all the tiles required for the project, place them in a row without removing the backing. This straightforward phase illustrates how the tiles will lay after installation, helping you to plan the project's layout, work around obstacles, and choose where to place half-tile or partial-tile installations. It is advisable to place these tiles in separate regions, such as a corner or the base of a wall, where it will be difficult to discern where the pattern has been interrupted. Certain tile modifications are required for the majority of peel-and-stick tile installations to guarantee optimal tile fit inside the designated space. It is essential to use a sharp tool knife while making these cuts, whether it's to cut a tile in half to fit along the base of a wall or to cut a notch from a corner so the tile may fit snuggly against a cabinet, sink, or tub. Using dull objects to damage the tile will leave it with jagged edges and ugly scratches. Utilize a sharp utility knife to achieve an accurate cut, and always cut with a piece of wood (or other appropriate protective material) beneath the tile. This reduces the possibility of a knife scratching a workstation, counter, or other surface while the operator accurately cuts through the floor tiles . Even if you return within a few weeks, there is no guarantee that you will be able to purchase the same type of tile, as tile manufacturers and distributors constantly vary the readily available color schemes, patterns, and tile thicknesses. It makes sense to purchase additional tiles as a result. To ensure that the color and pattern match the existing tiles in the event that any are torn off, cracked, chipped, or otherwise damaged, it is advisable to have 5 percent more tiles than you will require to complete the project.
stick on floor tiles
The long working life of the stick on stone tiles makes it feasible to move floor tiles throughout the day and night. Several weeks or months after installation, self-adhesive peel-and-stick tiles have an awful tendency to loosen and curl at the edges. In contrast, adhesive-adhered floor tiles seldom break loose or curl up on their own. The subfloor and underlayment must be flawless: Self-adhesive tiles require completely dry and smooth subfloors to avoid future issues. Although you should always carefully prepare the flooring and use levelers and putty to correct any flaws before putting glue-down vinyl, the separate adhesive might hide minor imperfections. Nonetheless, you must always thoroughly prepare the flooring and use levelers and putty to remedy any issues you identify. In theory, the tongue-and-groove technique utilized in luxury vinyl tile and luxury vinyl plank flooring is superior since the components are supposed to interlock. However, if you need to make repairs or replace a single tile or board, it may be difficult to disassemble the flooring. In contrast, heat may be used to weaken the adhesive, making it considerably easier to remove tiles that have been bonded down. In addition, excellent vinyl is unquestionably more expensive than adhesive tiles. Glue-down vinyl tiles are certainly superior in terms of cost. Some individuals avoid glue-down flooring due to the stink and dirt. The scent is not overbearing and quickly dissipates. Utilizing a water-soluble, latex-based floor glue helps reduce mess and facilitate cleanup. The glue will not greatly increase the price of tile installation. Depending on the product, one gallon of glue should cover between 180 and 400 square feet. This does not significantly raise the cost of installation, given that vinyl glue-down tiles are already less expensive than luxury vinyl and peel-and-stick tiles. Two tile adhesives have been demonstrated to be excellent for the vast majority of tile installations. Peel-and-stick flooring might be advantageous.
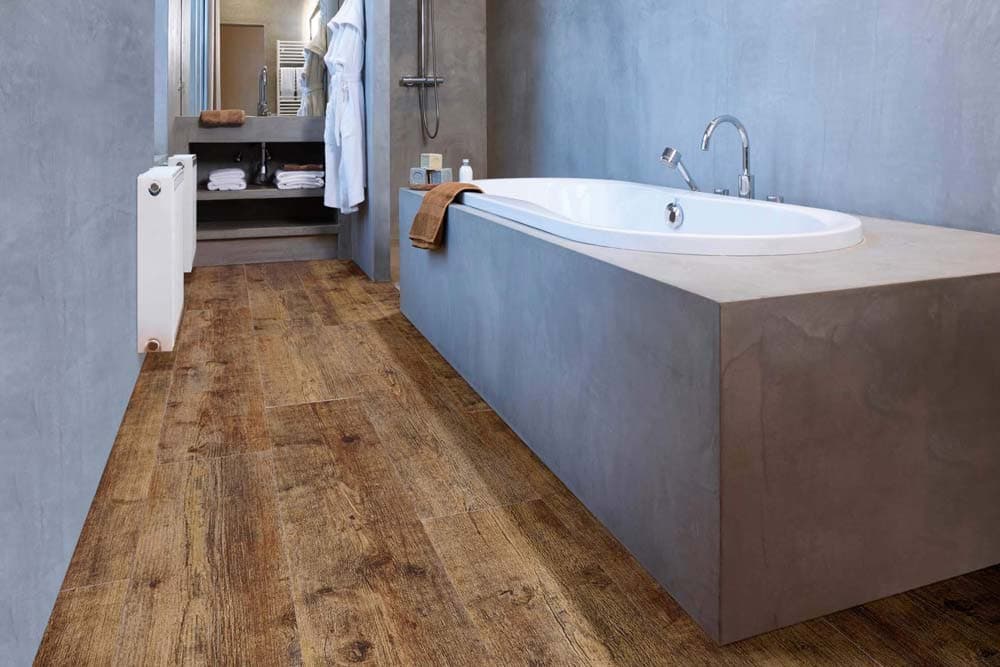
It is a simple, inexpensive, and rapid method for renovating flooring. Because it is transitory and affordable, it is perfect for rental properties and economical renovations. Flooring that is peeling and clinging is precisely what it sounds like. It attaches directly to the floor, making installation quick and simple. Similar to peel-and-stick wallpaper, peel-and-stick flooring clings directly to a surface through an adhesive backing. It is available in a variety of colors and textures and may even be made to mimic actual wood. Peel-and-stick flooring that resembles wood is gaining popularity, while stone tiles and patterned wall tiles are also popular. Stick-on wall tiles are an alternative choice. Peel-and-stick flooring is distinguished from other flooring types by its affordability, ease of installation, and durability. Vinyl stick flooring differs from other forms of flooring in that an underlayment is not required. Peel-and-stick flooring may be installed on any solid, level surface, including concrete and subflooring. However, cushioning is necessary under the carpet. Peel-and-stick flooring is not as durable as other flooring options. In ideal settings, high-quality items can endure up to 25 years. In contrast, hardwood has a longer lifetime. Installation is simple: after removing the backing, attach each component individually. The ideal method is to peel back a little portion of the backing around the edge, apply adhesive, and then peel back the entire backing while pressing down with a plastic spatula. Additionally, self-adhesive flooring is offered. Depending on the type of floor, this may be more difficult. Abrams advises using adhesive remover, putty knives, a pry bar, and pliers to remove peel-and-stick flooring. Chapman recommends using a scraper with several instruments.
The removal method is the same regardless of the instruments employed. Get beneath a tile's edge and pry it off, then repeat with the next tile. There are more details available in our company about self-adhesive tiles, take a tour on our website or contact our sales manager for more information.


0
0