Purchase price leather wallets + advantages and disadvantages
When talking about the process of production for Western wallets made of leather which are hand tooled, we deeply understand that there is nothing more indicative of a man's machismo than the production of something with both hands.
leather wallets in bulk
Producing something that you can own and call your own is a great source of pride.
On the other hand, there is nothing more disheartening than investing your hard-earned money in an expensive purchase, only to be let down by it later on.
In this essay, I'd like to discuss a subject that's important to a lot of men and how it affects their lives.
Wallets are the item that sees the most use and abuse in our day-to-day lives more so than any other item.
Even though the vast majority of fashion brand handbags are manufactured to look wonderful in the shop, today's typical wallets are made to be fragile, from unraveling threads to gorgeous linings.
This is the case despite the fact that the majority of wallets are used to store money.
Before you spend your money on yet another wallet from a department store, give the following suggestions for creating your own wallet some thought. You never know how long it will last you.
The first thing that's required to make a wallet is a well-thought-out design.
It distilled the overall plan into a concise format while maintaining a modernist aesthetic.
When bidding on international currency, it is necessary to take into consideration all of the relevant parameters.
The Ambrosian Manifold is a type of wallet that is created from four separate pieces of leather to form a bifold wallet. This wallet has one section for holding cash and six slots for holding credit cards.
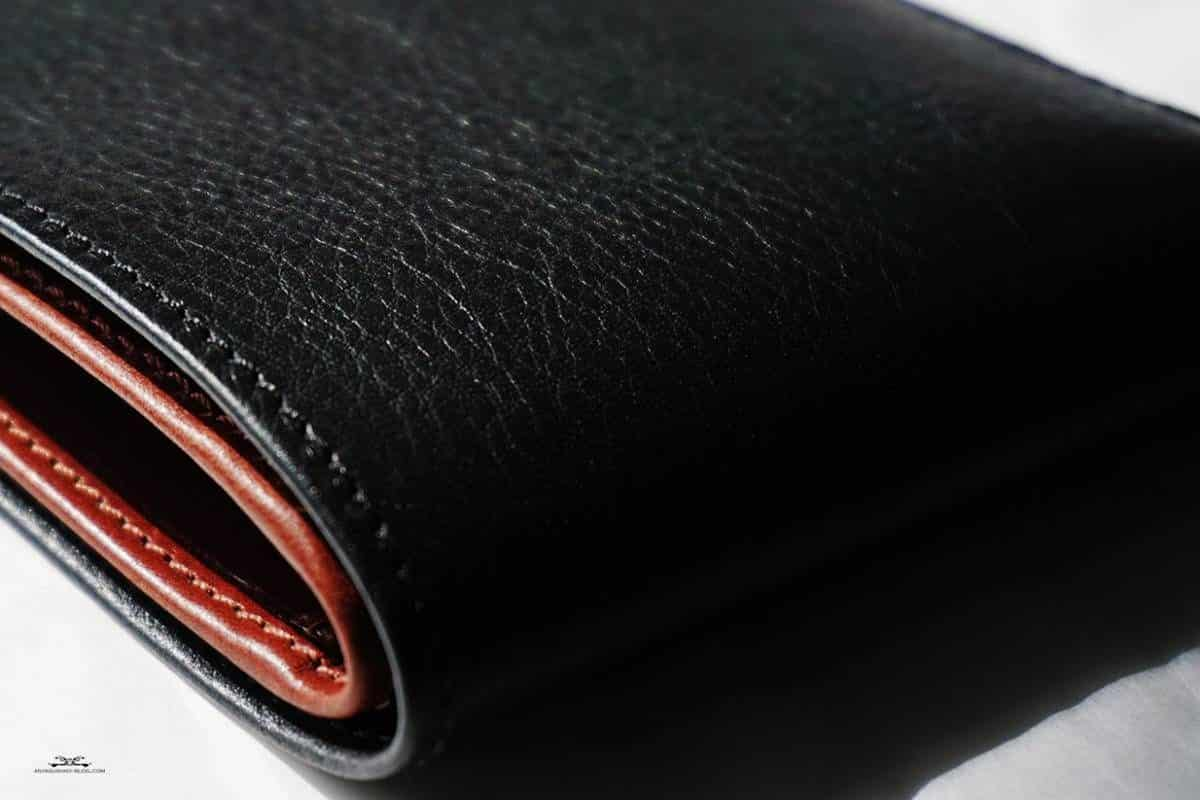
Material
Material is needed in an area of around 2 square feet.
Utilizing two ounces of thick leather that has been vegetable-tanned is recommended.
It is true that ounces are used to measure the thickness of leather.
If you want your wallet to be very thin, use leather that weighs 1 ounce; if you don't mind the additional volume, use leather that weighs 3 ounces.
When making a sturdy wallet, it is essential for the leather to have some degree of firmness; however, it is possible to use other types of leather as well.
Tailoring
Find a shade that complements the type of leather you've decided to use by looking around.
When working with leather, it's best to choose a thread color that's darker than the leather itself.
If you're not sure, ask the person who holds the right to match in your house—either your wife or your mother.
Construction
Step 1
Whether you make your own design or choose to use one of our patterns before you can use it you will need to print it and cut it out. Following that, the leather ought to be traced over the paper template.
Step 2
After that, the leather parts need to be cut in the appropriate manner.
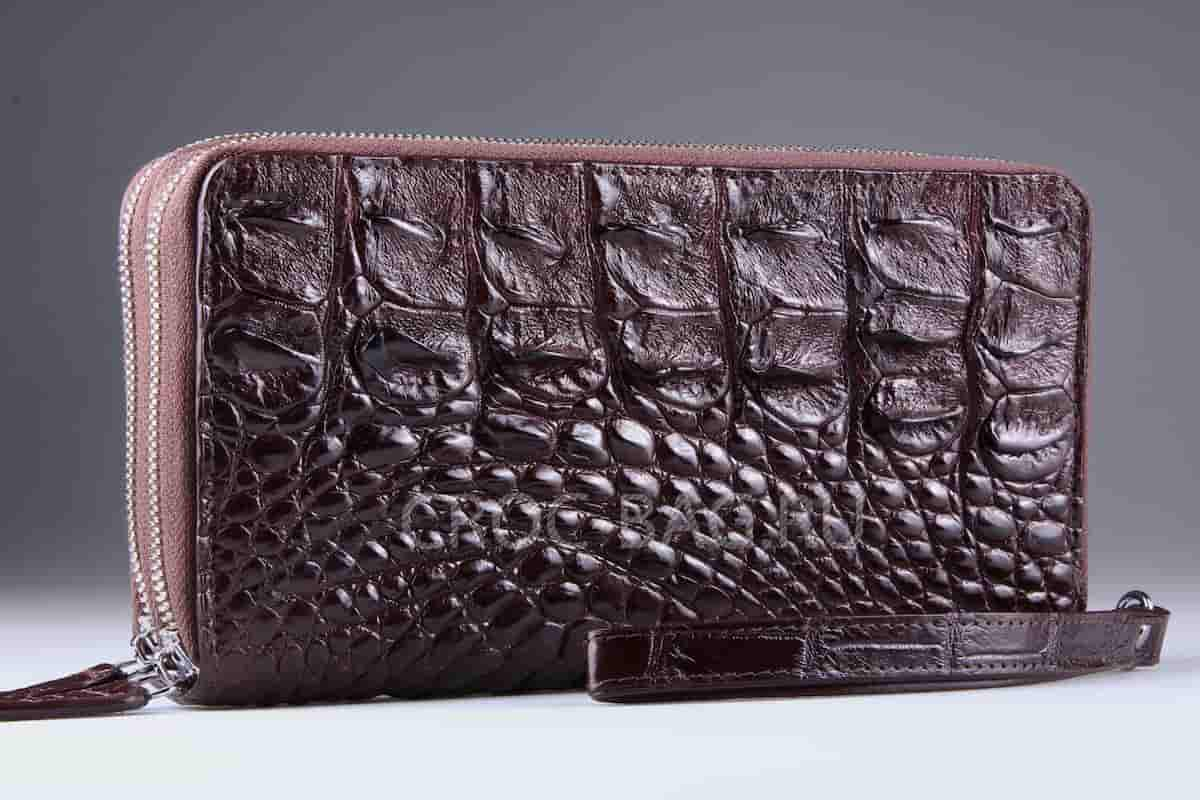
leather wallets ostrich
Using a rotary blade and a ruler with a straight edge makes it easy to cut leather so that the edges are precise and straight.
After the components have been cut out, the leather needs to have sewing holes created.
After the pattern has been secured to the leather with a push pin, holes should be punched using an awl at evenly spaced intervals to complete the pattern.
The hole has to be large enough so that the needle and thread can easily move through it.
Step 3
Now that we have everything ready, we can assemble the components.
Layering A and B on top of C and then placing them all on top of D.
Folding the leather in this manner will expose the perforations.
Sewing leather is significantly simpler when it is tightly cinched.
We provided a graphic that was color-coded and displayed the stitch route along with the places where the thread began and ended.
We recommend using a technique called hand saddle for this construction, although there are a variety of hand-stitching methods available to choose from.
In order to complete a saddle stitch, two needles are required; one is placed at each end of the thread.
To secure the two pieces together, first, align the holes so that they are aligned, then thread two needles through each of the aligned holes.
Step 4
I advise beginning with the blue stitch route.
For this pass, you will need approximately 2 feet of thread. Put the needle through the first hole on piece B right at the beginning of the pattern.
To ensure that the thread is distributed evenly throughout the two sides of the leather, continue to pull it.
After beginning with the hole that is immediately adjacent to the previous one on the same side of the leather, he inserts the second needle by passing it through the same hole from the opposite side.
Grab both needles, and pull until the seam is pulled together tightly.
After the fourth hole, you should begin tying piece D to piece B.
It is necessary to insert both needles into the back of B at the very end and knit the thread in the manner depicted in the middle picture in order to secure both needles to the back of B.
Piece C requires an additional two needles, which can be obtained from the back of piece B.
To complete the blue route, you will need to make use of a needle to connect the two holes in B and C that are aligned as shown in the preceding illustration.
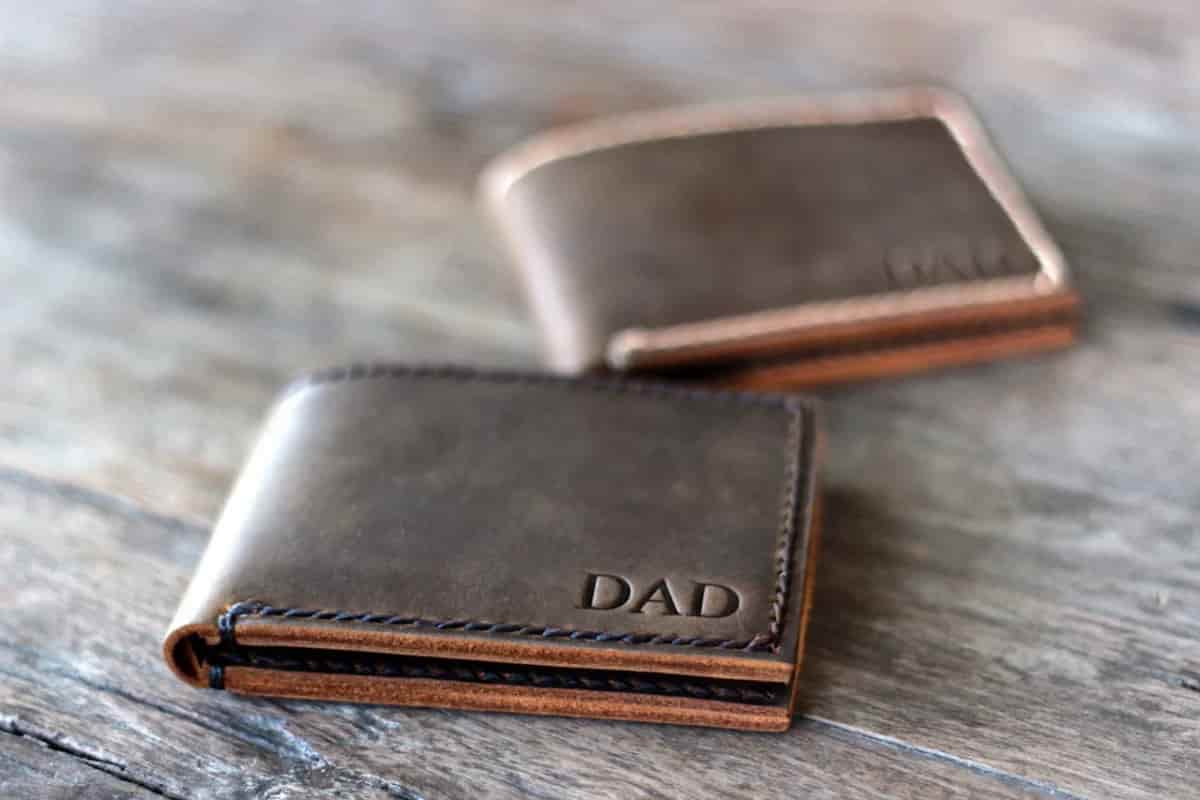
leather wallets personalised
Make any necessary adjustments to the tension, and check to see that the stitches on the blue path are sewn tightly at this point.
In the event that everything goes according to plan, you should join the two threads together by tying three overhand knots in a row.
Step 6
The red pass mirrors the appearance of its counterpart, the blue pass, but follows the same procedure.
The stitching for parts A through D, as well as for parts C, is identical.
When you tie a red pass, make sure to leave approximately a quarter of an inch of excess thread behind.
Step 7
Now that we've finished getting everything ready, we can move forward with the green and yellow stitch routes.
The first 18 stitches of these routes are utilized to create the connection between A and B and C.
As soon as you reach the corner, you should start adding the D to your threads in order to finish closing the edge of the purse.
Step 8
The ends of the green and yellow stitch routes are joined to one another at the corners at the bottom of component D.
You can create three knots at these four corners by threading the thread through the center of the square, cutting off the extra thread, and then tucking the knots within the square. Square base. Everything is in your wallet at this point!
the final musings
When you go out the next time, make sure to have a stylish wallet on the table.
This wallet is designed to last for decades of use because it can be easily disassembled and repaired, just like a well-made pair of shoes would be able to do.
It should be brushed periodically using a horsehair brush to maintain its fresh appearance.
When you put those skills to use, it will serve as a reminder of the abilities you gained while making something with pride and attention to detail. C
craftsmanship and taking pride in one's own work are two traits that are associated with modern men.
People who lived at the time of your great-great-grandfather typically made their own clothing, furniture, and shoes whenever they attempted to make something major with their own hands.
argue that it is still an essential part of the culture related with.
How useful is this article to you?
Average Score
5
/
Number of votes:
1