Proper faux brick kitchen backsplash for dirty wall
Some customers think that faux brick is a proper choice for kitchen backsplash as it protects the wall from getting dirty. The installation of this panel is a bit complicated for some customers.
brick kitchen backsplash tile
Installing a faux brick backsplash is not only an effective way to protect your kitchen from spills and stains, but it's also a very decorative feature that will wow your guests.
Although most people don't use real bricks for their backsplash these days, faux brick looks almost exactly like the real thing. Going the faux brick route in no way diminishes the look of the tailgate.
What can ruin your backsplash is not properly preparing for the installation of your faux brick backsplash. This article contains important information to help you avoid problems and ensure a smooth process.
Read on, especially if you're installing it for the first time. One of the foremost ignored areas of kitchen design is the backsplash.
While its job is to protect your kitchen walls from the endless onslaught of cooking spills, there's no reason it shouldn't look good either.
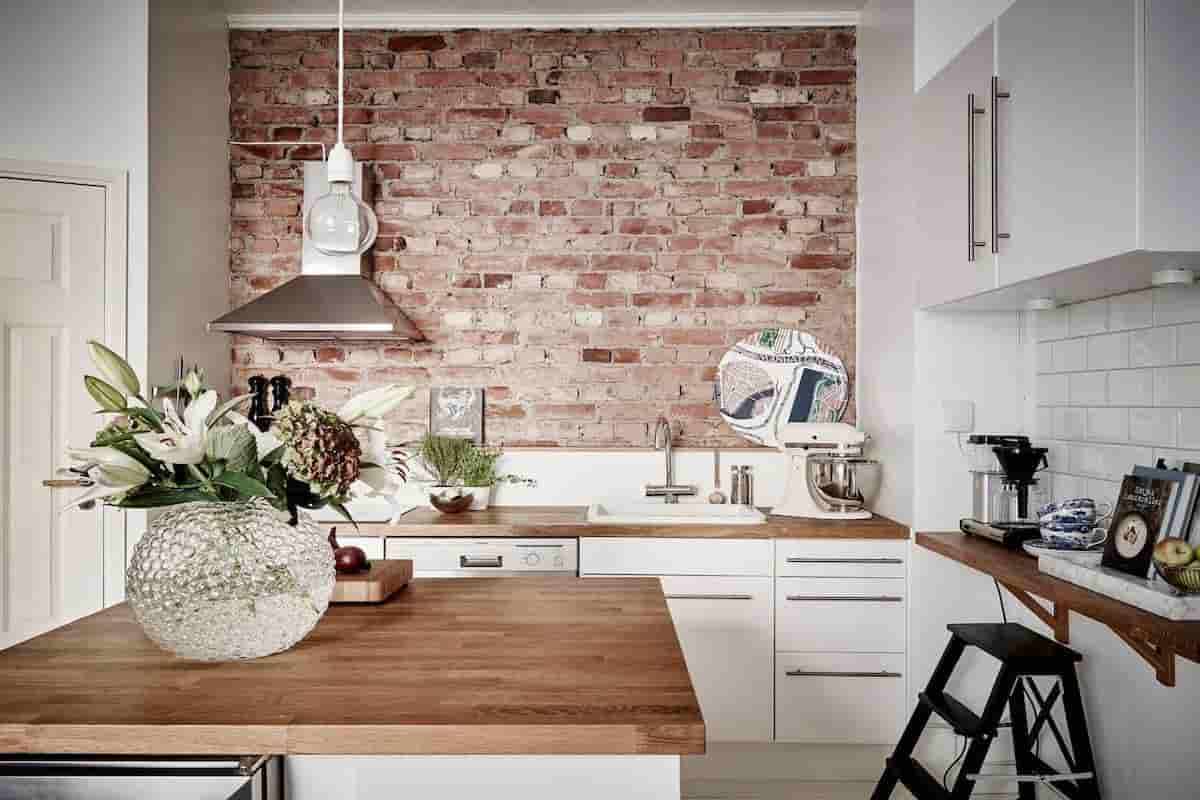
This is one of the reasons why brick tailgates are making a comeback these days. The rugged appearance and slightly irregular grout lines suit most home designs and styles.
Whether you live in a Craftsman, Backpacker, Modern, or Mid-Century style home, nothing adds character or historic charm quite like a brick pot.
The biggest issue with a real brick backsplash is the cost. The brick material is expensive initially. Real bricks are dense and heavy, making them impractical to carry.
With real bricks, you also need the services of a qualified mason with all the necessary tools and skills. It also means high costs for the installation labor.
Also, we cannot forget dust and noise during the project. Renovating your kitchen on a tight budget? Does your backsplash need an inexpensive makeover without renovating your entire kitchen? Either way, a faux brick backsplash is a stylish and economical option.
We are renovating our modern cottage style home and installing a DIY brick backsplash in the kitchen has saved us hundreds of dollars.
For less than $150 we installed our own kitchen backsplash (which extends from counter to ceiling!) You can get a standard size backsplash (18" tall) for $40 per 16 feet of counter space. Our faux brick backsplash in Sherwin Williams Pure White is as beautiful as it is functional.
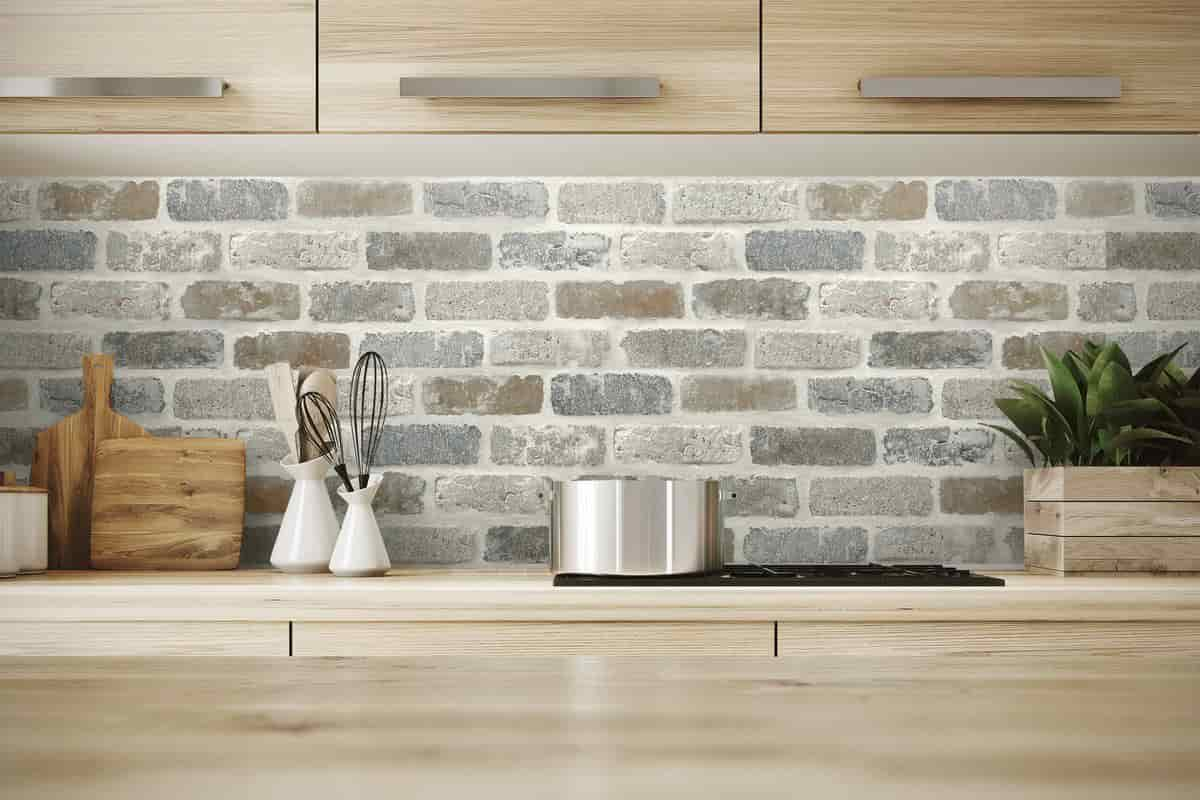
brick kitchen backsplash images
The semi-gloss finish makes the tile wipeable and suitable for the kitchen. Stained wood shelves and a matte black range hood against white brickwork provide a clean, modern backdrop for our cottage-style kitchen remodel.
- Measure the tailgate
First, measure the tailgate. The raised brick panels are 4 feet wide and 8 feet high. They are designed to be placed side by side and high enough to reach floor to ceiling on 8 foot walls.
You will therefore want to plan for a 4' wide section, cut at the height of the tailgate. For example, we covered the wall from the counter to the ceiling and required 4' x 61" sections.
- Cut the artificial brick panel to size
Cut the panels to the appropriate size. We have table saws but not used for this project. Instead, we scaled the panel down to 61 inches at Lowes.
- Prime the artificial brick panel
After cutting to size, prime the raised tile panel. Utilize a 1/2" lint roller designed for semi-rough surfaces. Thick lint makes painting on mortar and brick surfaces easier. Use a paintbrush to touch up hard-to-cover areas in mortar.
- Identify and mark obstacle signs
Next, locate outlets, switches, windows, or other obstructions. There are two ways to do this, we used a combination of both:
Method #1 - Kraft Paper:
- Hang the kraft paper over the tailgate area.
- Secure it with painter's tape.
- Use a utility knife to cut out sockets, switches, etc.
- Then remove the paper from the wall and stick it on the embossed tile panel.
- Mark the location of the outlet on the panel with a pencil.
- Make sure the orientation of the paper is the same as that of the panel.
Method #2 - Measurement:
- Measure the distance to each obstacle on the x and y axes.
- Then transfer these measurements to the embossed tile.
- Be sure to start at the same corner with the panels oriented the same as the wall measurements.
- Mark it with a pencil.
For instance:
- Measure the distance from the corner of the tailgate to the exit (x-axis)
- Measure the distance from the top of the tailgate to the exit (y-axis)
- Measure the height and width of the water outlet
- Cut the obstacle panel
Then use the puzzle to cut out each obstacle. After cutting, place the brick panel on the backsplash to check the cut.
brick kitchen backsplash ideas
Take additional measurements and make additional cuts if necessary. Repeat steps 1-5 until all tiles are completed. Work from one end of the tailgate to the other.
Align the panels on the wall before measuring and cutting each panel. Specifically, the brick and mortar lines were laid out in a way to ensure that the faux bricks remained level for the full length of the backsplash.
- Install the faux brick backsplash
After cutting the panels, load a tube of heavy-duty construction adhesive into the caulking gun. Apply adhesive to the back of the panel and place it on the wall. You should have about 15 minutes to reposition the panel if necessary.
- Add nails to secure the bricks
Use a nail gun to secure the panels with nails, especially along the corners and edges of the panels. If you know where the studs are, add some along the studs. Nail into mortar, not brick, to minimize the appearance of nail holes.
- Hide nail holes and seams
After the panels are all attached, fill the nail holes with paintable putty. Except for the nail holes, fill the seams between each panel with putty.
This will not eliminate seams, but will greatly reduce the appearance of seams. You will also ought to caulk along wall corners, ceiling corners, countertop corners, etc. - any end point of the panel.
- Paint the Faux Brick Backsplash
Finally, apply two coats of semi-gloss paint to the brick panel to make the backsplash easy to clean. Our modern cottage kitchen features a faux brick backsplash In keeping with the contemporary cottage style of our home; the brick is a nod to old English cottages, while the white gives a fresh modern feel.
Hang kraft paper on the wall to mark obstacles (sockets, switches, etc.), and create templates to mark and cut brick planks. Locate and mark the stud locations before hanging the faux bricks.
Then, when hanging the panels, be sure to insert nails along the studs for added durability. Conservative cuts are always the best.
For example, when cutting a socket, an error is made on the side of the cut which is too small. Why? You can always check it against a wall and enlarge the opening.
We find it easier to drill holes in each corner of the marked socket or switch. After drilling the starting hole, slide the jigsaw blade to a corner and start cutting.
How useful is this article to you?
Average Score
5
/
Number of votes:
1