laying self adhesive floor tiles over existing tiles
If you don't want to remove a whole floor or backsplash before laying new tiles, you're in luck. Most peel-and-stick tiles can be put over existing surfaces if the current surface is adequately prepared.
adhesive floor tiles poundland
Keep in mind that some peel-and-stick tiles will not adhere properly unless the grout lines are filled in and made flush with the surrounding tile.
If the surface is not exactly smooth, the peel-and-stick tile will adhere to every nook and cranny, resulting in an uneven and gap-prone final product.
Depending on whom you ask, self adhesive floor tiles are either fantastic or the epitome of bad practice..
Online evaluations contain remarks such as "I've never had any problems" and "My bathroom has had this style of tile for three children and everything has been OK.
" In addition, you will hear criticisms such as, "I regret I hadn't installed peel-and-stick tile in high-traffic areas of my home" or "The tiles began to curl after three weeks, and the sticky section accumulated crumbs and my socks.
" Ensure that your floor surface is one to which peel-and-stick tiles can cling successfully.
When an area, such as the kitchen, bathroom, or basement, needs a little TLC but you don't have the time or finances to install a tile floor or wall, consider using peel-and-stick tile.
The installation process is easy enough that the majority of do-it-yourselfers can perform it without engaging a professional.
Peel-and-stick tiling can be fabricated from vinyl, glass, and even metal.
The self-adhesive backing of these tiles enables quick and simple floor or backsplash installation on a variety of surfaces.
However, if the surface isn't properly prepared, or if the area isn't measured and planned, the strong adhesive on the back of the tile may also cause problems.
These issues may involve broken or cracked tiles, tiles that are twisted or patterns that are inconsistent.
Continue reading to understand how to utilize peel-and-stick tile and how to avoid these issues.
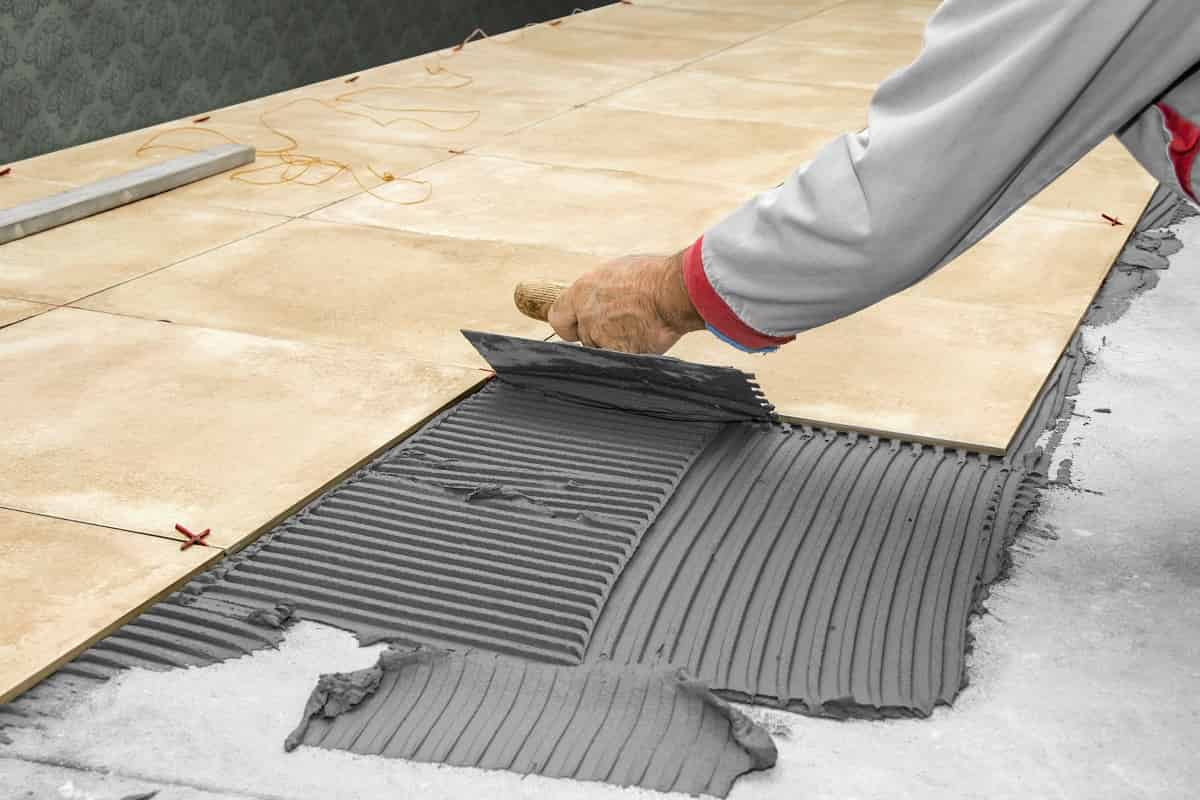
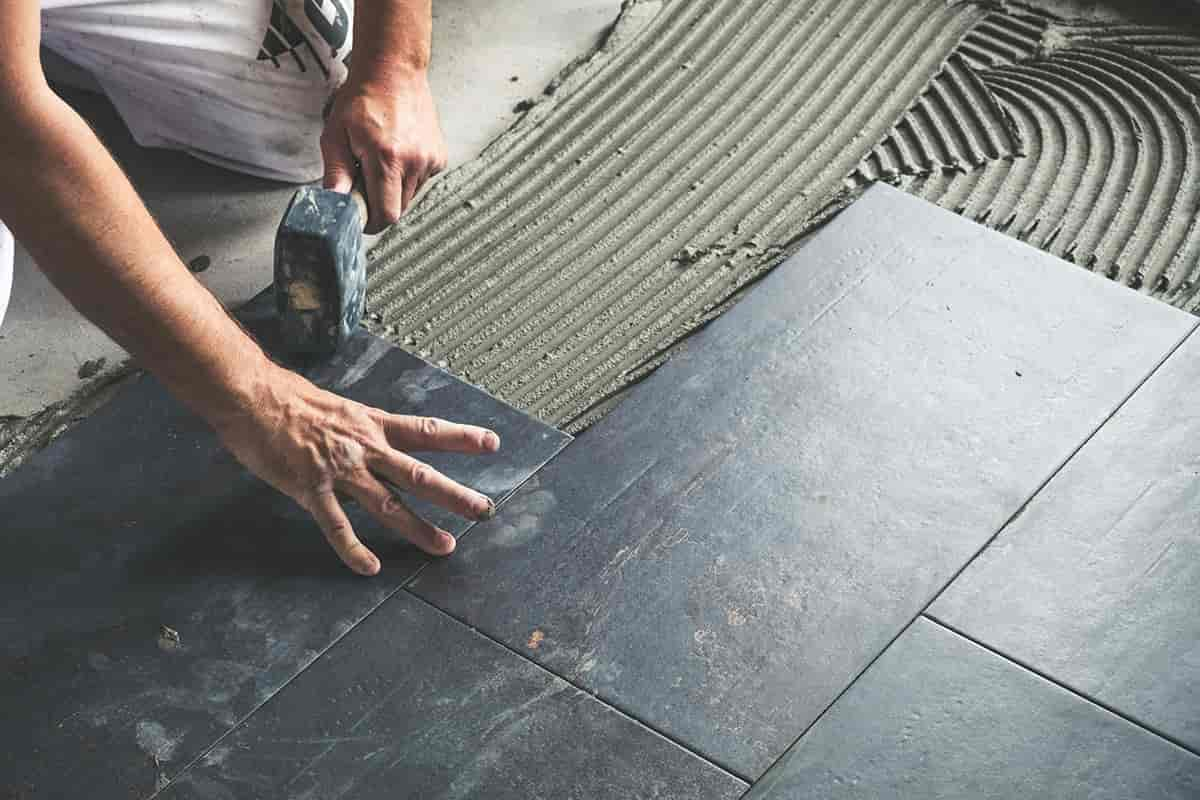
Before beginning any tiling activity, it is necessary to thoroughly prepare the wall or floor.
The tile can cling to a level, smooth surface.
If necessary, clean the wall or floor with a degreaser after sanding or scraping away any remnants of old adhesive or protrusions that could prevent the new tile from laying flat.
adhesive floor tiles kmart
Peel-and-stick tiles can be applied to a variety of wall and floor surfaces, including painted drywall, old linoleum, ceramic, and concrete.
However, the grout joints must be flush with the top of the tile if the tile is being laid over ceramic or marble that has previously been installed.
In its absence, the peel-and-stick tile will adhere to the dents, resulting in an uneven surface.
Not adhering tiles will lay flat against the wall, but there will still be a gap between them and the grout seam.
In addition to providing a breeding ground for mold and mildew, these gaps may also cause tiles to separate from the wall.
Prior to installing the new tile, it is best to fill the grout lines with additional grout to ensure a clear and smooth surface.
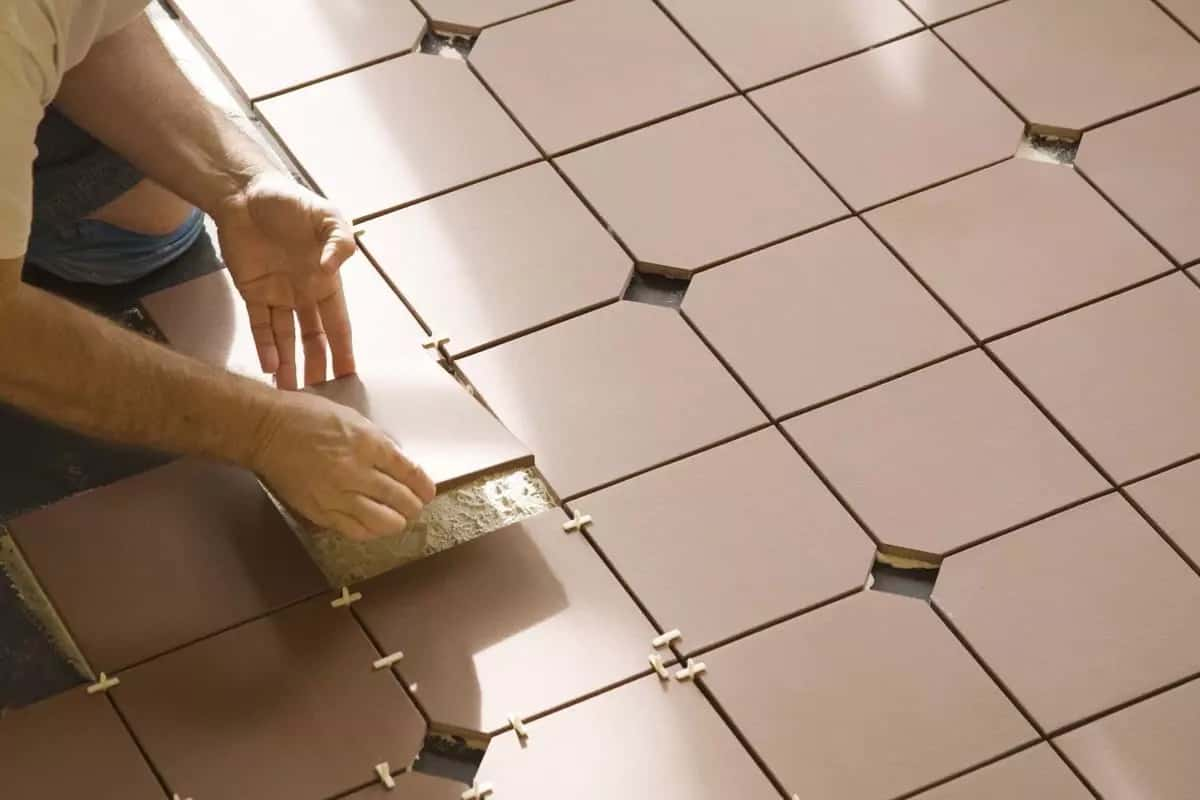
Even though peel-and-stick tiles are relatively easy to install, users who rush into the process without measuring the area or arranging the arrangement usually make mistakes.
Before installing a modest backsplash or an entire floor, the entire surface area must be measured in order to determine how many tiles are necessary for the job and whether any half or partial tiles will be needed to fill in small gaps along the margins..
When you have accumulated all the tiles required for the project, place them in a single row without removing the backing.
This straightforward phase illustrates how the tiles will lay after installation, helping you to plan the project's layout, work around obstacles, and determine where to install half-tile or partial-tile installations.
It is advisable to place these tiles in separate regions, such as a corner or the base of a wall, where it will be difficult to discern where the pattern has been interrupted.
For the majority of peel-and-stick tile installations, tile modifications are required to guarantee optimal tile fit inside the designated area.
It is essential to use a sharp tool knife while making these cuts, whether it's to cut a tile in half to fit along the base of a wall or to cut a notch from a corner so the tile may fit snuggly against a cabinet, sink, or tub..
Using dull objects to damage the tile will leave it with jagged edges and ugly scratches.
Utilize a sharp utility knife to achieve an accurate cut, and always cut with a piece of wood (or other appropriate protective material) beneath the tile.
This eliminates the possibility of the knife scratching a workbench, counter, or other surfaces as the operator accurately cuts through the tile.
The popular name for the paper that covers the back of peel-and-stick tiles is backing paper.
Even while it may appear okay to just remove the backing and apply the tile like a sticker, only half of the tile should be peeled off the backing paper.
adhesive floor tiles for kitchen
The orientation of the tile is indicated by arrows on the backing paper.
For optimal results, the arrows on the backing paper should be followed while placing the tiles to ensure that they are all installed in the same orientation..
Even though there are patterns that are symmetrical on all sides, a tile that faces in a different direction from the rest will likely stand out.
It is recommended to remove the backing paper from one tile's edge prior to positioning and laying the tile since it protects the glue.
Continue removing the paper when the tile's edge touches the surface until the tile's full-back is visible and it is flat against the wall or floor.
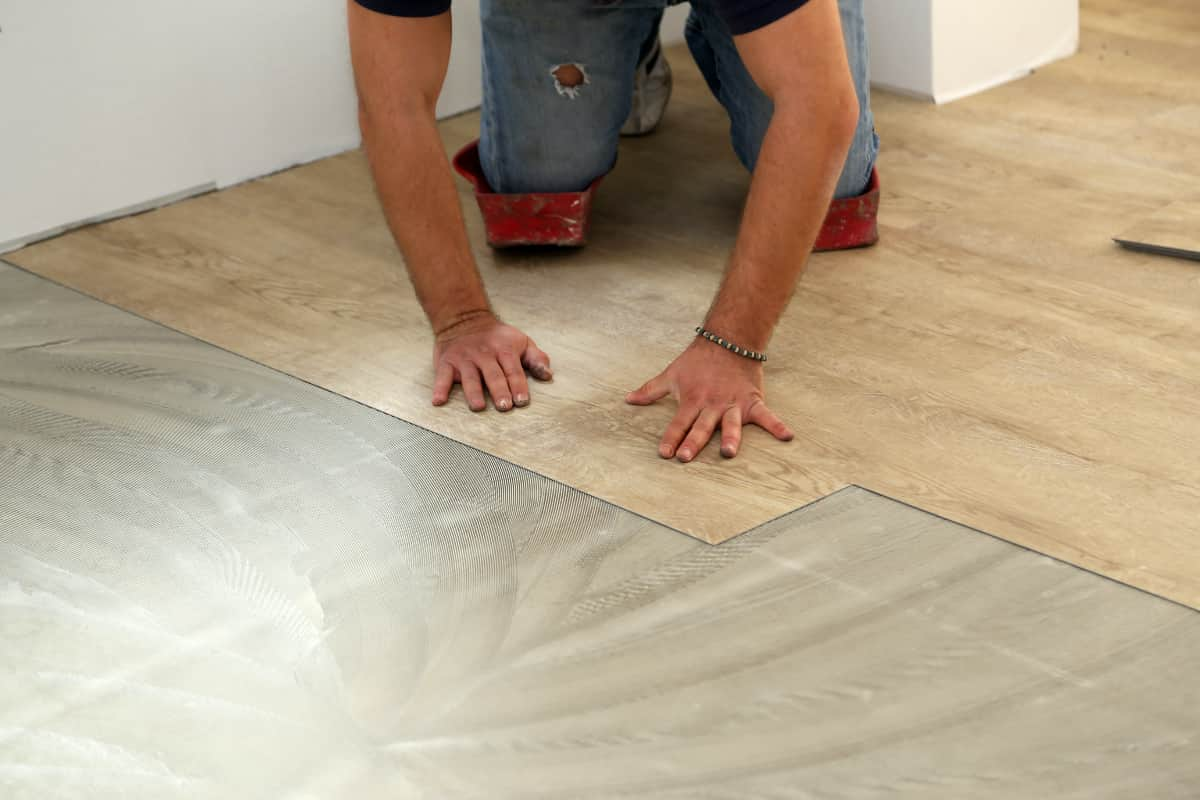
After the backsplash, wall, or floor surface area has been measured, the tile layout has been established, and the tiles have been cut to a suitable size and shape, the work should be quite straightforward.
Simply peeling and affixing the tiles in the correct area and orientation should yield the desired result.
Nonetheless, some DIYers stretch the tiles during installation by bending, pushing, and flexing them with extreme effort.
When the tiles are stretched out, they occupy more space than planned, resulting in installation complications.
Before the job is complete, the tile must be removed because it is fragile and does not adhere to the predetermined pattern.
If you choose to keep the stretched tile, the aesthetic appeal and quality of the project will suffer.
Even if you return within a few weeks, there is no guarantee that you will be able to find the same type of tile, as tile manufacturers and distributors often update the easily available color schemes, patterns, and tile thicknesses.
adhesive floor tiles b&m
It makes sense to purchase additional tiles as a result.
To guarantee that the color and pattern match the current tiles in the event that any are torn off, cracked, chipped, or otherwise damaged, it is advisable to have around 5% more tiles than you will require to complete the project..
If the existing tile is damaged, remove it carefully and prepare the surface for the installation of the replacement tile by warming the adhesive with a blow dryer.
Typically, small fixes can be completed without the relocation or reassembly of nearby tiles.
Simply ensure that the replacement tile is facing the correct direction so that the repair precisely matches the existing pattern.
Prior to installing a new floor, backsplash, or wall, remove and replace any peel-and-stick tiles to ensure a clear, smooth surface.
Although the adhesive on the back of the tile can make removal difficult, newly installed tiles that become loose chipped, or broken should also be replaced.
To prevent damage to the wall or floor beneath the tiles, apply gentle heat to each tile using a heat gun or hairdryer.
The heat renders tiles more flexible and loosens the adhesive, facilitating their removal from walls.
Even though the remaining adhesive must be sanded or scraped off the surface before the new tile can be installed, a putty knife can be used to cut through stubborn adhesive without damaging the wall or floor.
If you need more information regarding the self-adhesive tiles don’t hesitate to contact us..
How useful is this article to you?
Average Score
5
/
Number of votes:
1