laying ceramic tiles on concrete by the homeowner
Because it is water resistant, easy to clean, and durable, laying ceramic tile is frequently used to cover the floors of bathrooms, kitchens, and corridors.
laying ceramic tiles on concrete
The installation of ceramic floor tiles on concrete is a project that can be done by a homeowner on their own at a fair price and with very little difficulty, despite the fact that many people employ professional tile-setters to perform the job for them.
To successfully install floor tiles, getting ready is the most important step.
If you have a solid foundation, an organized plan, and all of the necessary tools and materials, installing floor tiles with mortar and grout is a relatively straightforward process that can be accomplished with relative ease.
The tile pattern will provide you with the required number of tiles to purchase.
Because you don't need to cut as many tiles for a grid design, it's simple to plan and put together once you get started.
Although it might be challenging to cut tiles on the diagonal, the use of diagonal tiles in smaller spaces can help make them appear larger.
Determine the size of the room, then add 15 percent for wasted space.
You might also use a tile calculator that is available online to get the actual cost and experiment with a variety of tile layouts.
Ceramic tile is fragile when it is placed directly on the ground, but it gains strength when it adheres to a level, solid surface that is free of any bumps or holes.
In most cases, tiling can be directly installed on top of a concrete slab flooring; however, if the existing floor is constructed of wood, a cement board should be used instead.
Install the cement board panels by first placing a layer of thinset mortar on the subfloor, then positioning the panels such that every 8 inches they are screwed down to the subfloor.
Following the application of fiberglass seam tape to seal the seams, thinset should be used to fill in any gaps that remain.
It is important that each of the walls is measured in the middle.

laying ceramic tiles on concrete floor
Chalk must be used to draw a line between each of the two walls that are adjacent to one another in order to create a cross.
Tiles and tile spacers should be arranged in a straight line on each arm of the cross before the application of cement or grout.
Broken tiles that are small in size should not be placed against a wall because this might make the tiles appear out of place.
This assembly, which has the appearance of a cross, can be moved in any direction to accommodate the requirements of the task at hand, which is to ensure that each tile adjacent to a wall is at least fifty percent the size of the tile next to it.
When you pick up a tile, carefully place the other pieces so that you don't forget where it belongs.
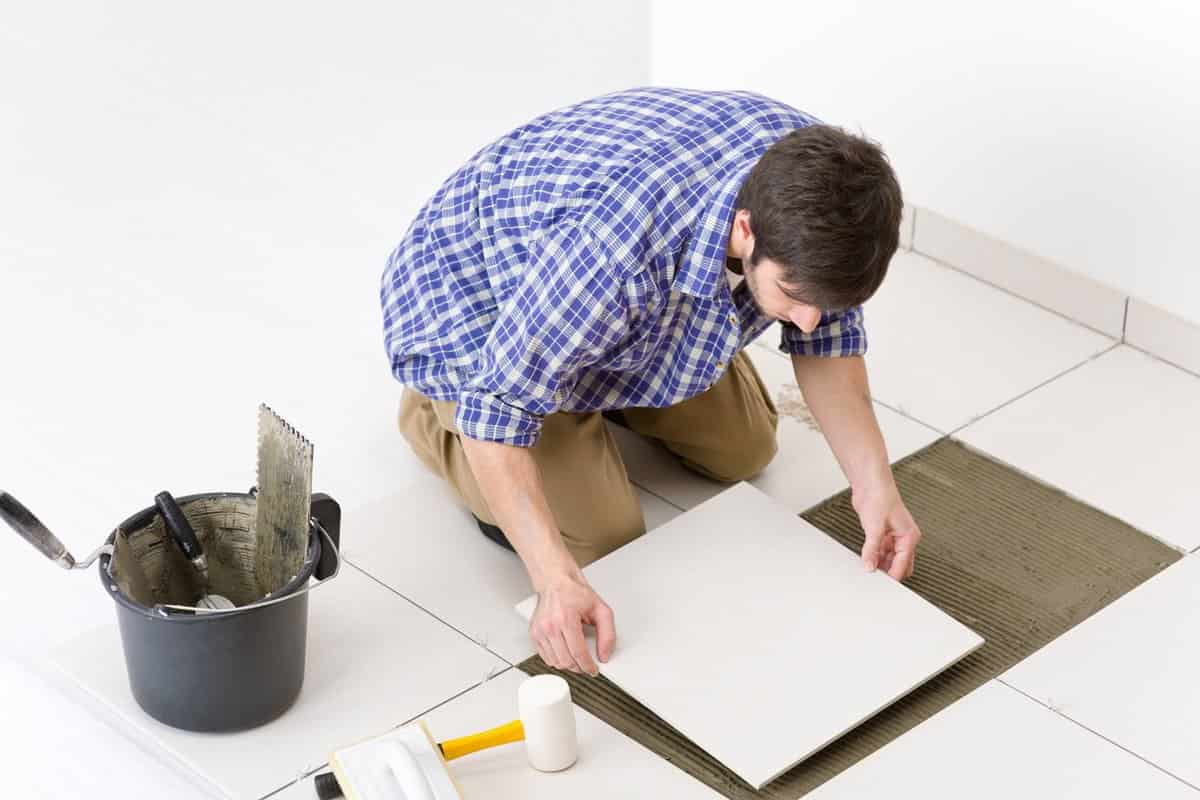
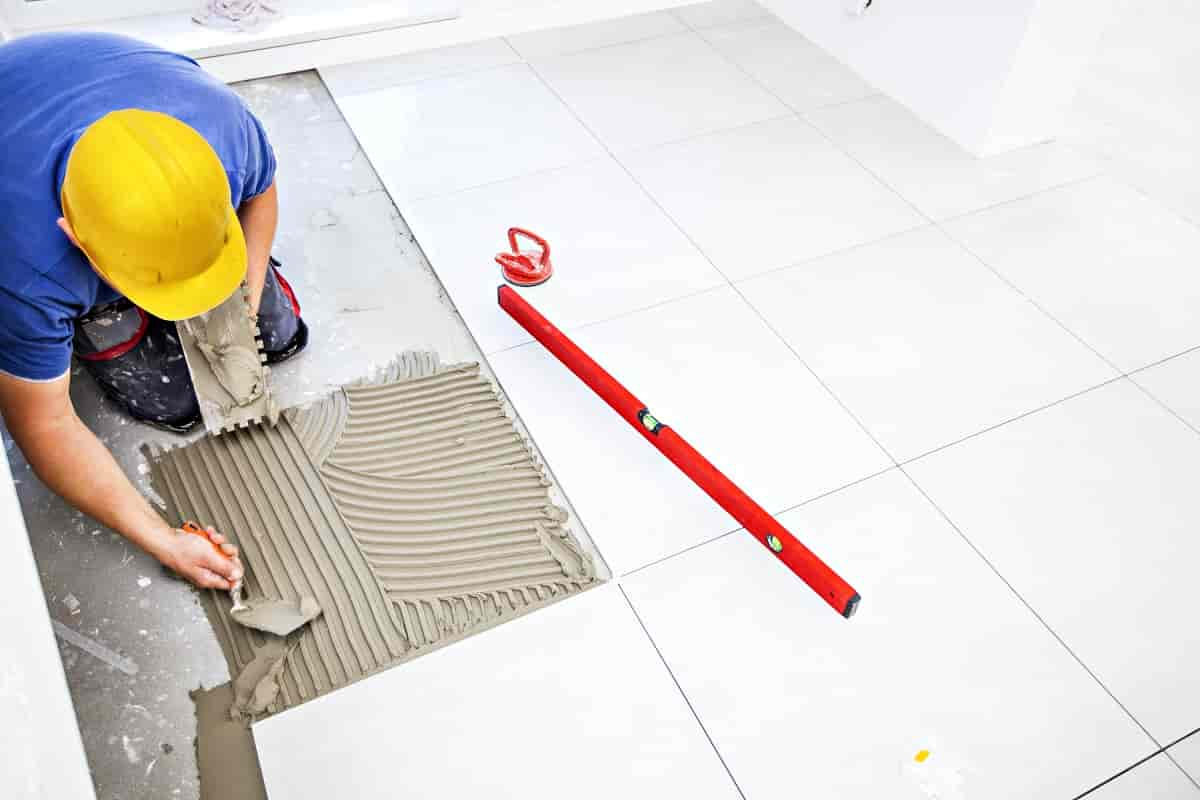
Put a tiny amount of thinset mortar on the cement board using either the flat side of your notched trowel or the margin of your notched trowel.
Spread the mortar over the area while holding the flat side of your notched tile trowel at a 45-degree angle and making sure that it goes past the edge of a tile as you work.
To comb the thinset, switch to the notched side of the same trowel and move it in straight lines while maintaining the same 45-degree angle and close contact with the cement board.
Because the trowel has notches, it is simple to regulate the amount of thinset that is spread throughout the surface.
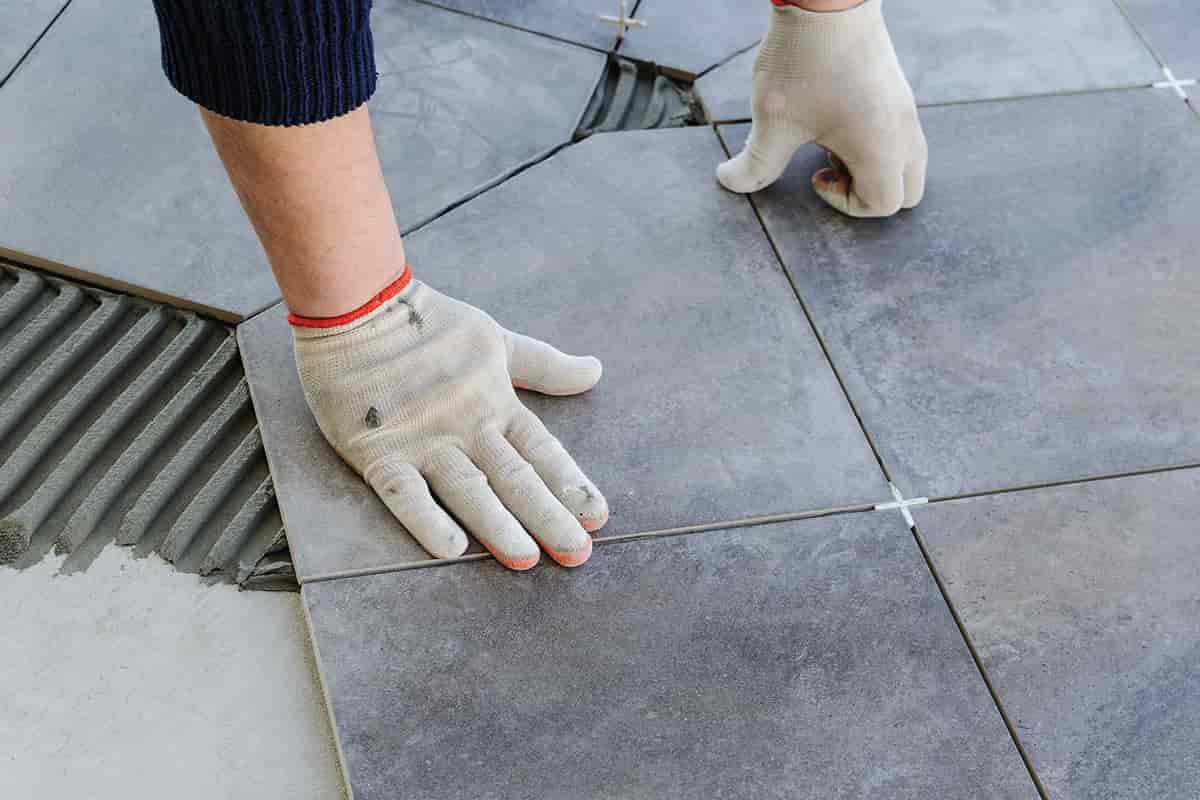
While you are working the tile into the wet thinset, give it a few twists back and forth to get it more firmly embedded into the thinset.
The idea is to smooth out any bumps and fill up any holes that may be present in the mortar.
Every so often, lift one of the tiles to inspect the back and make sure it is completely covered.
Ensure that the tiles have an even distance between them by positioning tile spacers in the corners of the area as you proceed from one tile to the next.
It is recommended that you allow a spacing of at least a quarter of an inch between large room components such as furniture, cabinets, and other large room parts.
You should not fill these holes with mortar.
Placing the bubble level over a significant number of tiles can both ensure that the floor is level and prevent the tiles from shifting out of their proper positions.
To ensure that the tiles are all at the same height, use the rubber mallet to give them a light tap.
You can break tiles apart easily and at a low cost using a rail tile cutter.

laying ceramic tiles on concrete floor outdoor
This allows you to cut just a few of them at a time.
The broken and uneven sides should be placed against the wall, and the baseboards should be used as support.
To make cuts that are completely straight, you should purchase or rent a wet tile saw.
Only angled cuts, such as those made around pipes or toilet bottoms, can be made with the tile nipper because it cannot make straight cuts.
When cutting tiles, you should always wear safety glasses to protect your eyes from flying shards of tile.
This is true regardless of the method you choose.
After removing the tile spacers, go to the next step of pressing the grout into the crevices between the tiles using the rubber float.
You should break up the work into manageable chunks.
After that, maintain the angle of 45 degrees and carefully drag the long edge of the float firmly across the tile seam.
To prevent pulling grout out of the seam, go in a diagonal direction.
If you happen to have any leftover grout, feel free to add it to the bucket.
Once a region has been allowed to air dry for about an hour, any excess grout can be removed by carefully scrubbing the grout lines in a circular motion while using a sponge that has been soaked in a pail of clean water.
The grout will leave behind a cloudy, milky-white residue on the surface of the tile.
When the tile has reached its final state of dryness, remove the grout haze from it by wiping it with a sponge that has been dampened with water.
After that, you should soak the sponge in a solution that contains three ounces of haze cleanser for every gallon of water, or as the instructions for the product urge you to do.
Applying this solution to the tile's surface and scrubbing it until the haze disappears is required to clean it.
It is possible for water to become absorbed into the grout between tiles if it is not properly sealed once it has dried.
 Using a brush applicator or by spraying the sealant over the entire tile surface and then wiping away any excess sealant from the tile faces, you can seal the grout that is in between the tiles.
Before you start using the tile, make sure you dry it well and let it cure according to the directions provided by the manufacturer.
This could take as little as four hours or as long as two days.
How useful is this article to you?
Average Score
5
/
Number of votes:
1


 Using a brush applicator or by spraying the sealant over the entire tile surface and then wiping away any excess sealant from the tile faces, you can seal the grout that is in between the tiles.
Before you start using the tile, make sure you dry it well and let it cure according to the directions provided by the manufacturer.
This could take as little as four hours or as long as two days.
