The tiles of your bathroom and kitchen can rapidly look worn out and need to be refreshed. Follow this simple, step by step DIY guidance for grouting tiles and regrouting tiles so you may rediscover your passion for your house, from wall tiles to floor tiles. And since everyone is becoming a little more daring with bathroom tile ideas, it's a good idea to learn how to grout them yourself so that you'll be prepared to do the task when the time comes for an upgrade. You must use grout to seal your tiles when installing a new bathroom floor or a splashback in your kitchen to keep them free of dirt and moisture. And if you're learning how to tile a bathroom floor, we suggest focusing on this important stage. Your tiles will be simpler to clean, more stain-resistant, and more resistant to bacteria and mold if they are properly maintained. Fortunately, grout can be applied quickly and easily. By following our straightforward, step-by-step instructions on how to grout tiles (and how to regrout tiles), you can have a polished look in no time. Tile grouting techniques Before beginning to grout, make sure the tile joint is free of any dust, glue, spacer pegs, dampness, or other debris. What you'll need If your chosen tiles have a porous face, a crackle glaze, a metallic glaze, or something similar, check to see if they need to be sealed before grouting. 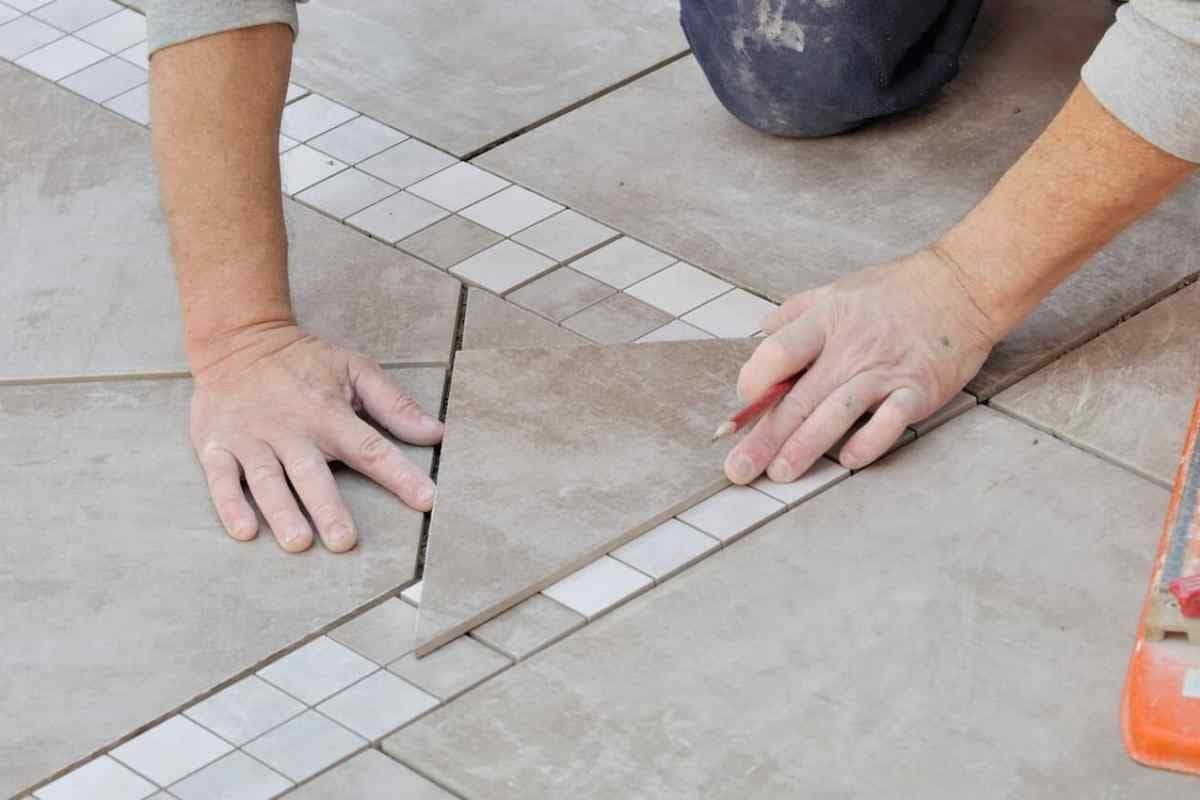 Grout/adhesive tub or a plastic spreader, a squeegee Bucket sponge cloth The majority of home improvement stores and online merchants sell several kinds of grout and all the necessary supplies. How should tiles be grouted? Grout comes in four primary categories: Grout based on cement regularly employed for DIY tile projects. Although less durable than epoxy grout, it is simpler to use. Acrylic grout It's a bit more expensive than other types, but it works well for tiles that need to be highly water resistant, like bathroom tiles. Grout made of sanded cement and latex It is comparable to cement grout but has more water resistance and bonding qualities, making it ideal for countertops and bathrooms. using grout caulk It can be manually or with a caulking gun squeezed out of a tube to fill awkward corners.
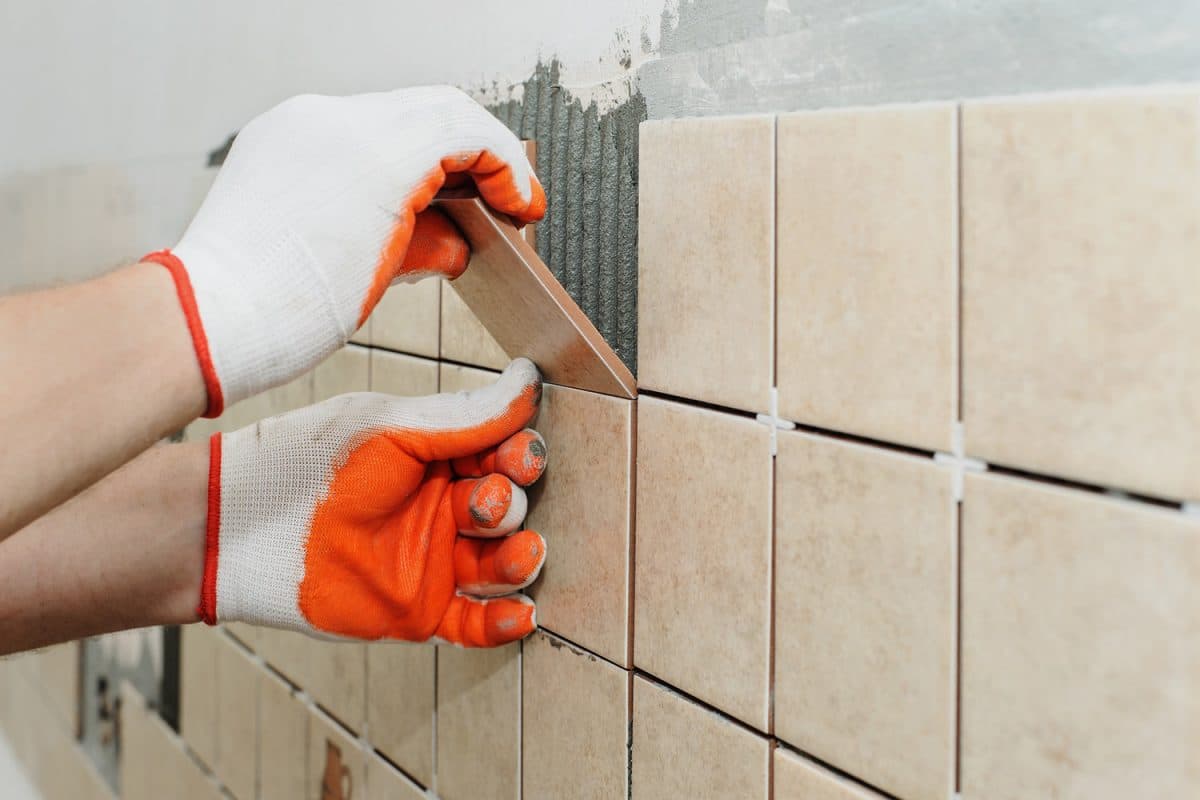
- Get your grout ready
If you're using powdered grout, add the grout to a bucket after adding a little water. Continue adding the grout and stirring with a stick until the mixture has the consistency of whipped ice cream.
- Put the grout in.
Using a grout spreader or squeegee, apply the grout to the tile. Strike some grout into the spaces between the tiles with your hands. Working at a 45 degree angle across the diagonal is helpful. To eliminate the danger of it drying before it is in place, work across small areas at a time.
- Fill in the gaps with the grout
Tool the grout into the joints while it is still workable since it cures after being applied. Always remember to check the drying times listed on the label and use a moist sponge to remove any excess. After waiting ten minutes, reapply a damp sponge. Never add water to grout to make it spread more easily because doing so degrades the grout.
- Grout sealant
To make it watertight, the joints must be sealed. Always read the instructions before applying grout sealer to ensure you are using the right product for the project. Apply two coats of sealant to the joints. Some tiles will be sensitive to this, so be sure to wipe away any drops from them.
- Allow the grout time to dry.
Give the tile the necessary amount of time to sit. When dry, use a cloth to polish. 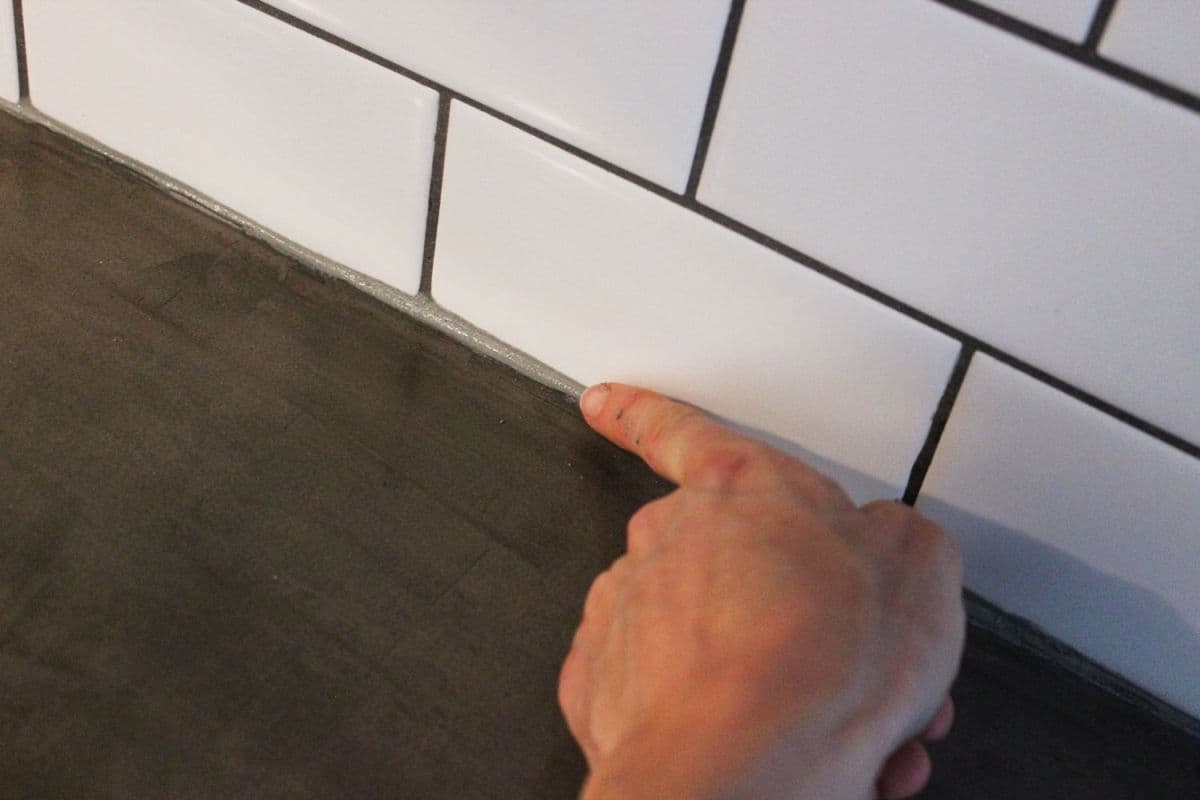 How to redo tile grout It doesn't take long for lovely white grout to start appearing dirty and moldy, does it? Spend a weekend updating yours, and while you're at it, why not try a color or even glitter grout this time instead of the traditional white? Tile rerouting is simpler than you would imagine. Do it yourself with these store-bought items, some elbow grease, and a grout rake.
- Guard the location
To speed up cleanup, cover the floor with a dust sheet. If you're working over a bath, sink, or basin, put the plug in to prevent grout from obstructing the garbage. There will be a lot of dust in the air, so open the windows and doors to ventilate the space. Alternatively, put on a safety mask. Wear goggles to protect your eyes from flying grout shards.
- Delete the outdated grout
While a nail can be used to remove grout, it is quite difficult. An electric grout remover is preferable to a grout rake, which you should either buy or borrow. It requires a lot less labor, especially if you're painting an entire room as opposed to just a backsplash. Starting in the center of a tile, insert the rake into a line of grout. Apply pressure and slide it slowly and steadily along the line. There is no need to apply pressure while using an electric tool, but make sure to select the right size head and take care not to chip the tile edges as you go. Start with the vertical lines and move on to the horizontal ones. To get rid of the dust, wipe the tiles. 
- Combine and use the fresh grout.
If using powdered grout, only mix up what you'll be able to use in the next 20 minutes (after that, it will begin to solidify). To a grout spreader, add a small amount of your freshly prepared powder or ready-mixed grout (using a scraper or grout trowel). Work the grout into the lines with the spreader, and use the tile edge to remove any extra by running over it.
- Wash and allow to dry
To remove the extra, squeeze a moist tile sponge well. If any grout escapes while you're doing it, simply push a small amount back in with your finger. After it has hardened for around 30 minutes, use a grout finisher to create neat, indented lines by gently gliding the rounded end down the line. After allowing it to cure for a few hours, polish the tiles' surface by removing the powdery residue with a soft, clean cloth. Now that you didn't have to spend a fortune on a new suite, your bathroom will look as good as new! Just remember to follow our helpful guide on how to clean grout to keep it looking its best. How should grout be applied on tiles? As was already said, using a squeegee or grout spreader will result in the best finish. Apply grout using a proper grout float moving across the tile joints in both directions to ensure that the grout completely fills the joints. Make sure you have enough grout for the entire area from a single batch.  Never retemper grout. Correctly mix enough grout to be utilized during the grout's open time (verify correct mixing and open time on the grout box). How long should grout be left before being cleaned? David advises, "After a few minutes (see packaging for details), wipe over the area with a moist (but not sodden) sponge that has been wetted with clean tap water, ensuring that all tile joints are flush. It's important to check the packing of your chosen grout for this. The more frequently you clean the sponge in clean water, the more grout from the tile surface is removed. If not, apply more grout and, after a few minutes, wipe the refilled area with a clean, wet sponge once again. Check to make sure that all grout lines are entirely filled with grouting material. "Use a clean, dry cloth to wipe the face of the tiles in a circular motion after the grout starts to "bloom" on the surface (see the manufacturer's instructions for the ideal time to "buff" the tiles). Use plenty of clean cloths because any leftover grout will turn to dust and easily fall off the tiles and into them.
 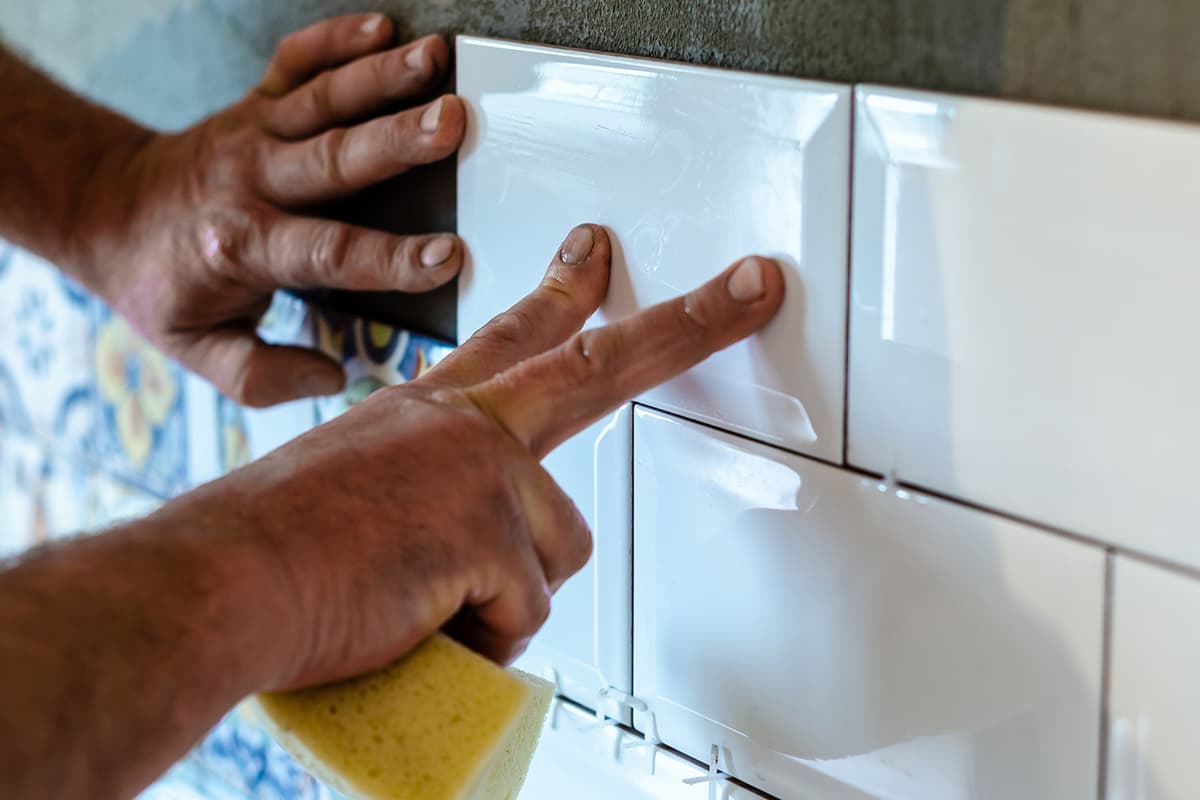 It is important to start on a small, inconspicuous area to determine the likely curing times for each process because the time intervals for applying grout, wiping off excess grout, and polishing/buffing tiles during the grouting process can vary dramatically depending on the temperature, humidity, type of tile being grouted, type of grout being used, width of tile joint, and other factors Is it possible to re-grout tile over previous grout? A sad no. You must first remove any outdated grout if you want the best results that will last. It's better to complete the work properly because if you simply add new grout, you'll find that as soon as you walk over floor tiles or get splashbacks and wall tiles wet, the grout will start to fracture and become loose. There is a professional exporting team behind this website which is ready to cooperate with wholesalers and traders around the world.