There are certain way as to how to set ceramic tile and give it an attractive look. Ceramic tiles are typically used in commercial buildings because of its beauty, durability, and resistance to fire. Additionally, ceramic tiles are easy to clean and maintain. Regular ceramic tiles, porcelain tiles, and natural stone tiles are the three varieties of ceramic tiling that are available. Regular ceramic tiles are the least expensive and least expensive option; however, many people do not recommend using them because they are a little heavy, difficult to cut, and have a tendency to crack easily if they are not properly installed. Although they are the least expensive and least expensive option, many people do not recommend using them. Porcelain tiles are significantly heavier than conventional ceramic tiles, and as a result of their superior quality, porcelain tiles have a significantly higher price tag. Tiles made from natural stone are the most difficult to install, but they also have the longest lifespan and are the most durable. You will need to employ a professional who is familiar with laying tile, and the total cost of installation will be higher than that of standard ceramic tile.
Installation of Tile Making the mistake of combining different colors of grout is one of the most common and costly errors that may occur while laying tile. If you do not choose the appropriate grout color, it is possible that the grout can run over time, creating unsightly stains on the floor. Be sure to use only grout in colors that are complementary to your tile, and under no circumstances should you combine more than two distinct hues. When choosing your grout, you should select a grout that is either slightly darker or slightly lighter than your tile. This will ensure that you do not wind up with a dark grout line, regardless of what shade of tile you decide to go with. Tools for Tiling - The tools for tiling will assist you in moving around the tile, cutting the tile, measuring, leveling, cleaning, and aligning the tiles. It is possible that you will require either one tool or a number of tools in order to complete the task at hand. A wet saw is an excellent tool for tiling, and it typically comes with a variety of attachments and accessories, such as blades, rasps, jigsaws, and so on.
The use of a grinder/sander, which can either be purchased separately or already assembled with sandpaper attachments, is ideal for smoothing any rough edges that may be present on your tiles. What is the proper way to lay my tile? First Step: Clean the Floor Before you start laying down your tile, you'll want to make sure that the concrete floor is spotless and completely clean. To clean the floor and remove dirt and dust, use a mop dipped in warm soapy water. Clean any and all of the surfaces that will come into contact with your tile, such as door frames, cupboards, counters, windows, and so on. Second Step: Prepare Grouts After that, you'll need to prepare the grout lines for your tile, which is the second step. Before beginning to lay down your tile, you will first need to spread a very thin coating of mortar on each of the room's corners where you intend to do so. After that, put adhesive tape along the grout lines, making sure that there is at least a 6-inch overlap between the two pieces of tape. After you have completed, ensure that everything is totally dry before moving on to the following step.
The third step is to combine some tile glue, which can be done using ready-to-use adhesive or with adhesive that has already been mixed up in advance. In the event that the product is already packaged with instructions, all you need to do is follow those directions and gradually add water until the mixture has the consistency of thick peanut butter. When working with pre-mixed cement, it is important to avoid adding an excessive amount of water because doing so would cause the cement to harden too quickly. After the components have been combined, you will need to remove any excess tile adhesive and distribute it in an even layer throughout the surface. The next step is to mark the placement of each tile after you have put out your tile throughout the entire room in the previous step, the fourth step, which is to lay out your tile. In order to locate the middle of each tile, you will need to make use of either a string or a chalk line. Use a pencil to indicate where the beginning and ending points of your line are.
You run the risk of injuring yourself if you go beyond the line's edge, therefore avoid doing so. Cut gently down the line with a sharp utility knife, making sure to cut straight across both sides of the line. As you cut, pull the pieces apart from one another. In the final step, grab a straightedge and carefully press the tiles further into the mortar bed. Put a good deal of pressure on the tiles. You should have rows of tile that are completely straight at this point. The Following Steps: Leveling and Alignment Once all of your tiles have been positioned, it is time to level them. Remove the tile from the tape, and then carefully reposition it where you want it to be. Placing a flat surface on top of the tile, such as wood or plywood, is recommended. Put a box under your tiles, and then use a hammer and a nail to tap on the underside of your tiles. Continue carrying out these steps until the entire floor has been brought to the same level. You should now have a surface that is smooth and flat. Apply Sealants This is the final step in the process, and while you were washing the floor, you applied a sealer to protect the floor and prevent stains.

Before proceeding with the application of anything else, ensure that any excess sealer is removed and that the sealer is allowed to dry completely. Once the tile has been laid, what maintenance should I perform on it? It is also advised that you maintain a dry environment for your floors, particularly after you have sealed them. Mold and mildew can form when there is moisture present. It is recommended that you vacuum every day and brush away any little particles or trash for the greatest possible outcomes. Regular vacuuming is recommended, however steam cleaning should be avoided because it could damage the finish.
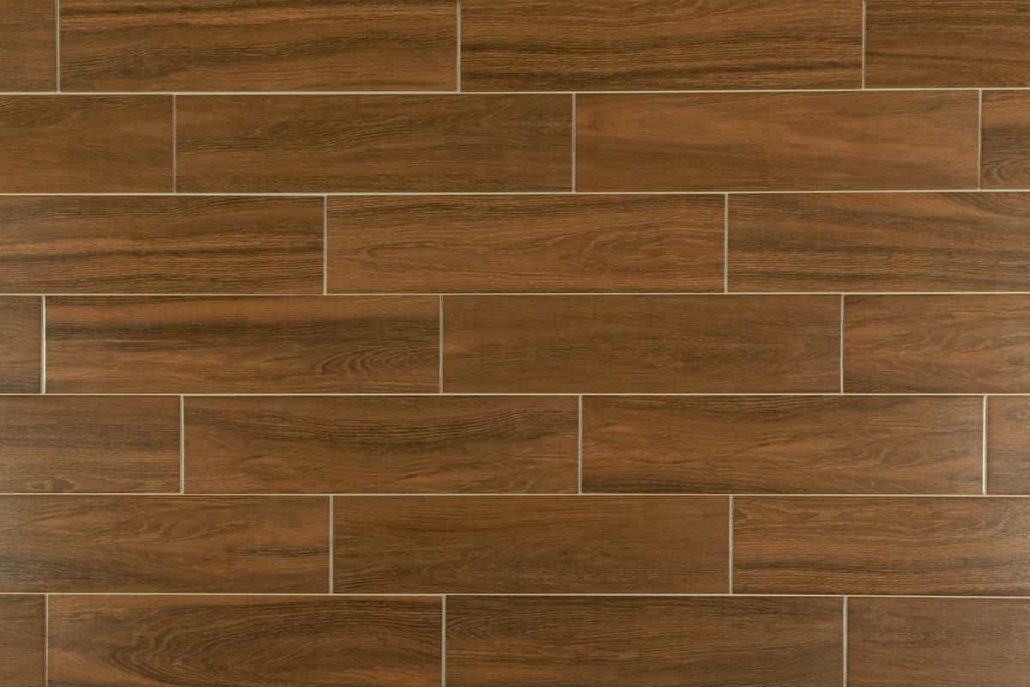
Set ceramic tile
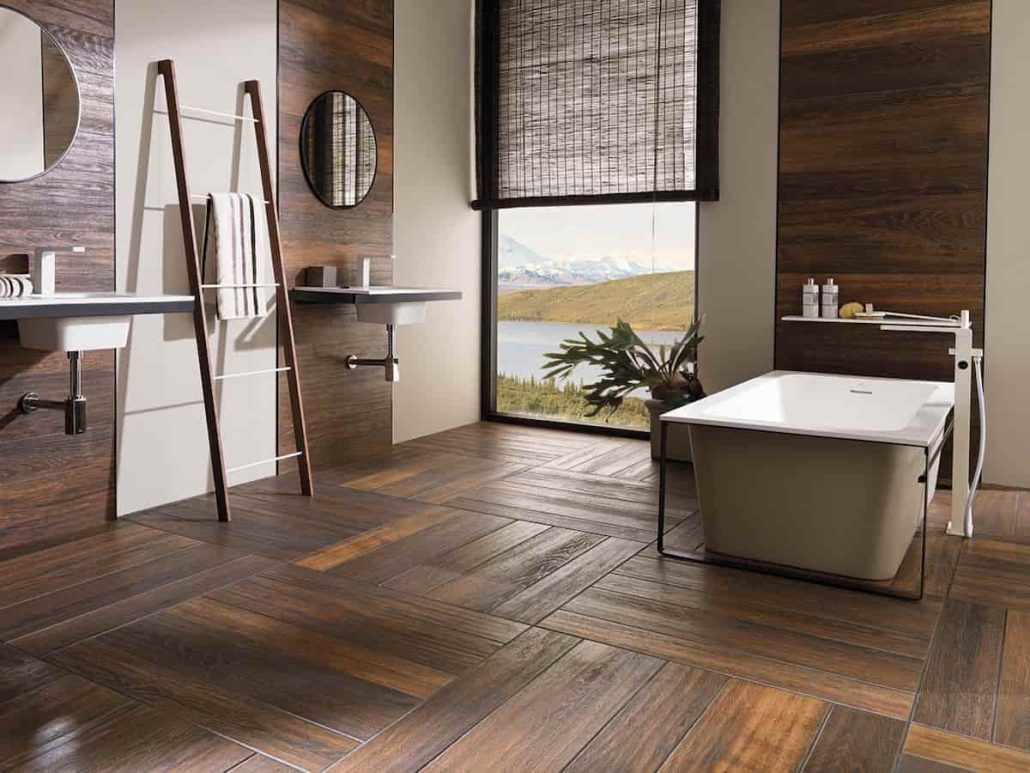
You can set the tile in your living room or kitchen floor by yourself ceramic tiles are usually used for wall and porcelain tiles are used for floor.

Before beginning to install ceramic tile, you must first clear the area surrounding where you intend to place the tile of any debris that may be there. Next, using sandpaper with a fine grit, smooth down any uneven areas that may otherwise attract dirt and grime. After that, use a clean rag and wipe down the entirety of the tile's surface. After that, check to see that the tile is totally dry before moving on to the next step. Step 1- Grit Sanding Sanding the surface of your tile is required before glazing it, as this will help to prepare the surface. Put on some protective goggles and gloves before you begin so that you don't end up with cuts or scrapes on your face or hands. In order to accomplish this task, first take a piece of glass paper, and then, to prevent scratching the table or floor, place a sheet of newspaper on top of the glass paper. Get a sanding block and securely fasten it to the end of a hand sander or a drill press. Sand the entire surface of the tile by moving the sanding block in a back-and-forth motion at a slow pace.

Take your time and concentrate on removing only the sections of the surface that are uneven until you have produced a smooth surface. After sanding, it is a good idea to apply a clear coat of sealer to the surface; this will help keep dirt off of it and will preserve its appearance. The next step is to apply the sealer When all of the tiles in your area have been cleaned and readied, it is time to apply the sealant. If the temperature in the room is higher than 71 degrees Fahrenheit, you run the risk of being injured if you breathe in the fumes while you are applying the sealer. First, thoroughly saturate the entire surface of the wall with water, then allow it to sit for approximately ten minutes. After the surface has been wetted, using a small paintbrush, apply a very thin layer of sealer across the entire surface in an even thickness. After allowing the sealer to cure for at least a day, repeat the processes if they are required to be done so. Step 3 – Glaze Your Ceramic Tile It is at last time to decorate your tile since it has been properly sealed at this point. To add color to the tiles, use a brush made of acrylic paint that has been dipped into a glaze solution of a dark color.
You can work your way up to darker colors by beginning with a lighter shade of green as an accent. It can be done as many times as you choose. Maintain constant focus on the brush you're using, and take care not to remove all of the sealer from the area, which would leave you open to scratches. Enjoy the finished product after allowing the tile to dry out overnight!
- How can I determine the type of material that should be used?
Because of its exceptional durability, ceramic tile is a common option when it comes to flooring materials. There are several varieties of ceramic tile, including those made of natural stone, porcelain, and plastic-coated ceramic. Each variety has particular strengths and weaknesses, depending on the circumstances. If you want something that will stand the test of time, natural stone is an excellent choice of material. One of the drawbacks of natural stone is that it cannot be drilled or cut using standard tools. If you want something that is lightweight and you don't mind spending money on its maintenance, porcelain tile is the perfect option for you. Tile with a plastic coating is a fantastic option for people who are uncertain about their financial situation. Ask a worker at the home improvement store for advice if you are unsure how to get started, or look up reviews of similar products online.
- What distinguishes cement backer board from concrete backer board, and vice versa?
Before installing ceramic tile, backer boards, which are thin pieces of hardboard, must first be positioned underneath the tile.
Prior to the installation of concrete, cement backer boards need to be installed. After the concrete has had enough time to cure, the concrete backer boards should be put.
- What diameter of a hole should be drilled into the ceramic tile?
Holes should be at least 1/8 inch (three millimeters) deep and 2 to 4 inches in diameter (60mm - 120mm).
- Is it more difficult to put tile on wood or ceramic than it is to install tile?
Both yes and no. You need to make a decision initially about whether or not you want a solid surface. Solid surfaces have an attractive appearance, but they are impractical in many settings, particularly in kitchens. In the event that you decide to go with a solid surface, rather than installing a subfloor, you will be required to lay down a base layer of plywood. Tile flooring are still preferred over wooden floors due to the fact that they are considerably simpler to clean and maintain.
- What are some best practices for installing ceramic tile?
When you are arranging the pattern for the tile, you should check to see that the edges of the tiles are flush with one another. Always keep in mind that the back edge of the tile needs to be slightly raised above the front border. When setting tile, you should take care not to have any grout or water mixed together.