You may be eager on learning how to remove the kitchen backsplash tile. Importantly, you must know how to complete the operation without destroying the walls. The removal of the kitchen tile backsplash demands dexterity, precision, and persistence. Without all three, repairing your drywall would take hours, so be prepared to take your time and properly follow the steps. This blog focuses on removing tiles placed with thin-set or mastic. Once you have the appropriate tools and materials, you may begin the following steps: Remove the countertop to facilitate access to the backsplash. Remove the outlet covers and switch off the electricity in the area where the tiles will be removed. With the hammer and putty knife, remove the tiles without puncturing the drywall. After removing the tiles, you will see a rock-hard or semi-soft adhesive behind. Thin-set, a material derived from cement, will be utilized to make the rock-hard adhesive. To remove the thin-set off the wall, utilize a sturdy putty knife and some muscle. To remove semi-soft adhesive (mastic) off the wall, use sandpaper with a 120-grit grain. Using drywall joint compound, sand drywall gouges to a smooth finish. Allow to dry thoroughly. Complete sanding the whole wall using a drywall sanding pad and 120-grit sandpaper. 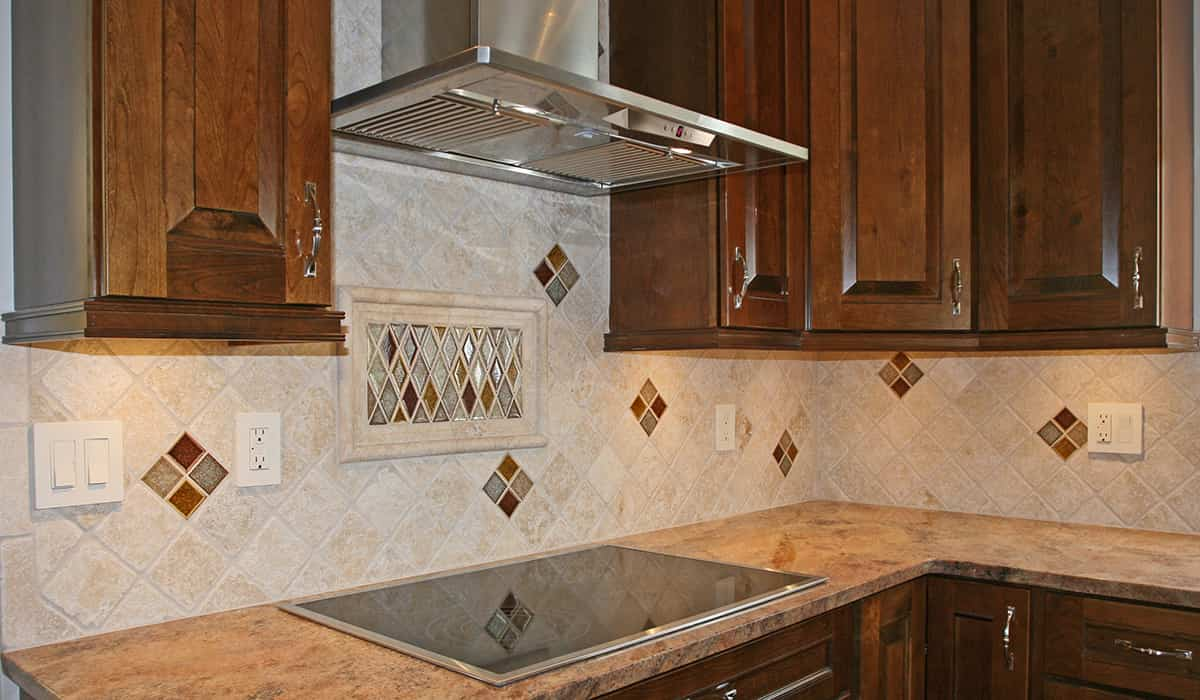 A beautiful tile backsplash is a focal point in the kitchen, but an outdated, damaged, or outmoded one detracts from the overall aesthetic of the space. To replace your backsplash tiles, you must first remove the existing tiles without damaging the wall behind them. There is a proper method to accomplish this, and you must use the proper tools, materials, and processes. After removing these tiles, you may begin prepping the wall and placing the new tiles. Obviously, if something goes wrong during removal, damaged drywall may be repaired. Start by clearing the counters, turning off the electricity, and removing any outlet covers. Using a hammer and putty knife, chip away at the tiles carefully and deliberately. If the tiles are extremely tough, a pry bar may be required. Avoid making contact with the drywall by striking it at an angle to prevent drywall damage.
  To help loosen the tiles, you may alternatively start with the grout instead of the tiles. Using a 6-in-1 painter's tool, tap softly between the tile and the wall, taking care to keep the 6-in-1 tool and chisels at an angle or parallel to the wall. Examine the adhesive residue that remains on the wall after the tile has been removed. It might be semi-soft or rather firm. How you proceed with the removal process depends depend on the sort of adhesive left behind. With 120-grit sandpaper, it is possible to remove mastic; simply massage the mastic until the wall feels smooth. Wipe away the dust from the elimination as you progress. This will help you to determine which spots remain. Unlike mastic, a thin set is more difficult to remove. A sturdy putty knife will be necessary. Again, take your time to prevent harming the wall. Then, patch holes using joint compound and sand the patches. Before sanding the entire wall with a drywall sanding pad and 120-grit sandpaper, allow the compound to dry completely. The bare wall should then be scraped clean with a scraper with a broad blade.
how to remove kitchen backsplash
This article provides step-by-step instructions on how to remove an obsolete tile backsplash in the kitchen without severely damaging the walls. An outmoded tile backsplash may appear to be a challenging, if not impossible, undertaking. -Clean the countertops. -The covers of the outlets should be removed. In addition, turn off the power to the area where you will be removing the tiles from the outlets. -If the microwave is wall-mounted, unscrew the mounting brackets and remove it. Mark with a marker the locations of the wall holes where the microwave bracket will be replaced. -Wrap the sink with tape and a plastic bag. The last thing you want is for an old ceramic tile to become caught in your garbage disposal. You might further layer the countertop with plastic to catch any tiles that fall. -Using the grout cutter, score the initial tile to be worked on. Use the grout cutter to trim the grout along the edges of the tiles. Using the tile cutter, cut an X onto the tile. As a consequence, the likelihood of damaging the drywall behind the tile as you begin to remove it from the wall will be reduced. -Repeat step 6 one more for added assurance. -Tap the tile gently in the middle of the cuts with the hammer. The tiles should shatter into bits. -Using a flat-head screwdriver and hammer, the tile should be chipped away at the tile's corner or where it has been broken, taking care not to penetrate the drywall. -Next, put the scraper into the collapsing space in the tile. Using a scraper and a hammer, carefully pry the tile away from the wall as you continue to work your way beneath the subsequent tiles to remove them. -After installing the tile, remove any excess grout using a 5-in-1 tool and scraper. In addition, this may be achieved by using a light sander and sandpaper of fine grit. 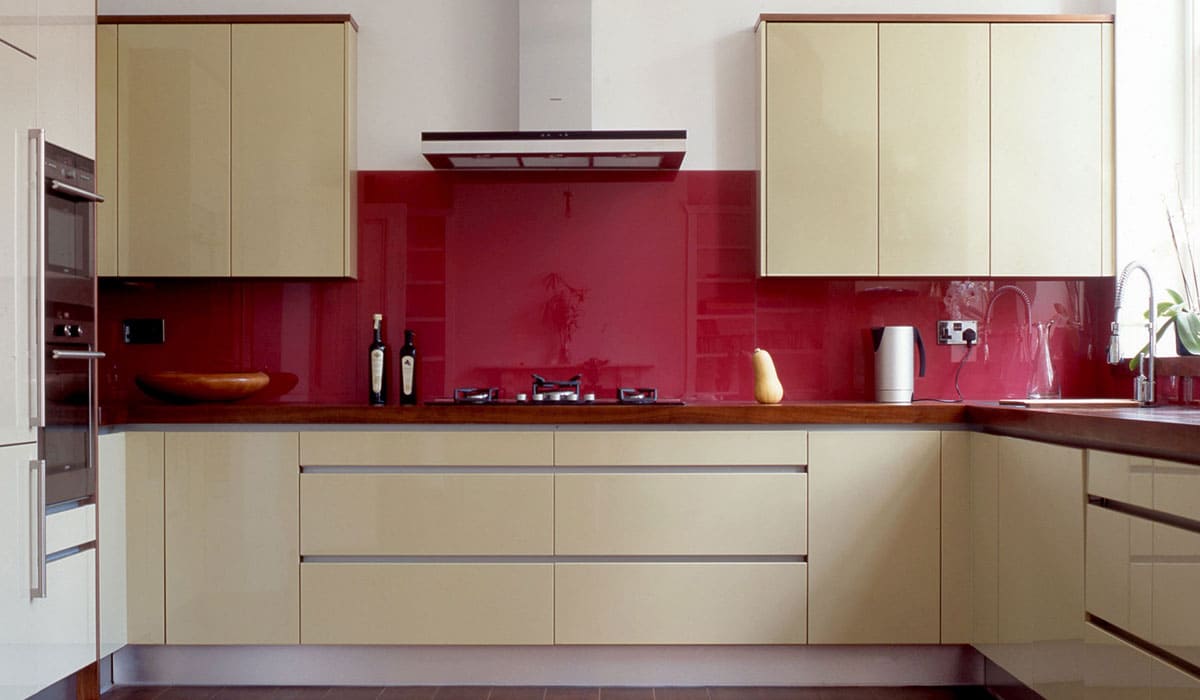 The choosing of kitchen backsplash tile may be quite subjective. Throughout the day, you are continually exposed to the backsplash. Occasionally, it appears that we have little choice but to work with what we have, rather than pulling down the walls and beginning again. Almost often, while removing obsolete tiles from a floor or wall installation, you must be prepared for a substantial mess. During removal, tiles may break or splinter, and collapsing mortar may generate a great deal of dust. However, you may still remove your old tiles without creating a major mess if you move slowly and carefully. Using a pry bar, remove all baseboards from the room's perimeter. Remove any large or moveable objects that may hinder your work area. -Begin by clearing a little area. If there is no tile edge that is revealed, break and remove one or two tiles to create one. A tile can be broken by placing a chisel into its center and repeatedly hammering it with a hammer. After removing the big, loose pieces, the chisel should be used to loosen and remove any components that have been firmly attached. -Pry bar end should be put directly beneath a tile's exposed edge. Gradually press down on the bar until the tile comes loose. If the tile is difficult to move or appears to be stuck, strike the putty knife's handle with a hammer until the tile is freed. Using the putty knife or pry bar, remove the tiles one by one until the area is clear. Using a hammer and chisel, scrape away any mortar that has adhered to the substrate.
 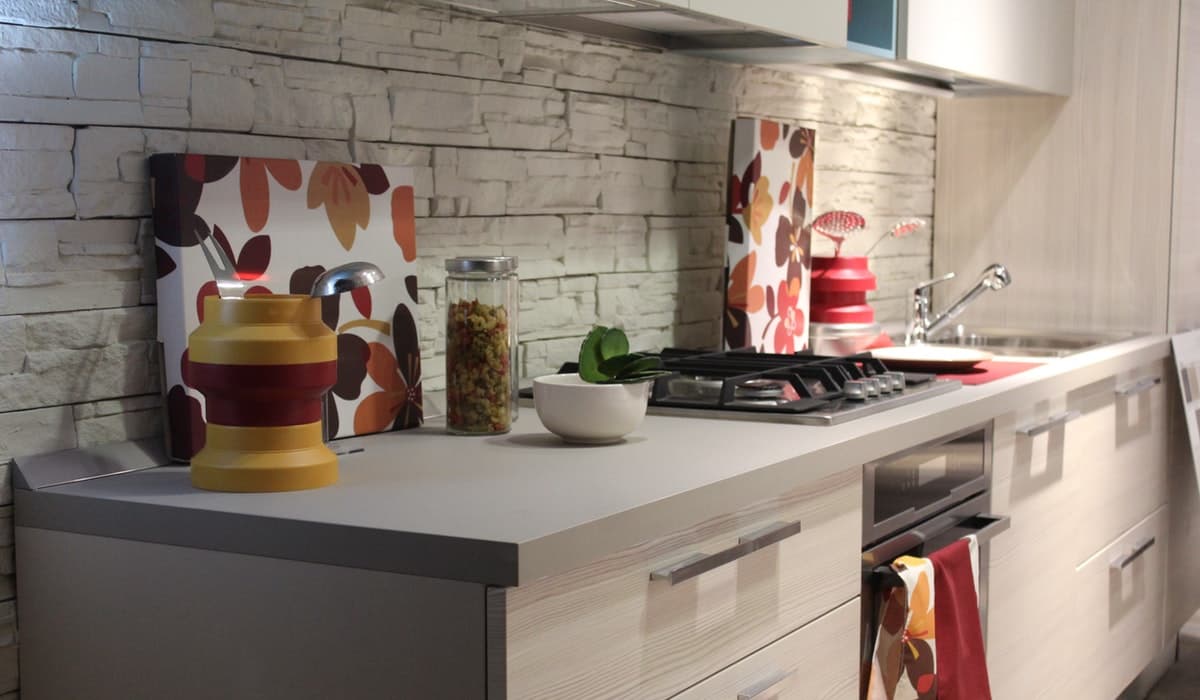 To loosen and remove the remaining mortar, strike the substrate with the chisel at a 45-degree angle. You will find more guidelines on doing tiles job on our website, contact us for more information.
0
0