Are you looking for a clever approach to include more fruits and veggies in your (or your children's) diet? For moister, healthier baked products, try these six fresh fruit and vegetable purees. In baking, purees are a great fat alternative. You only need to know which flavors are optimal for the type of baking you're doing. Using the correct puree might provide nutrients that would otherwise be missing from your baked goods. Most baking recipes can be moistened by adding two to four tablespoons of puree without any replacements.
Use half to three-quarters of a cup of fruit puree for every cup of fat, and three-quarters to one cup of vegetable puree for each cup of fat if you're replacing a fat (oil or butter). If you replace all of the fat in your baked goods, check them approximately 10 minutes earlier because they will cook faster without it. You might also try to lower the temperature of your oven by 25 degrees Fahrenheit.
- Avocado
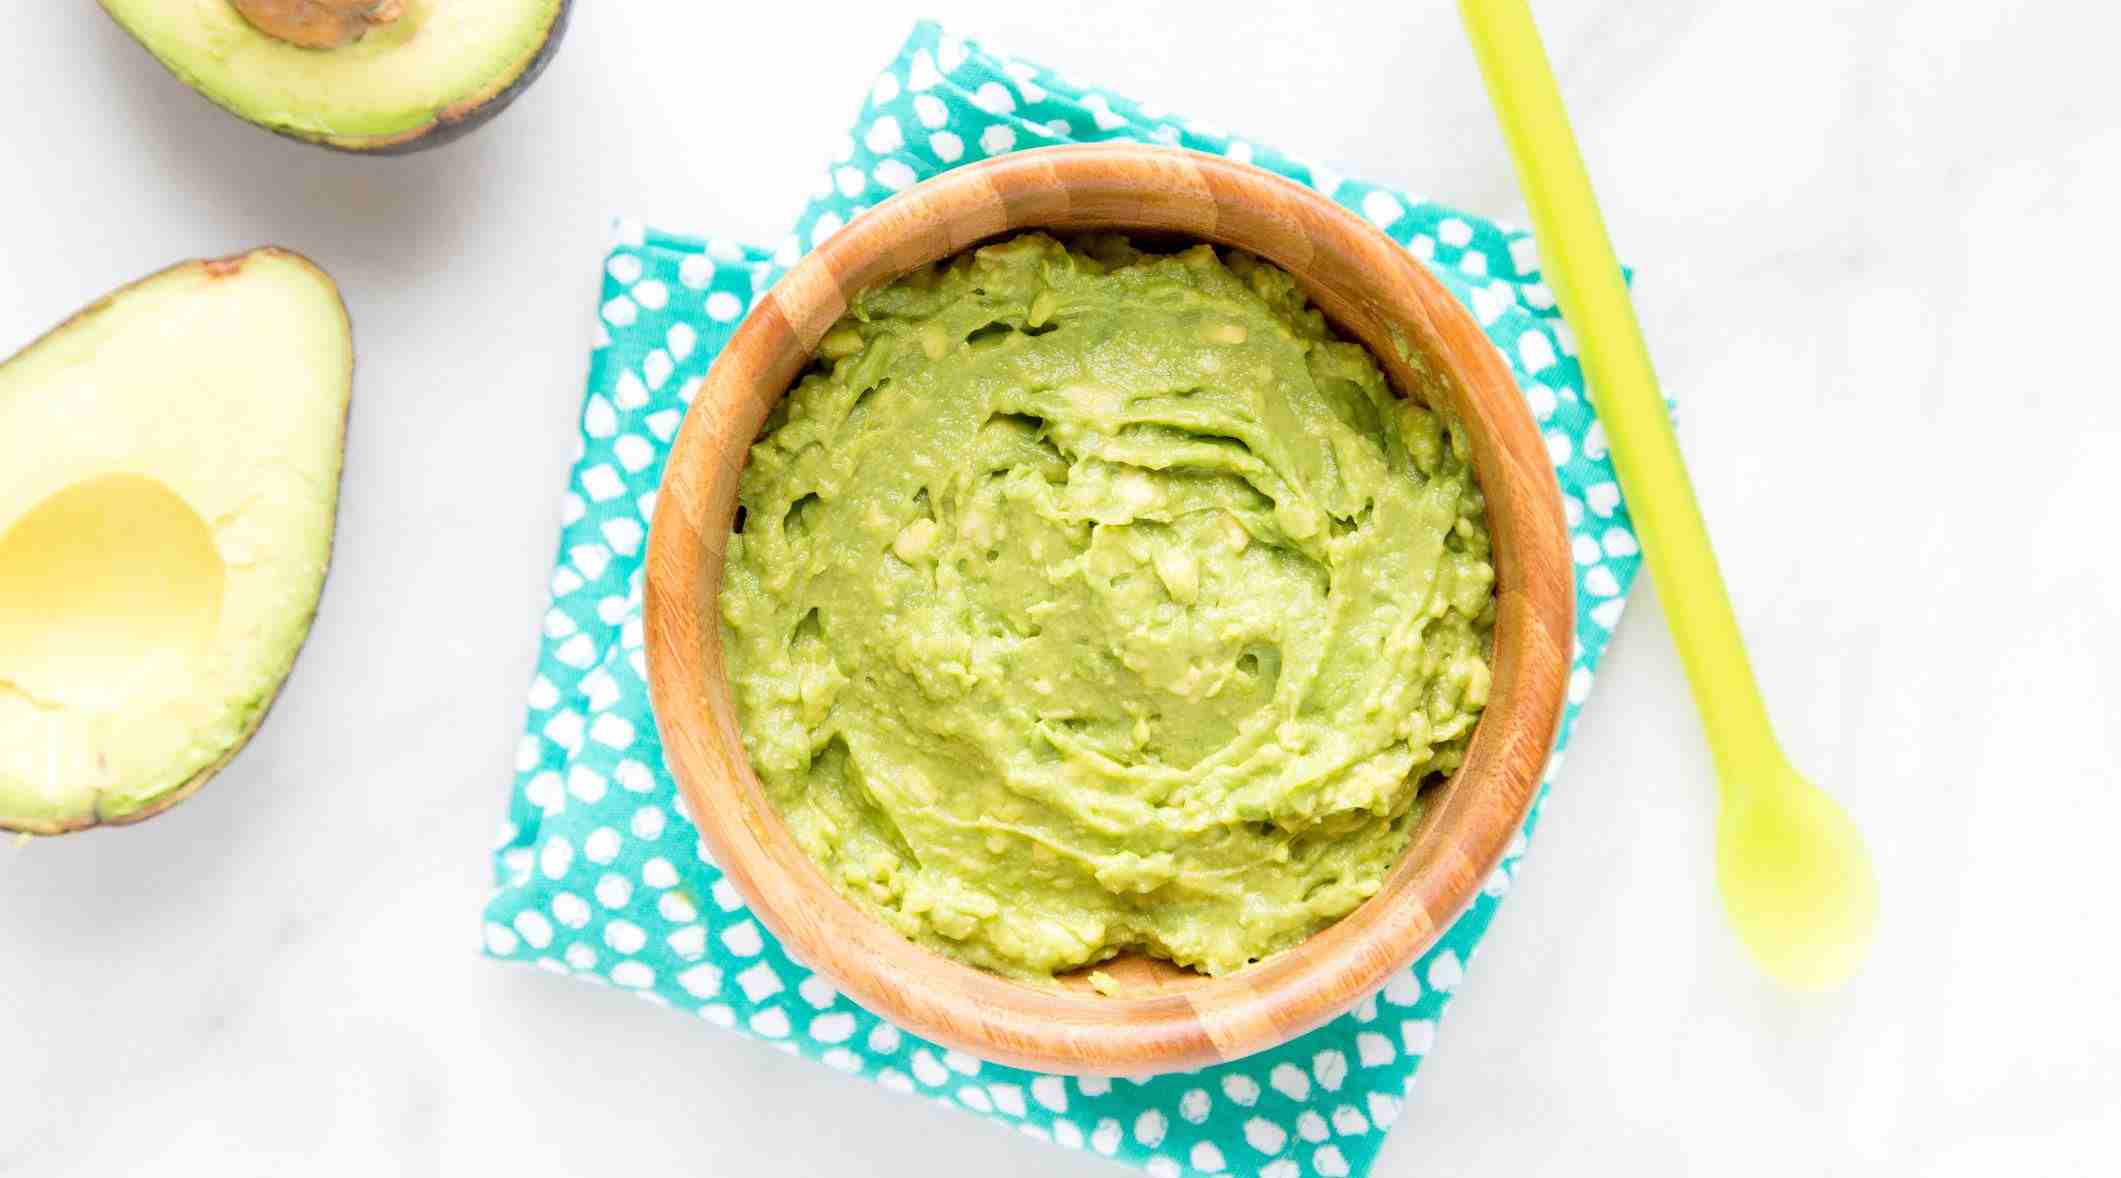
Avocado puree is delicious in rich pastries, such as chocolate or brownies. Avocado puree is especially good as a butter substitute because of its smooth, creamy texture. When it comes to substitutions, avocado, while officially a fruit, should be classified as a vegetable. For every cup of fat you're trading, use three-quarters to one cup. Baking with avocados results in less crumbling than baking with butter. To puree avocados, peel and pit them, then mash them thoroughly. To prevent browning, add two teaspoons of lemon juice to each cup of avocado puree.
- The beet
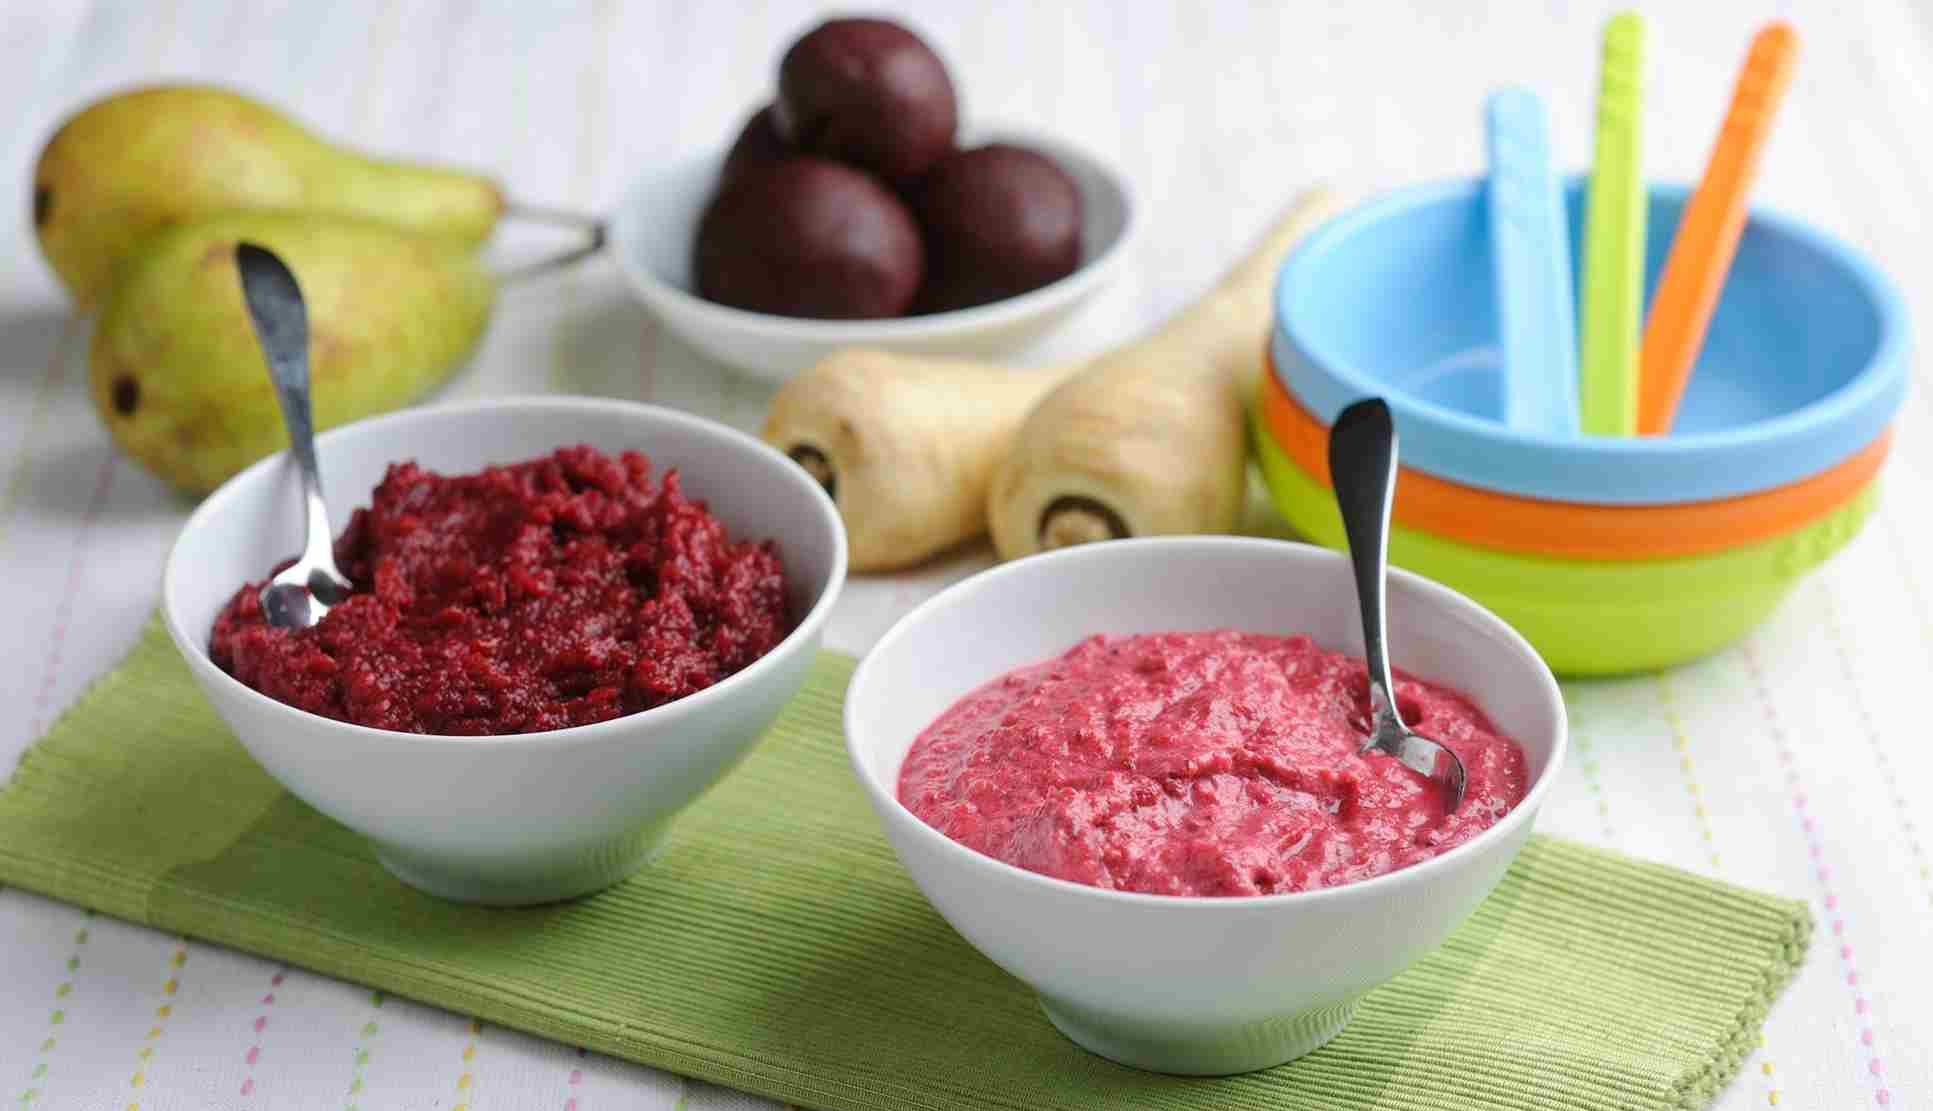
In rich baked goods like chocolate cakes or spice cakes, shredded or pureed roasted beets should be used. When coupled with rich cake, beets contribute sweetness, moisture, and color without adding any odd veggie flavor. Without the chocolate, the beets' earthy taste shines through. A vanilla pound cake wouldn't be a good match for that flavor. Red velvet cakes are a great way to use the puree because the beets give the cakes a deep reddish-purple color. In your favorite chocolate cake recipe, replace the fat with 3/4 cup of beets. To make the puree, roast the beets for about an hour at 375 degrees Fahrenheit, or until fork soft. Beets should be peeled or rubbed off their skins, then cubed and processed in a food processor until smooth. While working with the beets, make sure to keep your hands clean to avoid stains.
- Squash or pumpkin
Pumpkin puree can be used in place of eggs. Because it has a strong flavor, you should be careful what you use it with. In spice cakes or rich fruit loaves of bread, use roughly 1/4 cup pumpkin per egg. Of course, pumpkin loaves of bread are delicious as well. So, if you want to go for the pumpkin flavor, go for it! Zucchini or yellow squash can also be grated or pureed. Pumpkin and squash can be used to replace oil in a one-to-one ratio. Substitute about three-quarters of a cup pumpkin for each cup of butter in the recipe. How to puree: Canned pumpkin can be used as puree. Alternatively, you can shred raw zucchini or yellow squash. 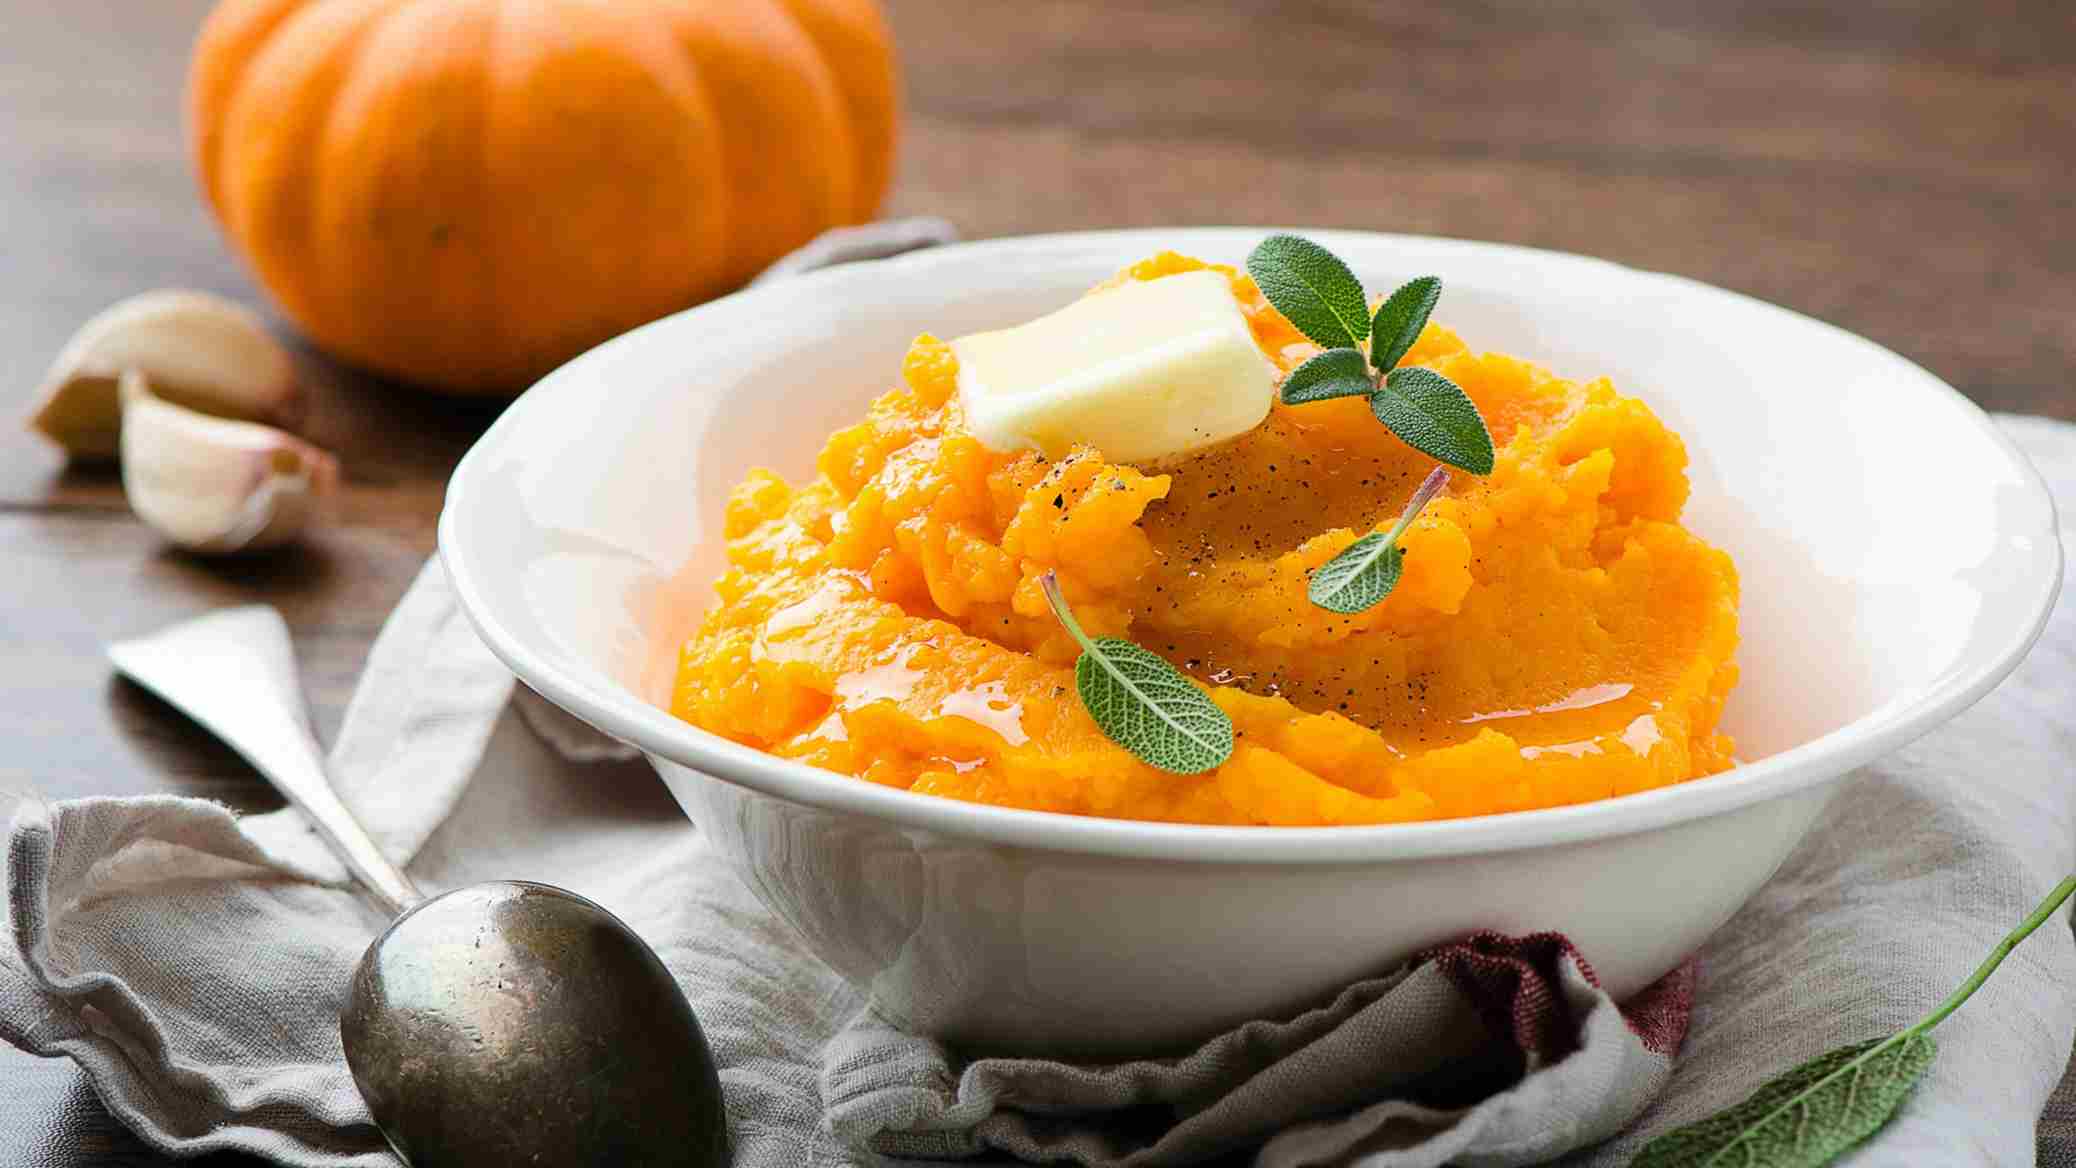 Quarter tiny pumpkins and remove seeds and pulp to prepare pumpkin puree from whole pumpkins. Roast for 45 minutes at 350 degrees Fahrenheit, or until fork-tender. Remove the skin and treat it until it is smooth.
- Banana
Chocolate cakes, spice cakes, muffins, and quick bread all benefit from mashed bananas. For the eggs needed for binding, mashed banana works well. To acquire the correct texture and sweetness, use very ripe bananas for your puree (the blacker the peel, the better). To make the puree, mash extremely ripe bananas until they are completely smooth.
- Apple
For practically every baked product, plain applesauce works well as an oil or melted butter substitute. It has a mild flavor that goes well with almost any cake, muffin, or scone. One of the most forgiving fat alternatives is applesauce. 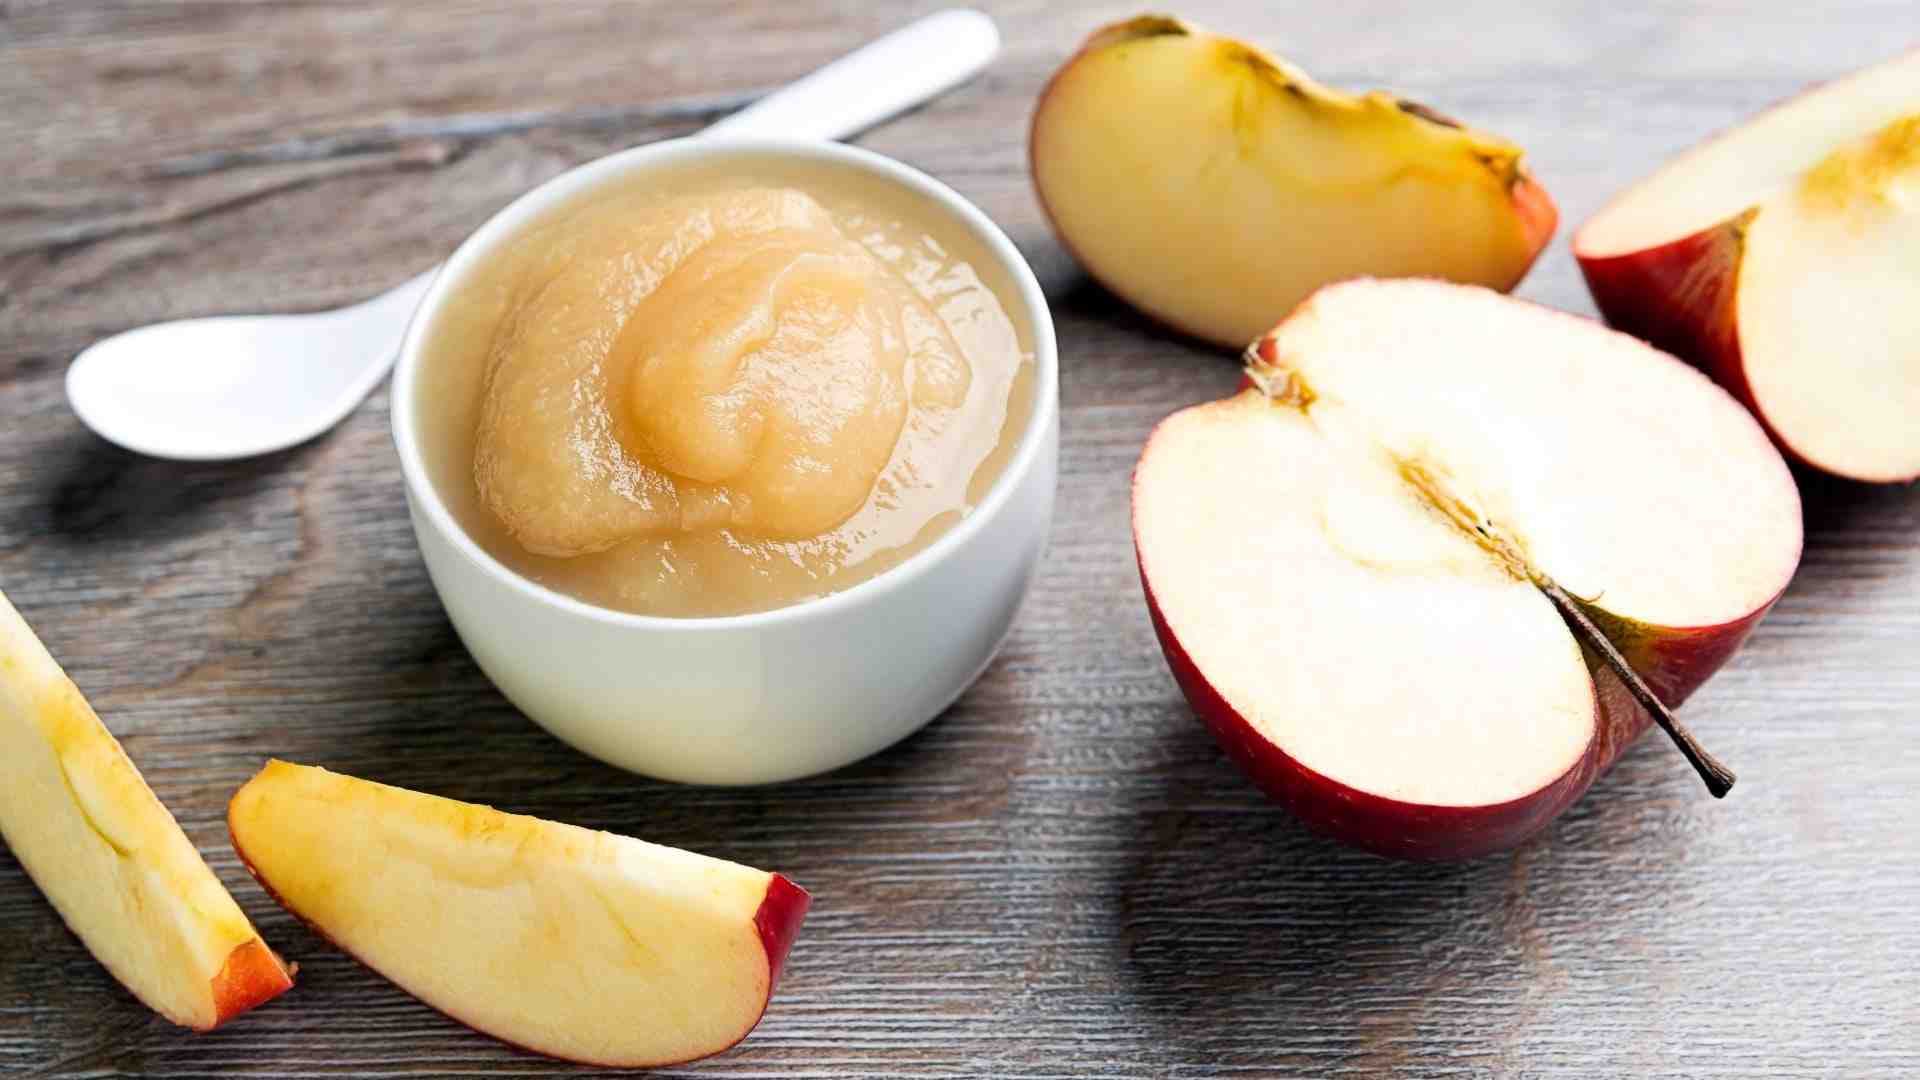 It can also be used to replace half of the fat in cookies, which are more susceptible to fat deficiency than other baked foods. Cook peeled apple slices in water at a ratio of one cup of apples to two and a half cups of water to purée. Cook for 30 minutes over medium-low heat. Blend or mash until smooth.
- Trim the bushes
Because prune puree has a stronger flavor than applesauce, you'll want to use it in spice or chocolate cakes. Prunes pair well with rich-flavored muffins and scones. In a food processor or blender, purée one cup of pitted prunes with six tablespoons of boiling water. Blend until completely smooth.
How To Make Fruit Puree
This Strawberry Puree recipe is really easy to make and is ideal for repurposing leftover strawberries. It may be used in a variety of delectable ways, and you'll want to put it on everything! Strawberry week may have come to an end (Did you see all of the delicious strawberry recipes I shared last week?!). But I'm not done with this delicious fruit puree yet! 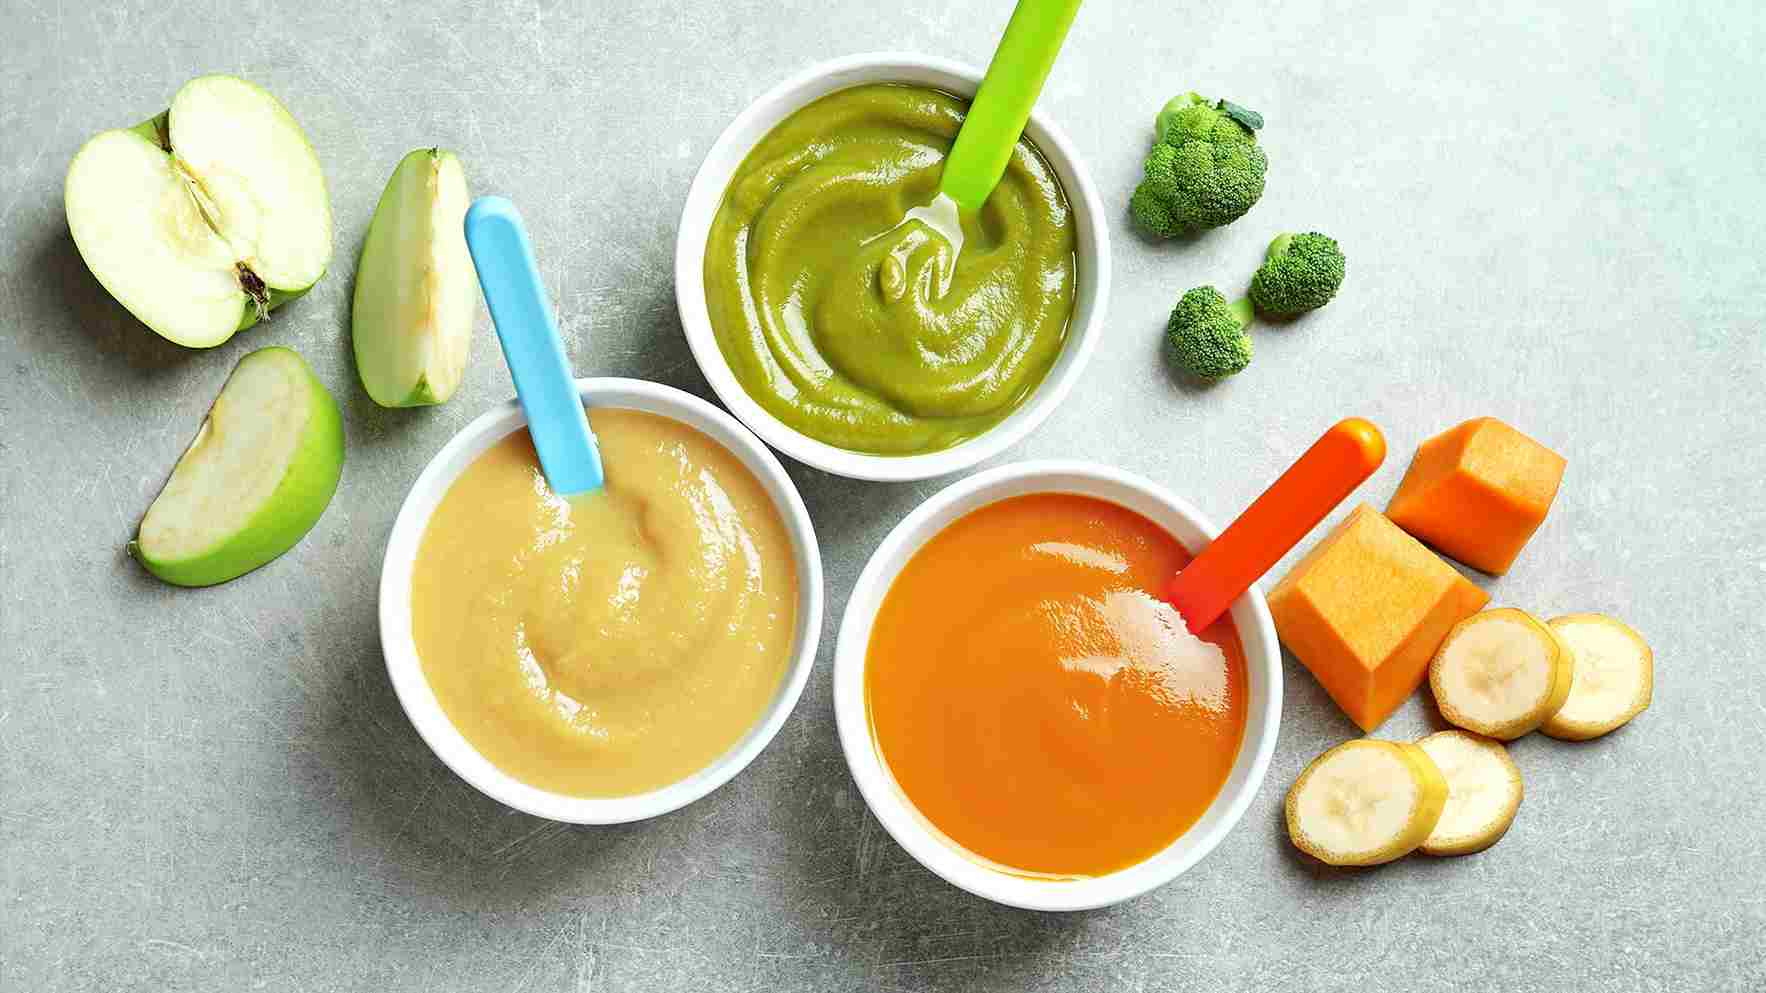 We went strawberry picking a few days ago, and now I'm stuck with a mountain of berries to consume. I'm not complaining at all. One of my favorite aspects of this puree is how well it keeps in the freezer. I like to prepare a large batch and then freeze half of it to use over the next few months. Ingredients for strawberry puree: This recipe is simple to make and goes well with a variety of desserts. Here's what you'll need to put it together: Strawberries: These are the show-stoppers! In the spring and summer, fresh, ripe, sweet, and juicy strawberries are commonly accessible. This recipe, however, works just as well with frozen berries (see comment below!). Sugar: Taste the sauce after adding roughly 1/3 cup of sugar. You can easily add extra sugar to your puree if you prefer it sweeter.
 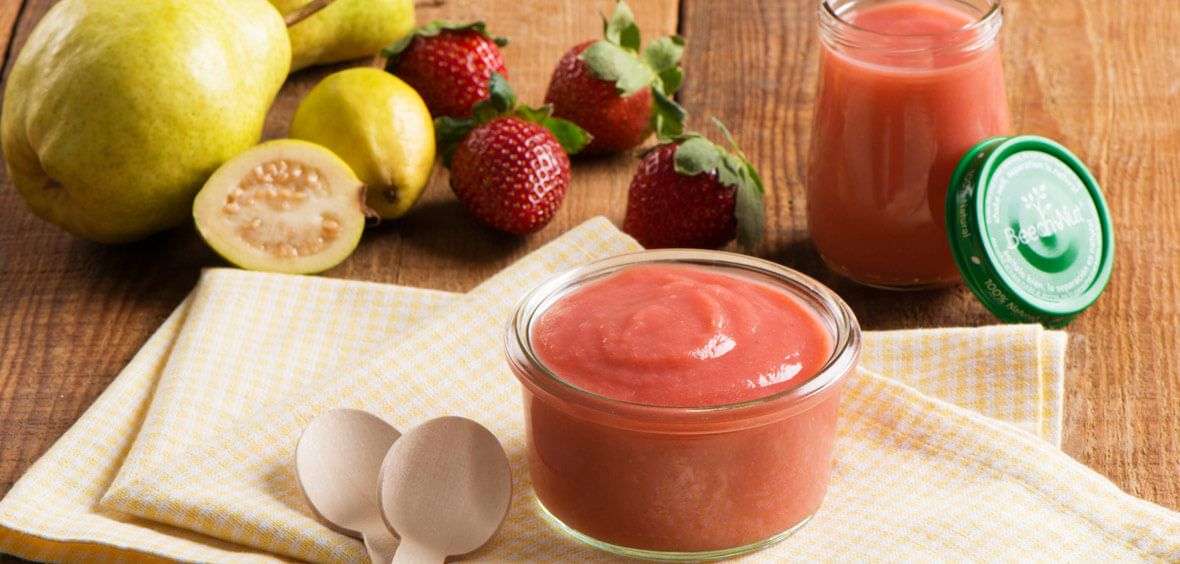 Lemon juice and lemon zest: Both are optional components, so don't worry if you don't have them. They do, however, provide a delightful sharpness to the flavor. Strawberry puree can be made in the following way: This recipe is quite simple to prepare, which I appreciate. There isn't much to it other than whisking up a few simple ingredients on the stovetop and then blending everything together. Ingredients should be combined and simmered. Combine the ingredients in a pot over medium heat and bring to a very soft simmer. Cook. As the berries boil and break down, they will thicken into a sauce, so stir regularly. If you don't want the apple sauce to be as chunky, lightly mash the strawberries. Blend. After the liquid has cooled slightly, combine it with an immersion blender, blender, or food processor until it is creamy and smooth. Serve and have fun.
 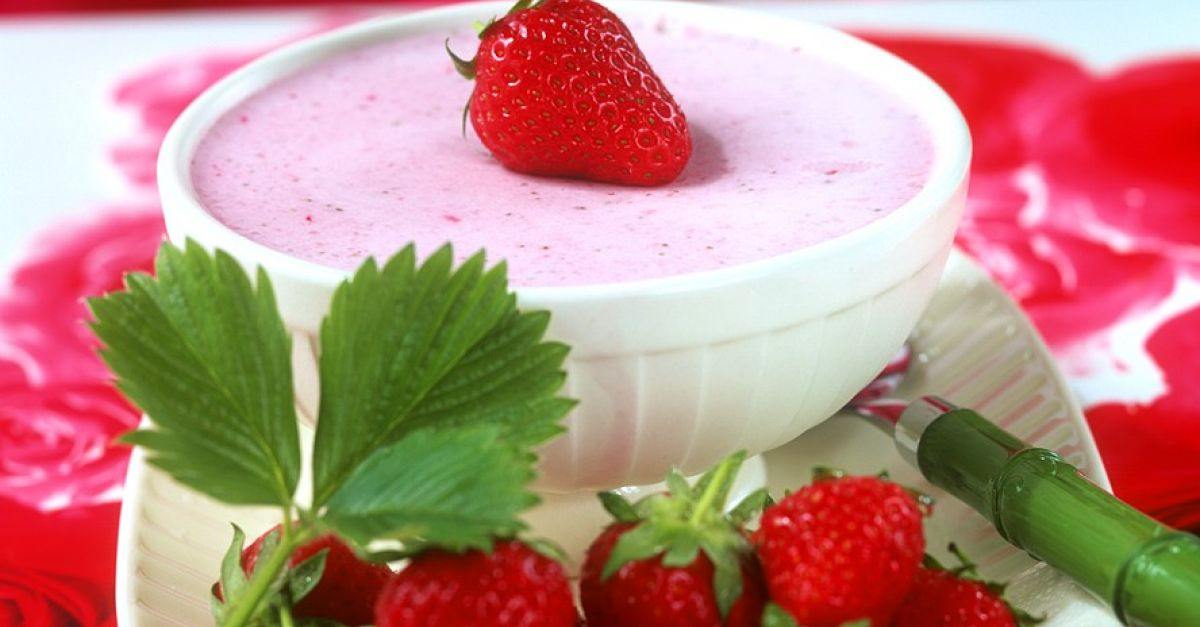 You can serve the sauce warm or chill it down and store it in an airtight jar in the fridge for up to two weeks. Enjoy! Frozen strawberries work perfectly in this recipe, and you'll want to make it all winter long when fresh strawberries aren't as good or as easy to come by. Simply defrost the frozen strawberries at room temperature in a large mixing basin. There will be some liquid left over in the bowl, which you may pour into the saucepan with the strawberries. The puree isn't made with fresh berries, but you'd never realize it! Is it possible to skip the cooking step? Yes, technically, you can! I've made this puree before by simply combining all of the ingredients in a blender (no cooking at all). Personally, I think it tastes a whole lot better if you cook it for a few minutes first. Strawberry puree can be used in a variety of ways.
 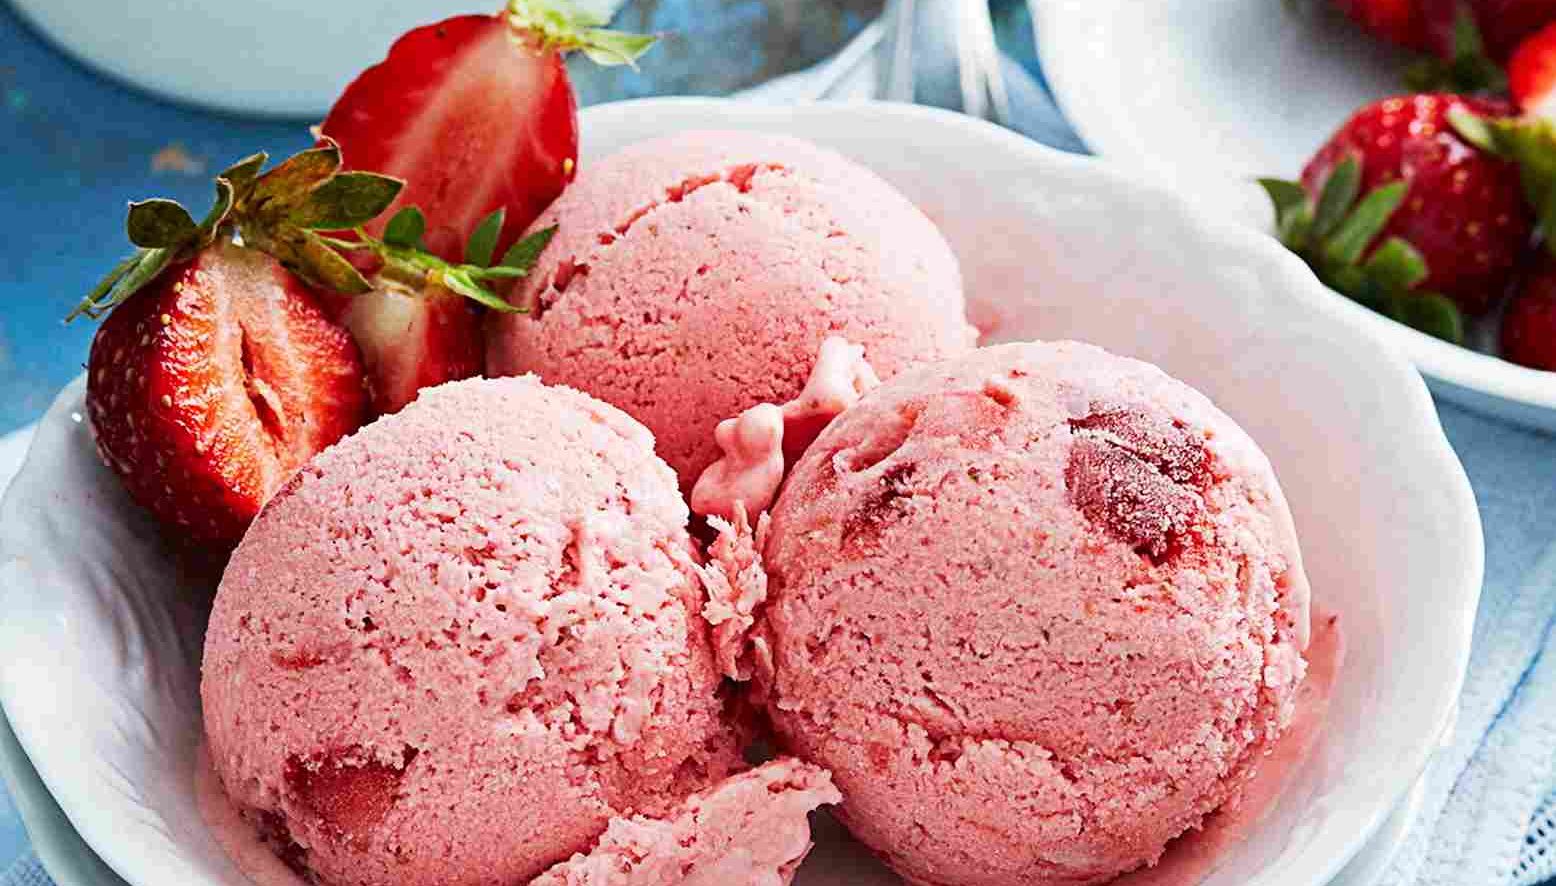 Some of our favorite ways to serve it are as follows:
- A scoop of ice cream
- Cheesecake
- Waffles
- Pancakes
- Yogurt
- Toasted French bread
- Shortcake
- Oatmeal
Tips and variations: To make this puree, use another berry, such as blueberries, or a combination of berries. You can create the compote with orange juice instead of lemon juice. This recipe can be used to make strawberry compote. Instead of mixing the strawberries once they have cooked and cooled, you can leave them whole. What is the shelf life of this puree? Once the puree has cooled fully, keep it in an airtight container in the refrigerator. It will keep for a couple of weeks in the refrigerator. You may also keep it frozen for up to 6 months.  Strawberry puree made at home is delicious over yogurt, ice cream, pancakes, and more. It's quick and easy to prepare, taking less than 15 minutes! Ingredients
- 20 ounces of fresh or frozen strawberries (stems removed)
- 13 cups of sugar, as much as you like
- 1 tablespoon of lemon juice
- 1 teaspoon of lemon zest (optional) (optional)
Instructions
- In a medium pot over medium heat, combine all of the ingredients and bring to a slow simmer.
- Cook, stirring regularly, for about 8 minutes, or until the strawberries have broken down and the sauce has thickened. Add more sugar if needed, and boil until the sugar has dissolved and combined with the fruit (usually about a minute).
- Allow cooling somewhat before blending with an immersion blender. You can also use a blender or food processor to combine the mixture but be careful when transferring the hot strawberries.
- Refrigerate for up to a couple of weeks in an airtight container. You may also freeze the compote for up to 6 months.
 Notes: If using frozen strawberries, defrost them entirely at room temperature in a large mixing bowl. There will be some liquid left over in the bowl, which you may pour into the saucepan with the strawberries. *Orange or kiwifruit juice can be substituted for lemon juice if desired.
How To Make Fruit Puree for Baking
We're getting a lot of overripe bananas these days. I believe that is due to the warm weather. As a result, I've started storing sliced bananas for smoothies and milkshakes, as well as baking with them. I experimented with a few recipes, including a chocolate banana cake and banana muffins. I previously shared a recipe for chocolate chip banana muffins, and several of the visitors complained that it didn't turn out as well as they had hoped. Actually, it turned out quite nicely and tasted quite good.  I decided to attempt another recipe because some of them didn't get it properly, and here it is. This banana chocolate chip muffin recipe is from the Taste of Home baking book. I used bananas as an egg substitute and doubled the amount of baking powder in the recipe. These muffins turned out just as well as the last batch. It grew to perfection and tasted fantastic. With only 1/3 cup of canola oil, I'd say it's pretty low in fat as well. It was a hit with everyone in our house, as well as my neighbor's family. INGREDIENTS DRIED:
- 2 cups of flour (all-purpose)
- Sugar, 3/4 cup
- Oats, 1/2 cup (used quick-cooking oats)
- Baking Soda, 3/4 teaspoon
- a quarter teaspoon of baking powder
- a half teaspoon of salt
- Miniature 3/4 cup Chocolate Chips, Semisweet
 INGREDIENTS IN THE WATER:
- The third cup of oil (used Canola)
- 1 and 3/4 cup ripe bananas, mashed (about 3 medium)
PREHEAT THE OVEN TO 375°F/190°C FOR 15 MINUTES. Grease the muffin tin lightly and line it with paper liners. In a large mixing basin, I blended the bananas with a hand blender and a tablespoon of water. You might also use a fork or a potato masher to mash them.
- Add the sugar and oil to the banana mixture and mix well with a whisk or an electric beater.
- Add the flour, oats, baking soda, baking powder, and salt to the liquid ingredients and stir until just incorporated.
- Add the chocolate chips and mix well.
- Fill each muffin cup 3/4 full with batter, about 3 tablespoons each cup. Bake for 18-20 minutes, or until a toothpick inserted into the center comes out clean.
- Allow cooling for 5 minutes before transferring to a wire rack. If you leave it in the tin for longer than 5 minutes, the paper liner will start to leak moisture, making the muffins mushy.
 MY NOTES: If you want to eat the muffins while they're still warm, spray the paper liners with nonstick spray so you can easily peel them off the muffins, or wait until they've completely cooled before removing the paper. While 3/4 cup micro chocolate chips appear to be a lot when added to the batter, the muffins were delicious. If you're watching your weight, you might replace part of the chocolate chips with chopped almonds.
Fruit Puree Maker
Making your own baby quick food allows you to have complete control over what goes into your child's meals while also saving you money at the supermarket. It also allows parents to take a more active role in determining their children's gastronomic tastes. What could be more satisfying than watching your kid joyfully eat a meal you carefully prepared? It may appear to be a daunting and time-consuming undertaking, but the process is actually rather straightforward.  With only two fundamental steps: Heating or roasting, and then blending, you can prepare a limitless number of single- and multi-ingredient baby blends. Roasting fruits, vegetables, and proteins in the oven or steaming them on the stovetop, microwave, or in an electric food steamer are both options. While you could mash by hand or use a food mill to puree steamed food, a blender saves you time and effort by pureeing everything from baby's first nibbles to thicker, more advanced textures quickly and easily. Blenders are also essential for making smoothies and frozen pops, both of which are excellent ways to introduce fruit and vegetables to children. Both single-ingredient purees and more complex recipes can be made with standard blenders, handheld stick blenders, and baby-food makers.
How To Make Fruit Puree for Baby
Fruit Purees for Newborns: A step-by-step guide to making homemade, easy-to-make, flavorful, and nutritious fruit purees for babies. Fruit purees are high in nutrients and vitamins, as well as being easily digestible, making them a portion of great baby food.  When compared to store-bought infant food, homemade fruit purees are less expensive and contain no preservatives. Here are 15+ fruit purees for babies that are simple and healthful. Also, take a look at our selection of homemade baby food recipes for children aged 6 to 12 months. This page will be updated on a regular basis, so save it for future reference. For a full recipe, click on each thumbnail image under each fruit puree header. Choose recipes based on your baby's age, which is indicated in brackets next to the recipe title. WHEN MAKING FRUIT PUREES FOR YOUR BABY, KEEP THE FOLLOWING IN MIND: Until the baby is eight months old, steaming fruits is recommended for smoother digestion. Fruits can be steamed to help break them down and make digestion easier for small babies. Few fruits, such as bananas, kiwis, and avocados, are exceptions and do not require cooking. Fruit purees should always be served fresh and warm, while some purees can be refrigerated. It's best to eat the purees within 2 hours of making them.
 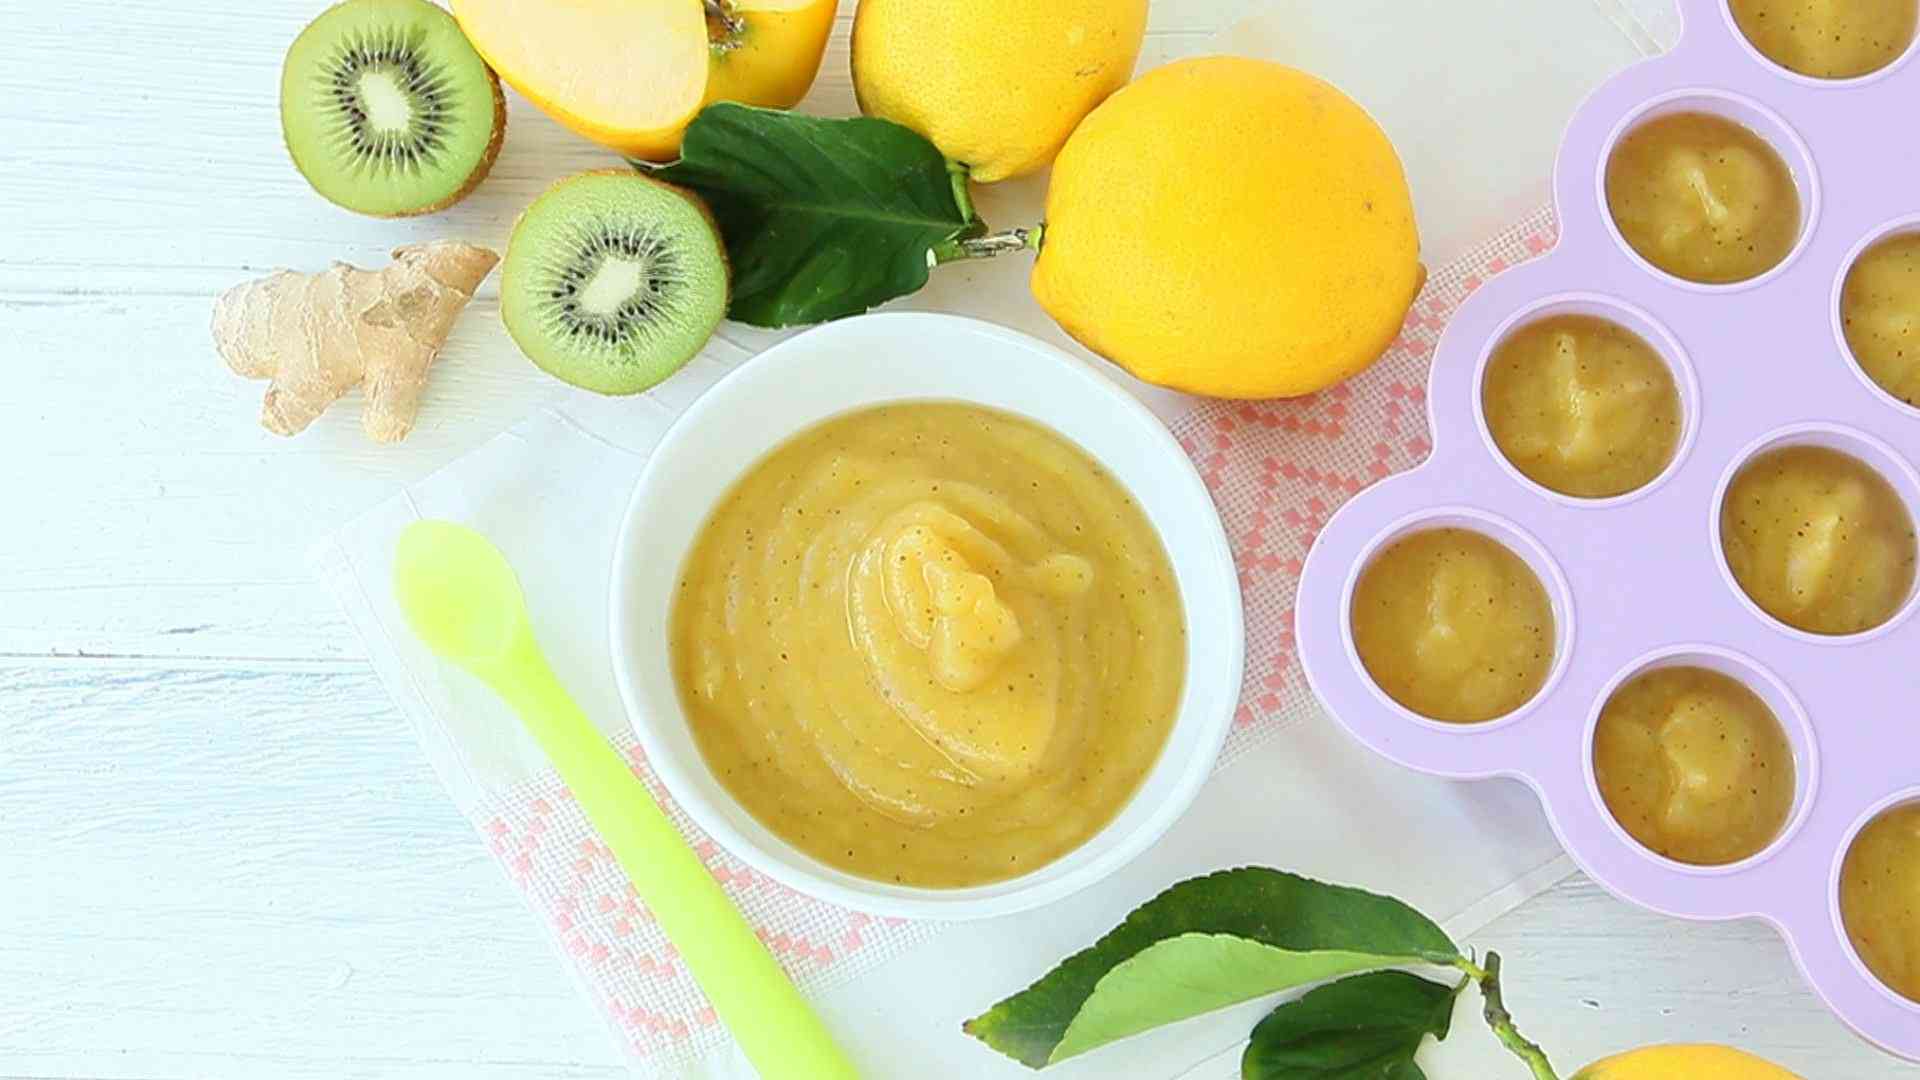 Before introducing your kid to mixed fruit purees, make sure to introduce each fruit separately. Instead of using a blender or mixer, mash the fruits with a fork or masher. If the puree becomes too thick after cooling, add more breast milk/ formula milk/ cow's milk or warm water to thin it up. If a recipe asks for formula milk, don't boil or heat it. Prepare the puree with water, then add the prepared formula milk once it has warmed up. Please eliminate any ingredients used in the fruit purees if your infant is allergic to them when preparation. Because apple is less prone to induce allergies, it is a great first food for babies. Apples are nutrient-dense and high in fiber. To facilitate smoother digestion, gala apples should be cooked or boiled till the baby is 8 months old. After eight months, you can give your infant peeled raw apples as a finger meal. Let's see how to make this nutritious Apple puree or sauce for babies.
 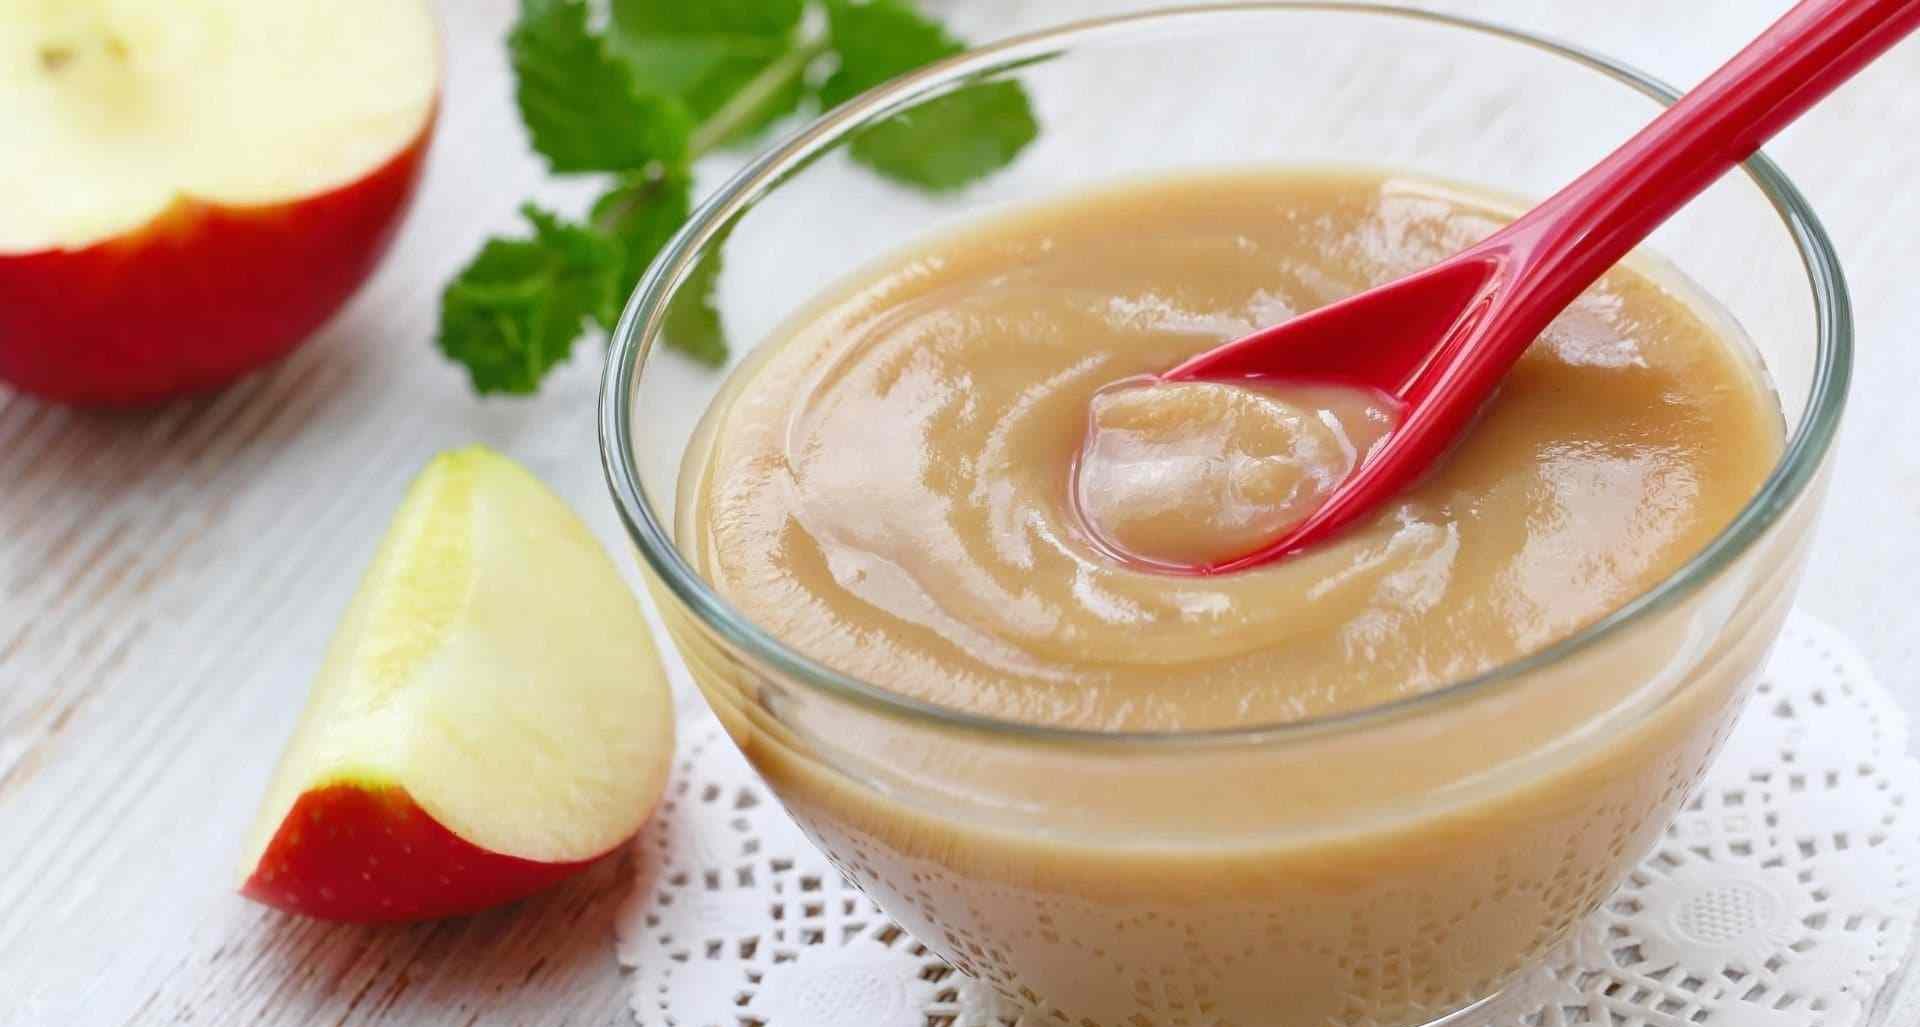 Instructions Preparation Soak the bowls and spoons you'll use to feed your infant in hot water for five minutes and leave them soaked in the same pot until you're ready to use them. Method Wash the apple thoroughly under running water. Using a peeler, remove the apple's skin. After cutting the Apple vertically into two sections, remove the seeds in the center. Then slice them into little cubes of equal size. In a steamer, steam chopped apple slices for 5 minutes. You can steam it with a cup of water in an IDLI steamer plate or pressure cook it for 2 whistles with a cup of water. I use the Philips Avent Combined Steamer and Blender for both steaming and mixing. The apple will be tender and transparent after steaming. In a blender, combine it with a little water to make a smooth paste.
How To Make Passion Fruit Puree
Passion fruit puree is tropical and sweet, and it's great in drinks, smoothies, and desserts. Here's how to produce our own passion fruit puree, step by step! "What is passion fruit puree?" you might inquire. Passion fruit puree is simply the passion fruit's juicy pieces. To make things clearer, let's break down some popular words. Passion fruit is a tropical fruit that is both sweet and sour. While passion fruit is a tropical delicacy, you can often find it in the southern United States, so grab some when you see it! Passion Fruit Pulp is made up of the seeds and the lovely yellow pulp found inside the fruit. The seeds (the full pulp of the fruit) can be eaten, or the seeds can be removed to make passion fruit puree. Passion Fruit Puree (also known as lilikoi puree in Hawaii!) is simply the juicy section of the passion fruit without the seeds!  It's bottled passion fruit with a rich sour and sweet tropical flavor that may be utilized in a variety of recipes. We're going to show you how to create passion fruit puree today. Lilikoi Puree Ingredients Isn't it wonderful to say Lilikoi, the Hawaiian term for passion fruit? It certainly contributes to the tropical atmosphere here. This is one of the simplest passion fruit recipes we've ever created! Passion Fruit: Choosing ideally ripe, heavy-for-its-size fruit is essential for creating homemade passion fruit puree. We need a lot of pulp to make a good amount of puree. Take four purple beauties that are beautiful and weighty so you can get a lot of puree for your time and effort! Supplies: To ensure that all of the purees pass through easily, I like to use a fine-mesh strainer. Stainless steel or nylon are the most common materials. Choose one with hooks or handles to allow it to rest on your measuring cup.
  How Do You Make Passion Fruit Puree at Home? Making passion fruit puree couldn't be easier! All you'll need is a knife, a strainer, and a measuring cup.
- Step 1: Scoop
Cut the passion fruit in half, tightly holding the fruit together to prevent any pulp from escaping onto the cutting surface. Into the sieve, dump or scoop the pulp.
- Step 2: Strain
To catch all of the delectable passion fruit purees, place your strainer over a measuring cup. It's possible that you'll need to use a spoon to help push everything through the perforations.
- Step 3 (Optional): Combine the ingredients in a blender.
If you still want some yumminess, mix the seeds with a little water in a blender. Pulse a couple of times to loosen up any leftover pulp, but don't ground the seeds! To your measuring cup, add the remaining bit.  What Is the Purpose of Passion Fruit Puree? Passion fruit puree can be used in a variety of recipes, from beverages and cocktails to salad dressings and desserts! Simply add water and a little sugar to make passion fruit juice. This puree (together with mango and pineapple) is used to produce a tropical smoothie called Passion Fruit Smoothie. Hawaiian POG Juice is a great way to get a taste of the tropics! This puree is used to produce a tropical treat called Passion Fruit Mousse (no gelatin or eggs required). Frozen Mango Margarita is a terrific opportunity to use passion fruit instead of mango. Instead of blueberries, use 1/2 cup passion fruit puree in the Balsamic Blueberry Vinaigrette. Popsicles made with passion fruit are wonderfully tropical and only require four ingredients! What can I replace the passion fruit puree with? If you can't locate passion fruit in the store, or if you're out of puree and craving something tropical, try mango, guava, or papaya instead!
Make Passion Fruit Puree
Passion fruit puree has a tropical flavor that's great in drinks, smoothies, and desserts. Here's how to create passion fruit puree from scratch! 4 huge passion fruits (about 1 pound each) are all you need. Instructions Scoop: Halve each passion fruit and scoop out the flesh into a wire strainer with a spoon. Strain: Using a spoon, swirl and push the passion fruit flesh through the sieve into a basin beneath it. Repeat until the strainer contains just seeds. Optional Blending: Place the leftover seeds in a blender with a few teaspoons of water to obtain every last piece of passion fruit that may have stuck to the seeds. Blitz a couple of times to loosen any stuck-on passion fruit (try not to grind up the seeds, just blitz a few times). Mix the puree with the rest of your passion fruit puree after passing it through a fine sieve to remove any seed fragments.  How Do You Make Passion Fruit Puree Passion fruit juice has a lovely tartness to it and is really refreshing. This drink is produced by blending fruit juice, water, and a sweetener, similar to lemonade. The passion fruit is known by a number of different names. It's known as passion fruit or passionfruit in most of the United States. It's known as Liliko'i or Lilikoi in Hawaii. Passion fruit is a Brazilian native fruit. It is now grown in tropical and subtropical areas all over the world. Passion fruit comes in a variety of shapes and sizes. Purple or yellow skin is the most frequent color. Where can I purchase passion fruit? Rincon Tropics provided the fresh passion fruits utilized in this dish. It's a family farm in Carpinteria, California, that has been in the family for six generations. They specialize in fruits from the tropics.
  Since 1871, the family farm has been in operation. Through their Instagram feed, you may get passion fruits, avocados, cherimoya, and other fruits. Fresh passion fruit is available in many supermarkets. Along with mango, dragon fruit, and papaya, you'll find it in the tropical fruit area. Passion fruit pulp (or puree) is readily available in frozen form. This frozen puree comes highly recommended. It is available for purchase at Surfas in the Los Angeles/Orange County area. Goya frozen passion fruit pulp is available in most chain supermarkets. These passion fruit rosé popsicles are photographed and detailed. NOTE: Use unsweetened frozen passion fruit puree that is free of preservatives and other additives. It must be made entirely of passion fruit pulp. What is the best way to consume passion fruit?
 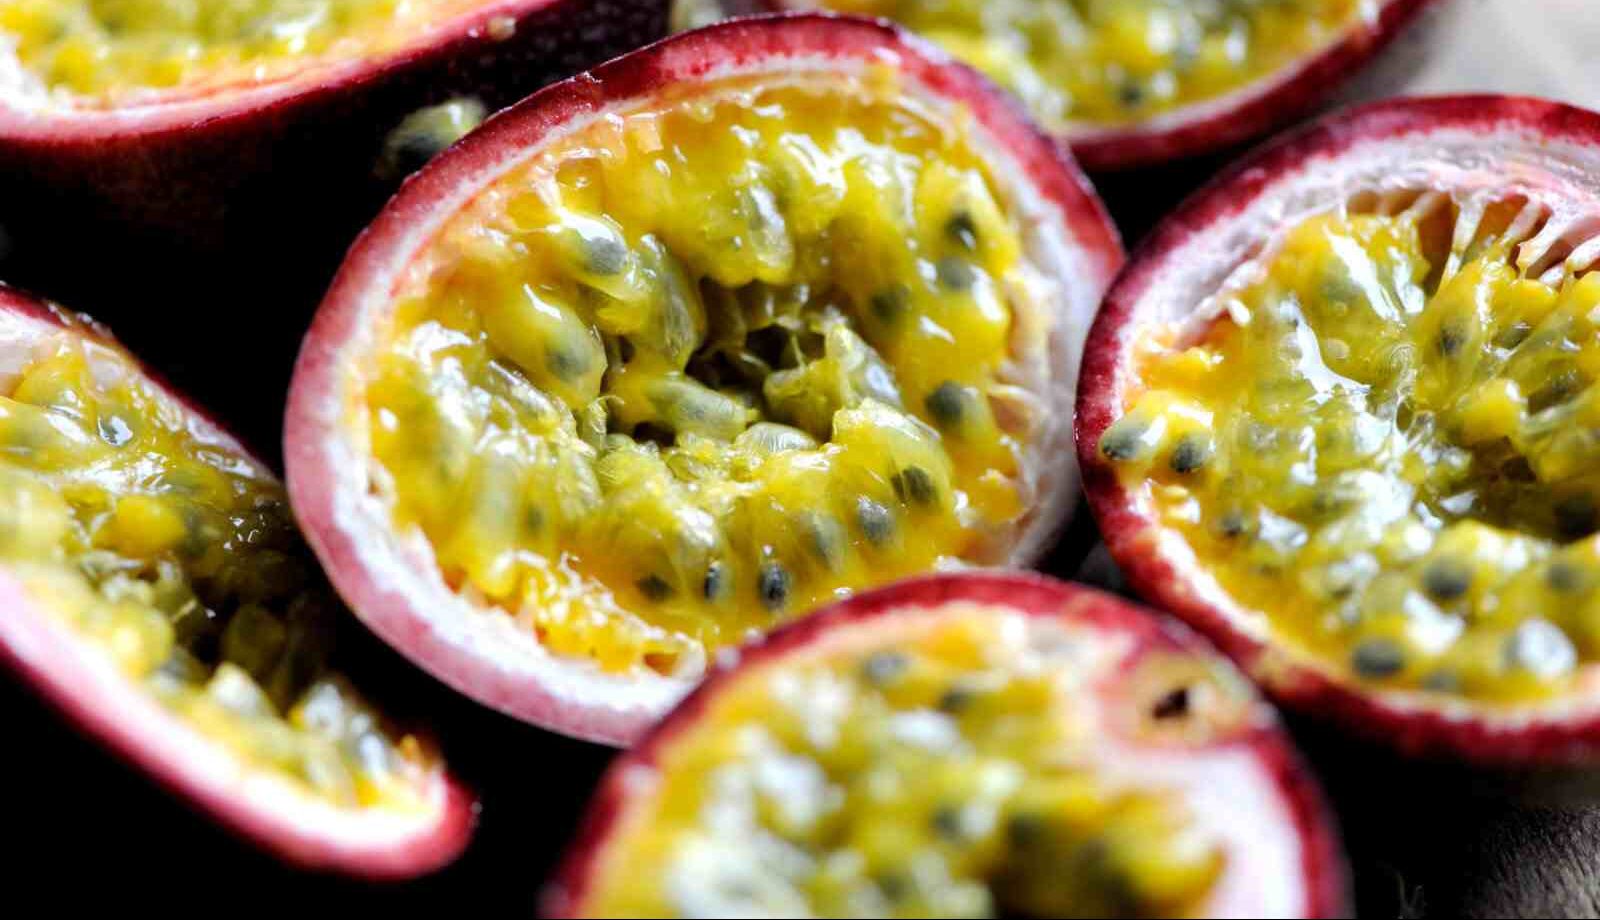 When the skin of these fruits wrinkles, as shown in the image above, they are ripe. Passion fruit usually has a smooth shell when purchased. Allow sitting at room temperature until the skin begins to wrinkle. You want to get ones that seem substantial for their size. That probably indicates there's more pulp inside! Eat the pulp and seeds inside the fruit by slicing it open. To effortlessly slice through the passionfruit peel, I recommend using a tiny serrated knife. The pulp and seeds of the passion fruit can be eaten right out of the fruit. It's also great spooned over yogurt or cereal, or baked into sweet desserts.
Can You Make Passion Fruit Puree
Calamansi juice is comparable to passionfruit juice. While you can drink the liquids straight from the fruit, passion fruit puree tastes so much better when blended with water and a little sweetness. 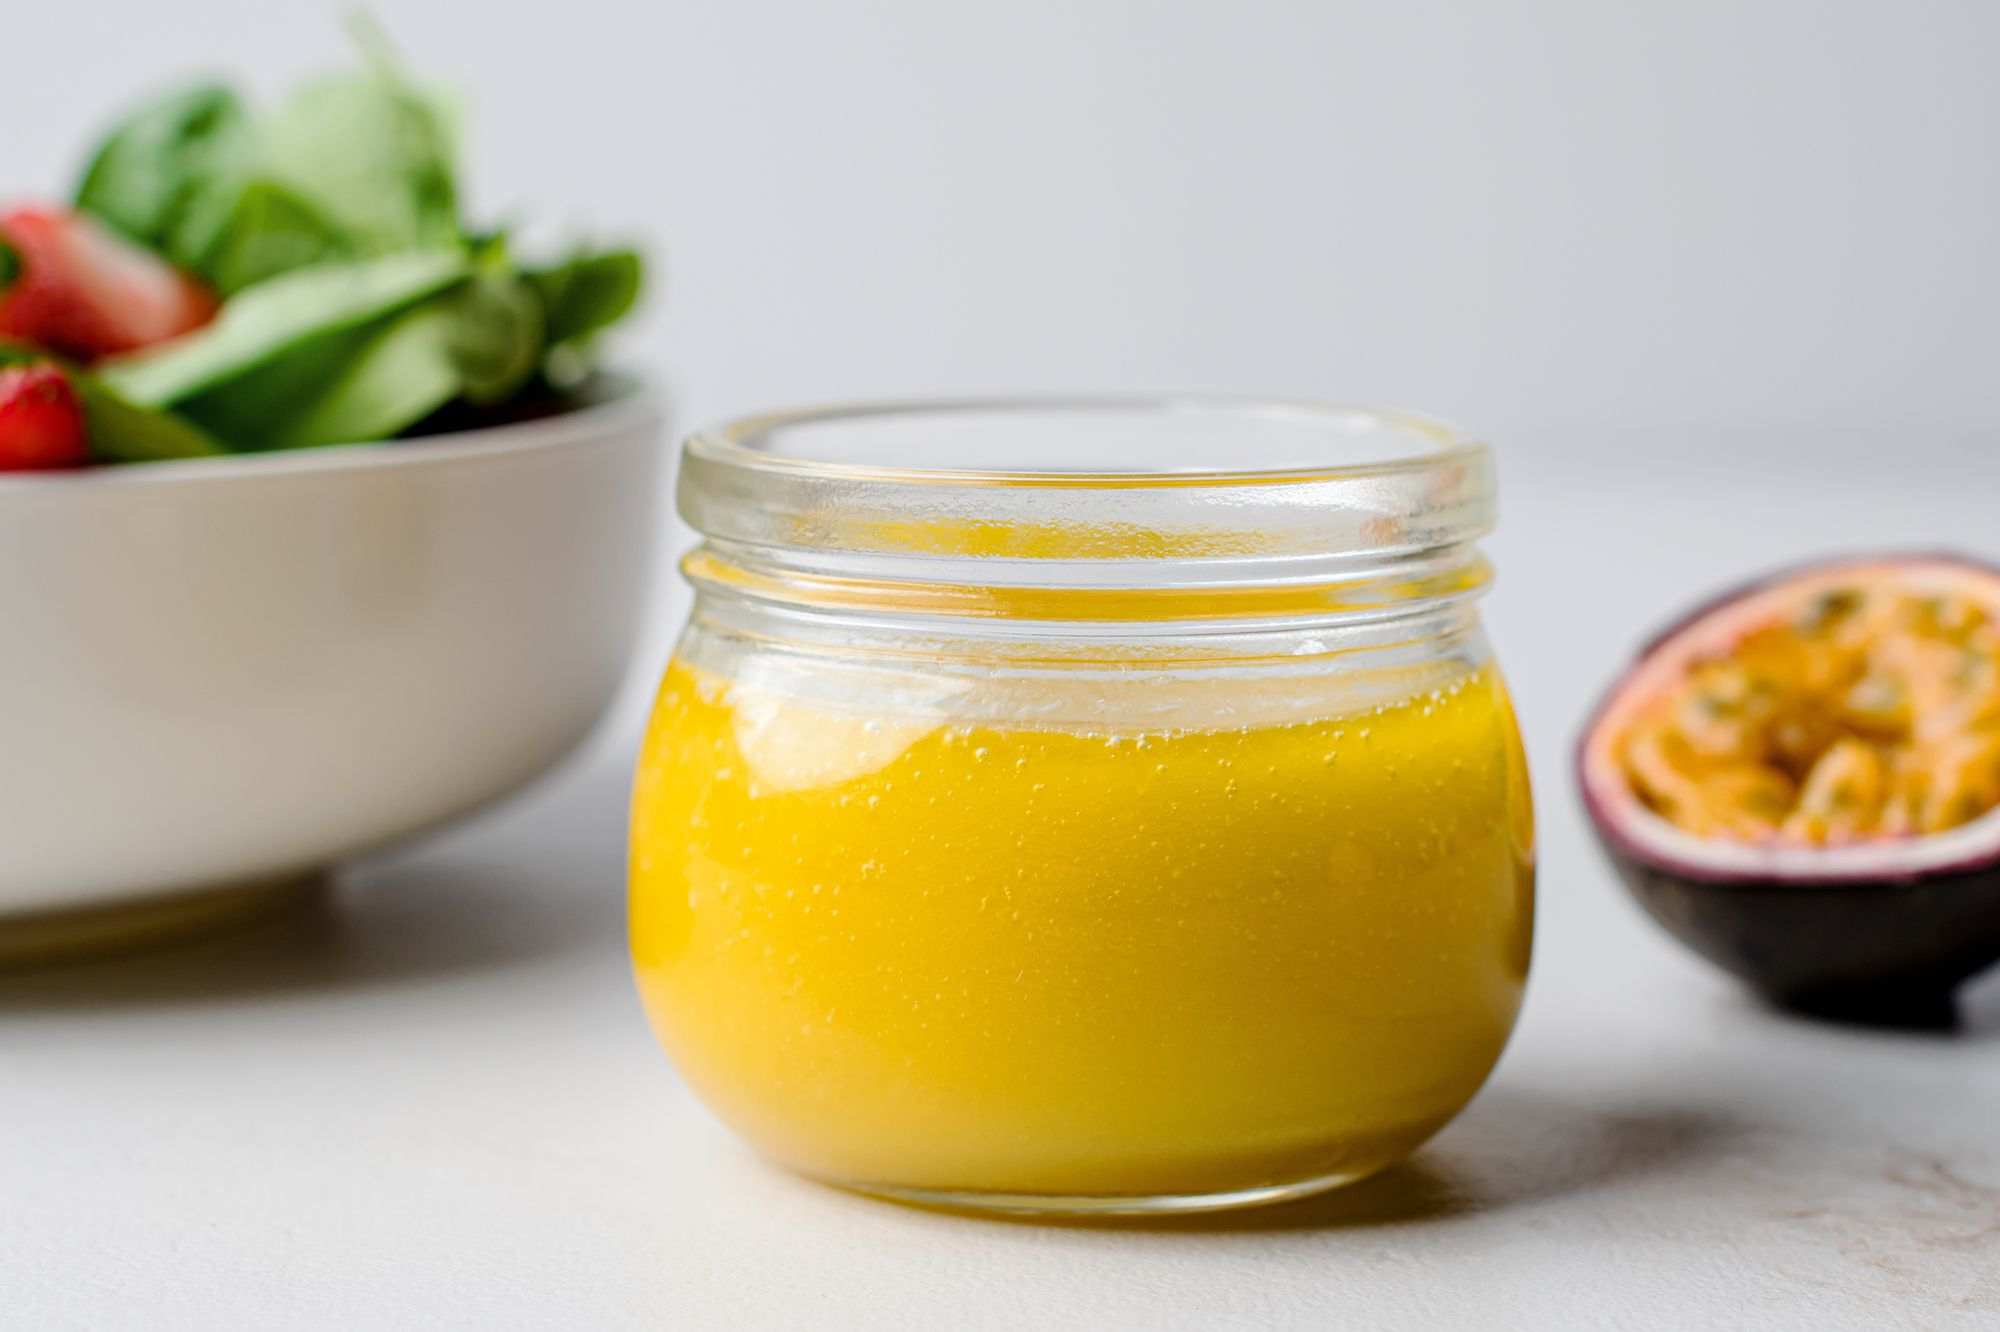 Let's define a few crucial words to avoid any misunderstandings: Passion fruit organic juice is a mixed beverage made up of pureed passion fruit, water, and a sweetener. After the seeds have been squeezed out, the leftover liquids are called passion fruit puree. Everything inside the fruit is referred to as pulp (liquids, seeds, and all).
- Remove the top half of the fruit. (By slicing up high, excess liquids will not fall out.)
- To prevent juices from pouring out, turn the fruit upright.
- Scrape off all of the seeds and pulp from the fruit using a spoon.
There are various options for moving forward at this stage. The mixture can be used. To taste, add water and sugar. Done!
Fruit Puree Xanthan Gum
Xanthan gum is a flavorless thickener that can be found in a variety of culinary and commercial products. It's a microbial polysaccharide made by the bacteria Xanthomonas campestris through natural fermentation. In addition to thickening, xanthan gum aids in the suspension of solid particles, which is beneficial in goods such as bottled salad dressing.  It gives a food an even texture and consistency, as well as improves mouthfeel. Xanthan gum is a thickening and stabilizing agent for soymilk-based rice milk-based sauces, soups, and nondairy ice creams that can be purchased for home use. It's frequently used in gluten-free baking to substitute gluten's sticky effect. How Is Xanthan Gum Produced? Xanthan gum was discovered by Allene Rosalind Jeanes, a famous researcher for the United States Department of Agriculture, and it was developed for commercial usage. In 1968, the FDA declared it a safe food additive. Natural fermentation of corn, soy, wheat, or cabbage produces xanthan gum. These veggies' sugars are digested by microorganisms, which produce a complex sugar polymer. To make it drop out of the solution, alcohol is added. After drying, the xanthan gum is ground into a powder that can be utilized in food and other products.
  Using Xanthan Gum in the Kitchen In recipes, xanthan gum works similarly to gelatin in terms of stabilizing solutions, but it is 100% vegan, whereas gelatin is derived from animal sources. It's also perfect for cooking and baking for people who have dietary allergies or restrictions, particularly those who avoid gluten, dairy, eggs, or soy. 3 Xanthan gum forms a gel without the requirement for heating or cooling. It does so as soon as it comes into contact with a liquid. It is unaffected by acid or heat; thus, it can be used in a wide range of sauces and liquids. To utilize xanthan gum in a recipe, use roughly 1/8 teaspoon per cup of liquid and blend instead of stirring. If it is not constantly in motion while being integrated into the liquid, it will "gum" almost rapidly and form clumps. For sauces, combining the xanthan gum with a little oil before adding the soy milk or rice milk yields the best flavor and texture, as it provides the sauce the richness and depth that cream, butter, or eggs would normally provide. The greater the amount of xanthan gum in a liquid, the thicker it will become.
 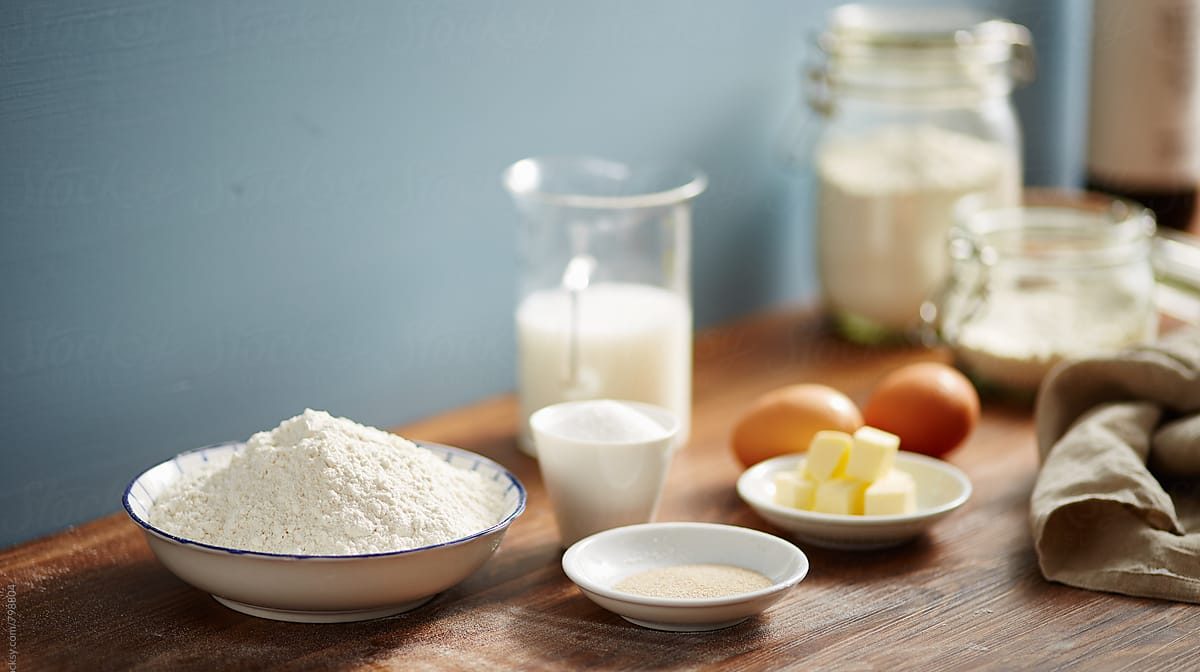 Is Xanthan Gum Safe to Consume? Xanthan gum is entirely safe to eat in tiny amounts. If you consume more than 15 grams, you may experience digestive discomfort similar to that experienced from eating too much fruit. 2 Most people, on the other hand, do not consume nearly as much xanthan gum in a day. Xanthan gum is manufactured from corn or soy, which may cause allergic reactions in certain people. Because of the extraction method, only trace amounts of leftover proteins from the fermentation sources should be present. These may still be a source of concern for persons who are allergic, although xanthan gum is likely to be free of these allergens. While allergic reactions to xanthan gum are extremely rare, if you are extremely sensitive to the base chemicals, you may wish to avoid it. Guar gum or locust bean gum are two other thickeners to consider. If you inhale xanthan gum powder (which is not suggested), you may develop respiratory flu-like symptoms. Black rot can be caused by the bacteria that make xanthan gum in crops like broccoli and cauliflower. The xanthan gum, on the other hand, is sterile and will not harm your garden.
Xanthan Gum Fruit Puree
A universe of liquid-nitrogen ice cream, mango beluga caviar, and aerated-foam hollandaise sauce exists in the world of cooking. Some refer to it as molecular gastronomy, while others refer to it as progressive cookery or modernist cuisine. You're probably familiar with some of the ingredients used in these wacky recipes. One such component is xanthan gum. Since 1969, a corn-sugar derivative called xanthan gum has been used to emulsify, stabilize, and thicken foods. Xanthan gum thickens sauces, soups, and liquids virtually instantaneously, hot or cold, and aids in the uniform distribution of other ingredients, such as herbs, throughout whatever you add it to.
- Step 1: Using a kitchen scale, weigh the sauce, soup, or liquid you want to thicken in ounces.
- Step 2: If feasible, set the scale to display the weight in grams. If your kitchen scale doesn't display grams, multiply the weight of the liquid in ounces by 28.3495 to get the weight in grams.
- Make a note of the sauce's weight in grams.

- Step 3: If you want to lightly thicken the sauce, multiply the weight in grams by 0.002; if you want to thicken the sauce moderately, multiply the weight by 0.007. And if you want to thicken the sauce significantly, multiply the weight by 0.015. For example, to calculate the amount of xanthan gum required to mildly thicken 8 ounces (226.796 grams) of liquid, multiply 226.796 by 0.007. Round the required amount to the nearest tenth of a gram.
- Step 4: On a gram scale, weigh the xanthan gum required to thicken the liquid. Using the example in Step 3 to calculate how much xanthan gum you'll need to thicken 8 ounces of sauce moderately: 1.58752, rounded up to 1.6, = 226.796 times 0.007 A gram scale would weigh 1.6 grams of powdered xanthan gum.
- Step 5: After you've finished simmering the sauce, soup, or liquid you wish to thicken, stir it in the powdered xanthan gum. In a separate bowl, whisk together the xanthan gum and the liquid. In 20 to 30 seconds, the liquid will thicken.
- Step 6: Keep the sauce warm until needed, taste, and serve immediately or store in an airtight food storage container in the refrigerator for up to two days.

0
0