When compared to installing smaller tiles, laying and installing 12x24 tiles can be more challenging, but if you do a little bit of planning and have a few tricks up your sleeve, this can be an excellent do-it-yourself project, even if you don't have a lot of expertise with tiling. These days, 12 x 24 tiles may be found practically anywhere. A few years back, when we decided to install it in our bathroom, it looked like a fun and more contemporary option; yet, these days, it appears to have pretty much become the standard for installing new tile floors everywhere. It appears that it will continue to be utilized in both business and residential settings for the foreseeable future, as evidenced by the fact that I have witnessed its widespread deployment in both settings. 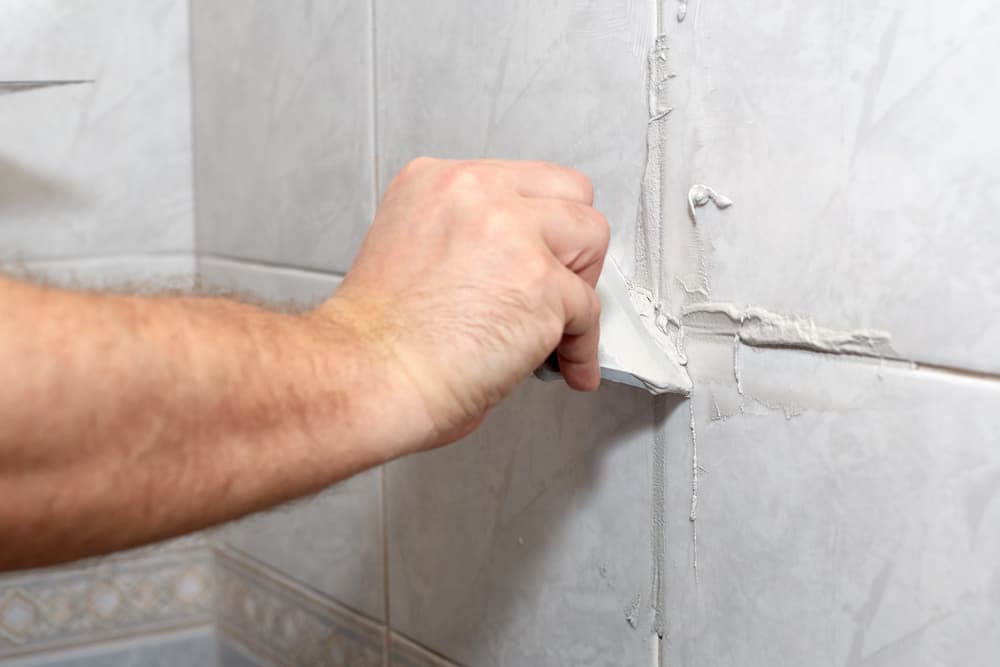 Because it has such a classic style and is so long-lasting, flooring that is tiled 12x24 inches is, in my opinion, an excellent option. Installing them, on the other hand, is more difficult than installing the more conventional 12x12 tiles. Because we have recently completed the installation of 12x24 tile in our mudroom, I figured this would be an excellent opportunity to go over some pointers we've picked up along the way. We sincerely hope that we can make your experience tiling a bit less difficult and a little more fruitful for you! Working with large tiles like these presents a number of challenges, the most significant of which is probably getting everything level and keeping it that way. You will need to ensure that each tile is level, but you should also check to see that all of the tiles are sitting equally and at the same height as one another on top of the mortar. Before you get started, make sure that you have a tiny level around 24 inches in length to check the positioning of each tile. It is also very beneficial to have a larger level between four and five feet long to examine how to level your floor overall and to compare the tiles to one another. Keep a rubber mallet nearby so that you may tap the tiles if you need to make any minor alterations.
 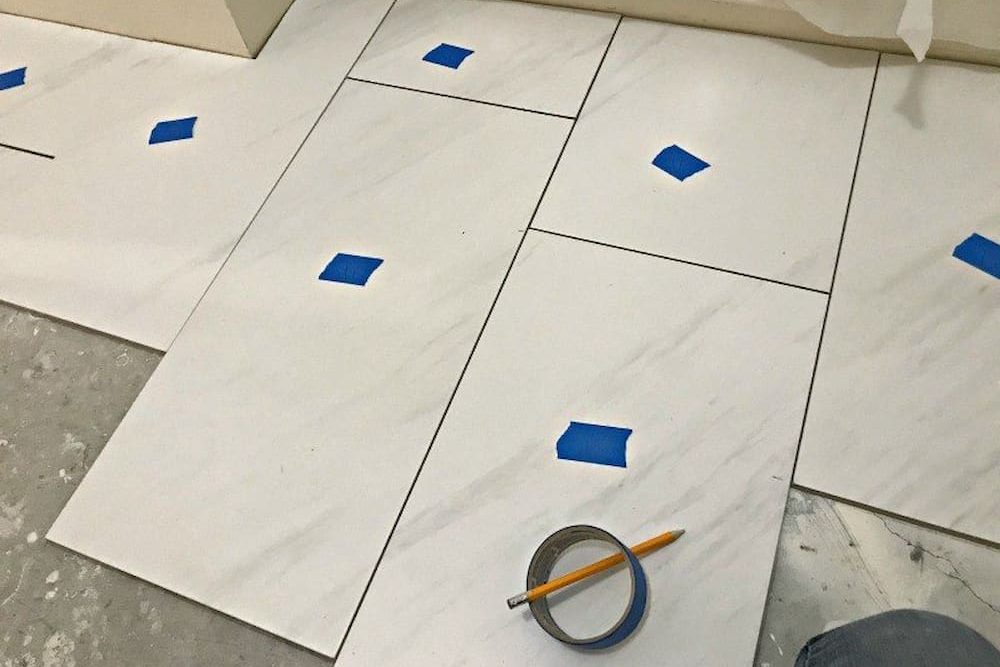 These tile lash systems are really useful because as you work with them, they automatically align the tiles so that they are flush with each other and ensure that your floor is completely smooth. We ended up not using the lash system this time, but we did use it the last time we placed this sort of tile, and it was a huge help in keeping us aligned. It has also come to our attention that if you mix your mortar so that it is on the somewhat thicker side, it is much simpler to obtain and keep the levelness you desire. Try making your next batch of mortar a little bit thicker than your last batch if you're feeling a little frustrated about how challenging it is to make things level. When installing tiles, the term "thin set" is frequently mentioned; nevertheless, when installing 12x24 tiles as flooring, you will need to utilize a mortar referred to as "medium bed." The medium bed maintains its consistency better than the thin set, which will experience some sagging in the center of the tile due to its thinner consistency. When everything dries and sets up if you use the thin set, your tile will wind up being unsupported and unattached in some spots, and this could lead to loose tiles. To apply the mortar to the subfloor in the area where you want the tile to go, use a notched trowel with a width of half an inch, as I described before. Mix your mortar so that it is somewhat on the thicker side.
 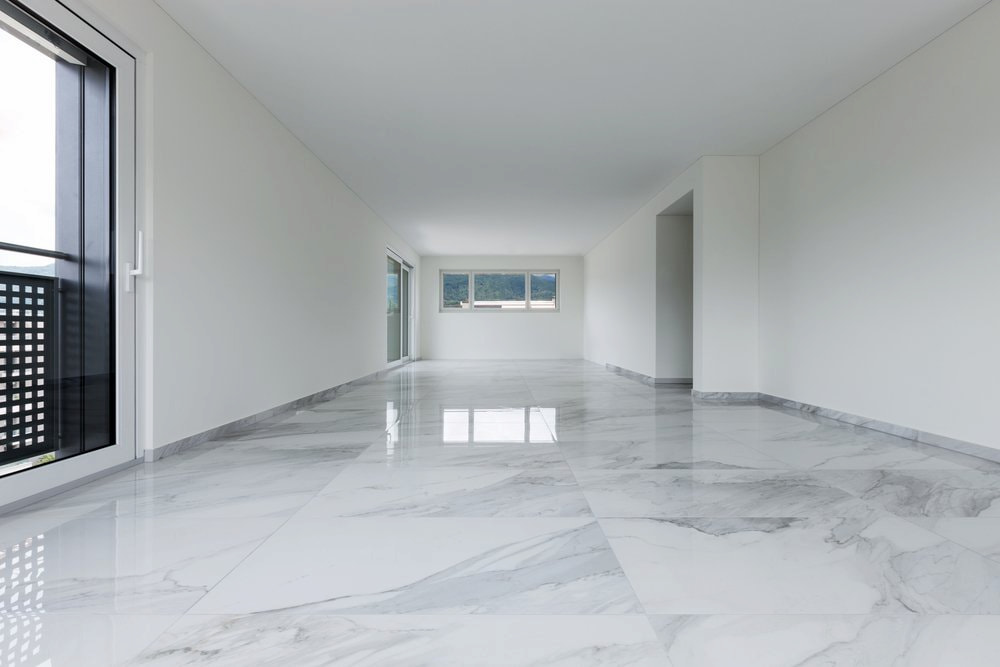 You should also have another, smaller shovel that does not have any notches in it (this type of trowel is called a flat margin trowel) on hand for a few other tasks. First, using the trowel with the flat margin, you will scoop your mortar out of your bucket and set it in a pile on your subfloor. Then, using the trowel with the half-inch notch, you will notch the mortar. It would be best if you also used this trowel to "back butter" the tile before you place it down. You can find instructions for this process online. You may be more accustomed to laying down a bed of mortar or back buttering, but in this situation, it's preferable to do both. By applying the mortar in both locations, the tile will be able to be suctioned into the flooring, and an extremely strong bond will be formed between the tile and the subfloor. Although it may appear that installing large tiles such as these will be a very quick process, quite a bit of time is required to ensure that the tiles are set down correctly and that the surface is level. Any excess mortar hanging outside of the area where you put down your tile will probably have started to dry by the time you work your way across the entire room and return to where you started your rows. This will happen by the time you finish working your way across the room.
  This is true even when you're working in a tiny room like our mudroom, so before going on to the next tile, it's a good idea to use your flat margin trowel (use number three!) and remove any extra mortar around your tiles. When installing over a heated flooring system, it is important to use a rubber margin grout float to avoid causing damage to the wire. (For a better understanding of the distinctions between the two, look at the tools outlined at the bottom of this piece.) You will also thank yourself later if you keep a grout sponge and a bucket of water handy so that you can wipe down the tops of each tile after you have laid it down to pick up any excess mortar that may have been found its way up there. This can be done by wiping down the tops of the tiles with the grout sponge. If you are clean as you go, you won't feel pressured to try to finish the job as quickly as possible, which frees you up to take as much time as you need to set each tile perfectly. This is because you won't have to worry about catching that pile of mortar before it dries or cleaning up any mistakes you made when you're done. Even if you feel like you have a good handle on tiling already, it is in your best interest to use spacers of at least a quarter of an inch between each tile that you install. The results will be much more professional looking. It's amazing how much of a difference can be made with something that only costs a few bucks for a few hundred. In this project, we utilized a sanded grout, which is generally always advised for flooring and larger grout lines than an un-sanded grout due to its tendency to be a little bit more robust than the un-sanded variety.
 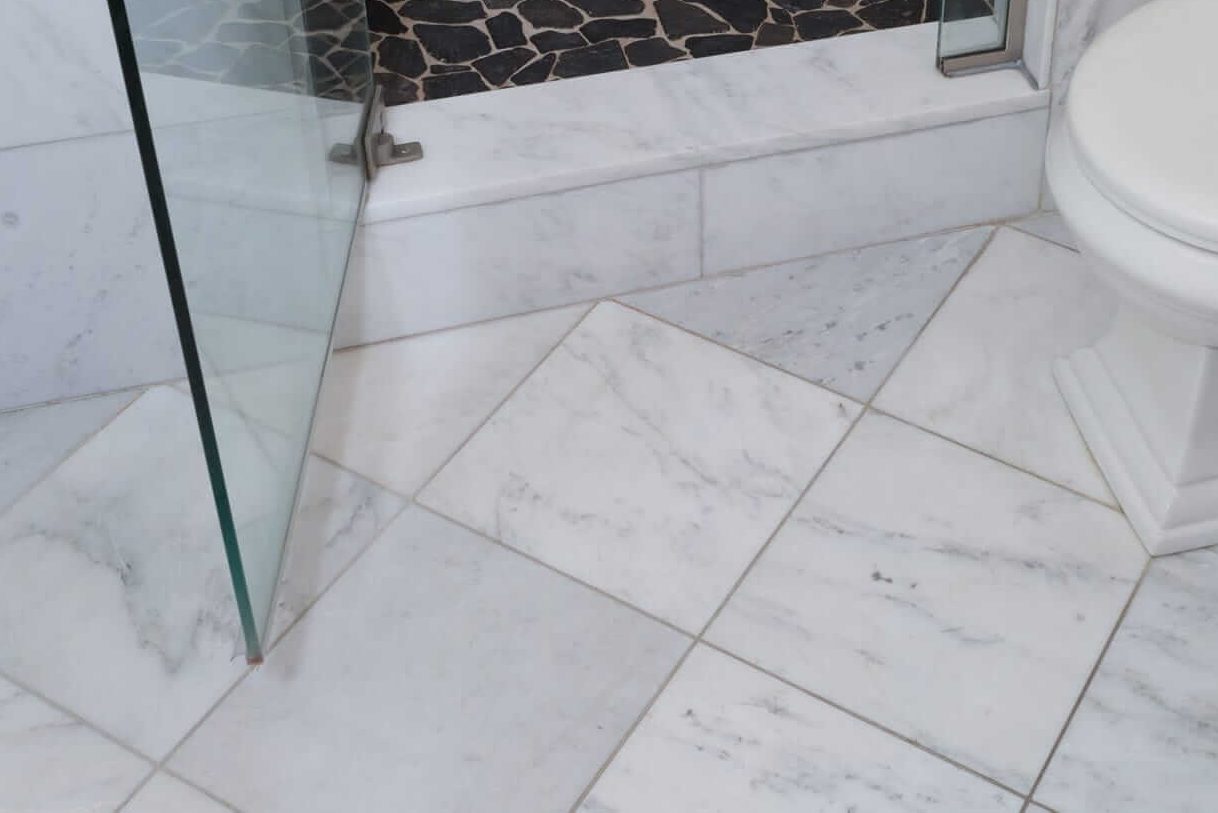 Because sanded grout can sometimes collect dirt more easily than un-sanded grout, it is crucial to remember to seal your grout after it has completely dried. Some people remark that they find that sanded grout can sometimes attract dirt more easily than un-sanded grout. In places like this mudroom, which see a lot of foot traffic, you should use a darker grout color. It will significantly impact the overall appearance of your tile floor once a few years have passed.
💰 Tenfold your income 💎