When we first made up our mind to install a hexagon tile backsplash in either our kitchen or bathroom, we promised ourselves that we would do it the traditional way, with actual tiles, mortar, grout, blood, and sweat. I was so thrilled to get the celebration started that I went out and purchased the hexagon tile sheets, the mortar, the grout, and all the other required equipment and supplies. The paint on the wall above the sink in our bathroom had already begun to flake off, so replacing it with a backsplash made of hexagon tiles was somewhat of an urgent matter. The backsplash in the bathroom is made of hexagonal tiles. We had just finished trimming the tiles to the appropriate dimensions (more on that later), and we were on the verge of tearing open the bag of mortar when we unexpectedly came upon this video. That is the moment when things started to alter. It turned out that we didn't need mortar, and we also didn't have to start from scratch when it came to mixing the grout. There are some incredible sticky tile mats and pre-mixed grout options available to you that will make your life a lot simpler. We sent back all of the equipment and supplies that we were no longer going to use, and in their place, we purchased adhesive tile mats and pre-mixed grout. 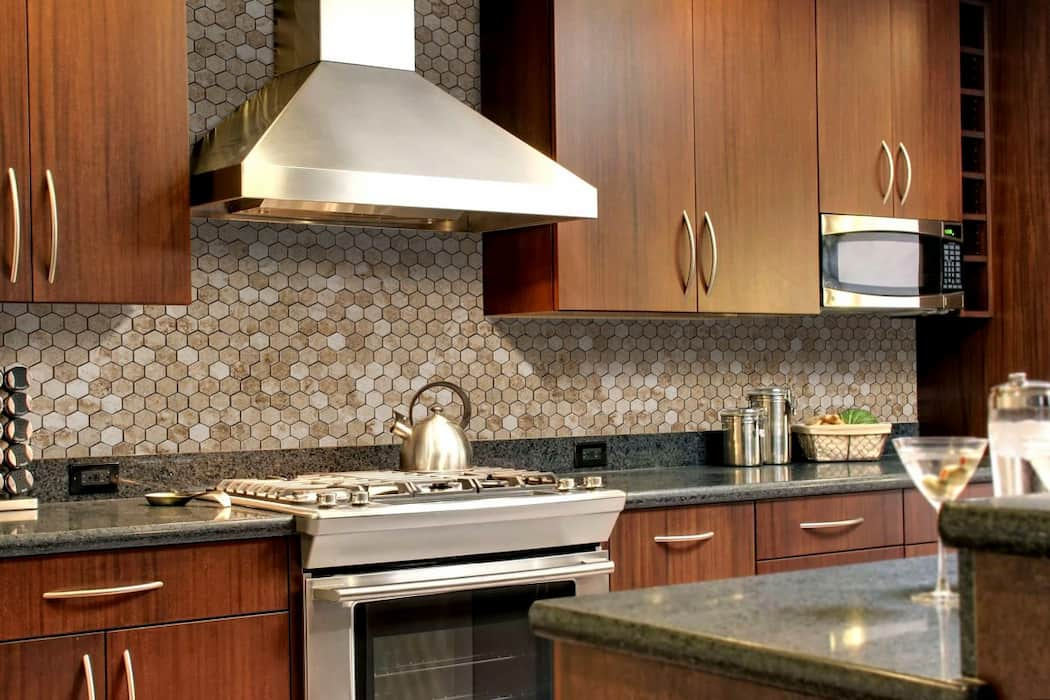 Our endeavor to tile starts at this point. Supplies and equipment sheets of hexagonal tile (ceramic). Pre-blended grout (in the color of your choice) A manual tile cutter Tile nipper Adhesive tile mats sponge Tape used for painting Bucket/Grout Float Rock (a random rock you find outside will do just fine). Instructions on how to properly install a backsplash made of hexagonal tiles
- Taking measurements of all the surfaces
You will definitely need to take measurements of your wall in order to ensure that you get the appropriate number of sheets of hexagon tile (generally measured in square feet). Calculating dimensions and chopping up tiles After you have purchased the tiles, you should mark them according to the dimensions of the wall so that you may cut them appropriately. It is important to keep in mind that the inexpensive tile cutter that I have suggested is only suitable for making cuts that are straight down the center of your hex tiles; the tile nipper is what will be used to make cuts that are irregular. 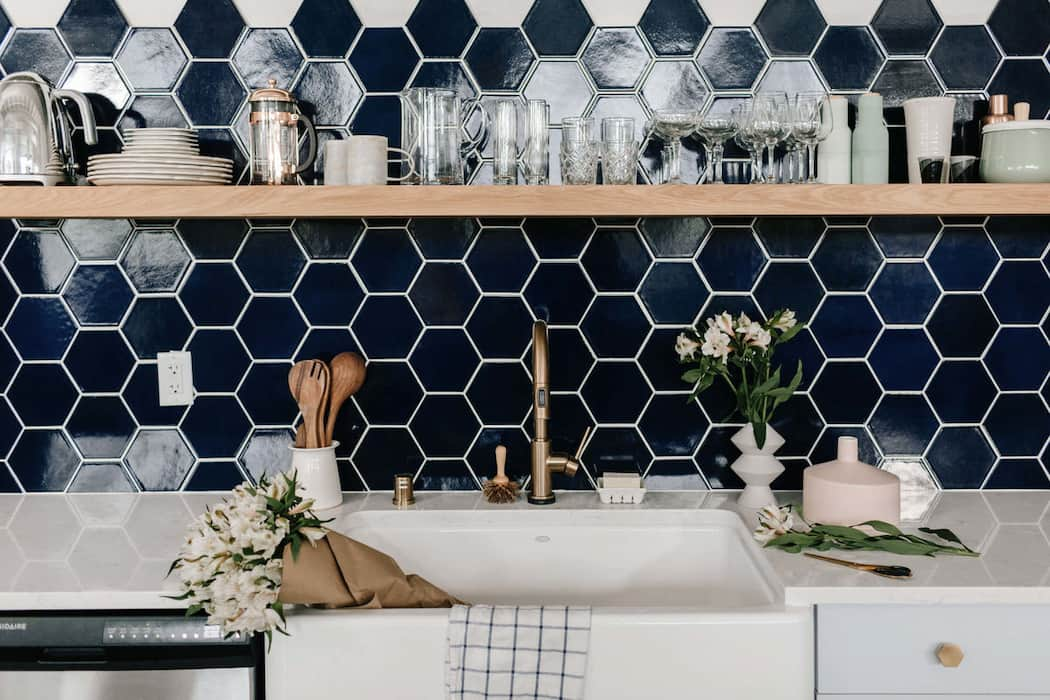
- Trimming and finishing the edges of the tiles
This is the portion of the endeavor that gives me the greatest anxiety. If you want to learn how to operate a manual tile cutter in the correct manner, I suggest watching this video. You can expect to feel anxious at first, but this feeling should pass after the first handful of cuts you make. A manual ceramic tile cutter You'll note that the majority of your cuts aren't exactly smooth, and the rock is responsible for this. Either you use it to file your tiles, or you purchase a tile stone, but why would you waste the money on the latter option? The rocks are free to take!). You will also be required to make cuts that are not even, particularly if there are electrical outlets involved. This video-guided us through the process of learning how to operate a tile nipper, which is required for cutting those tiles. It is an excellent way to strengthen the muscles in your hands (and by "excellent," I mean that your hands will probably be sore for the next three days). ceramic tile nipper Take note: you are going to place some tiles below the face plate of your electrical outlet so that it may rest in the correct position on top of the tiles. You can learn how to accomplish it by watching this (yet another) video that serves as a tutorial. placement of electrical outlets into tile
- Putting down the self-adhesive tile mats
You are only required to follow the directions that are printed on the adhesive tile mat package, and then you can start gluing things together. It is much simpler to use than mortar, and the greatest thing is that there is no mess to clean up afterward. Sticky tile mat backsplash To install the tile mats on your wall, just peel off the adhesive backing of the mats, adhere them to the wall, and, if necessary, trim them to size. On to the fourth step! 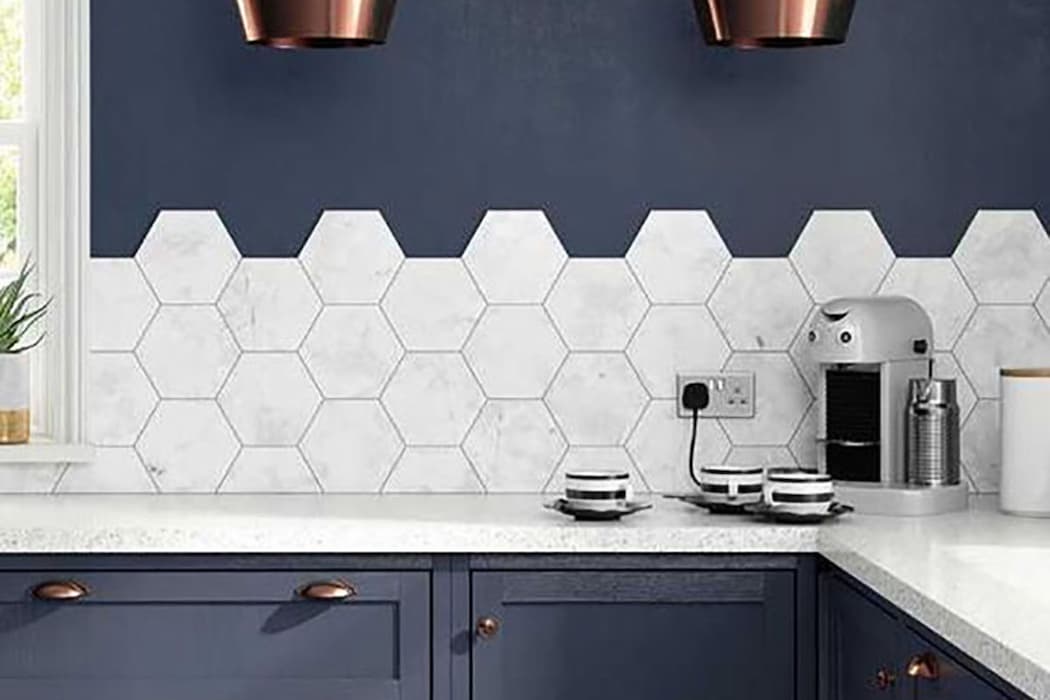
- Putting the sheets of hexagonal tile in place
You might require to repeat this step a few times before you get it perfect, but once you do, all you need to do is peel away the front side of the tile mats, align the hexagon tile sheets, and glue them. In preparation for the hexagon tile backsplash Make absolutely certain that the tiles are firmly attached to the tile mats by applying some light pressure to them with the grout float. Once you have pressed down on a tile, you should not attempt to transfer it to a different location.
- Using the grout in the joints
This is the last (and quite messy) step of the process. Be careful to cover the area that will be hidden by the tiles, as this will save you from having to scrape the grout off of your countertops subsequently. To further ensure the safety of your cabinets, you could also think about applying tape to the corners. In order to effectively cover all of the crevices in your tiles, take your grout float, place some pre-mixed grout on it, and then drag it diagonally across the tiles. If you happen to miss certain locations, you may just massage the grout in with your fingertips. Grouting for the backsplash tiles. Put your sponge in a pail of water, wring it out well, and use it to remove any extra grout. Rinse and repeat a significant number of times until you have removed all of it, and be sure to replace the water in the bucket often. Note: Before removing the grout with a moist sponge, do not let it dry for more than the recommended amount of time. If you want the greatest outcome, be sure you read the directions on the container. 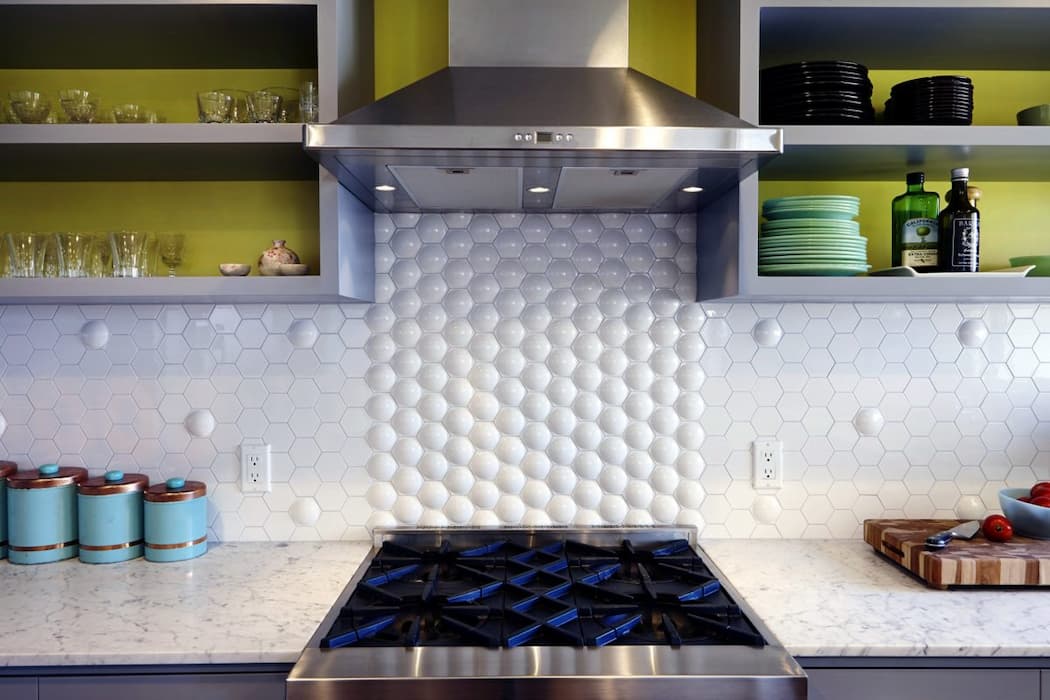 Final results Before putting the tiles Installation of hexagon tile in the backsplash We selected a dark grey grout to really make the tiles stand out, but if you want to be more discrete, you may use a lighter color of grout instead. You may even choose hex tiles in a variety of colors; however, you must make certain that you are working with ceramic tiles; otherwise, the tile cutter and nipper won't be of any use to you.
0
0