installing glass tiles needs some consideration and steps, the main steps are; Step 1 - What type of glass tile is being used? A critical aspect of a successful glass tile installation is to understand what type of glass tile is being considered, both in terms of how it's made and its size. Not all glass tiles are made the same way, to the same specifications, nor can they be used in all of the same applications. Some are made in boutique shops where each tile’s unique nature is important. Others are made according to consistent manufacturing processes. Step 2 - What will you use to bond the glass tile to the substrate? Ceramic and porcelain tile can normally adhere to a properly prepared substrate with a good quality A118.4 latex modified Portland cement mortar. Glass tile, however, is not in the “one size fits all category.” For instance, if a highly latex-modified mortar is used to install a low-temperature coated glass tile in which the mortar has a stronger bond than the coating to the back of the glass, the coating may become distorted and look like crumpled aluminum foil. Step 3 - Is the substrate properly prepared? Surface preparation for any kind of tile installation is critical. Again, this is especially true for glass tiles. The substrate must be fully prepared and clean before installing the tile. Ensure that you have no deflection that might affect glass. Glass is fragile and needs additional support to resist cracking. Don't forget to include movement accommodation or expansion joints. Failures in glass often result from expansion due to exposure to heat from sunlight or from steam/hot water. Expansion joints help mitigate these failures.
How to install glass mosaic tiles with mesh backing
The most popular backing for glass mosaic tiles nowadays is mesh, which with the right installation makes it possible to tile elaborate glass mosaic tiles forms more quickly and precisely as you position them in bigger panels than previously. When installing glass mosaic tiles that create a pattern, it's crucial to lay out all the patterns beforehand to make sure the arrangement is accurate. Then, if you're tiling a floor, be sure to end at the door that needs to depart by and work your way out from the center of the room. It is better to follow comprehensive fixing recommendations for a variety of substrate types because installing glass mosaic tiles is a complicated process. These will provide you with the fundamentals of tiling floors and walls as well as helpful product suggestions for specific projects. The glass mosaic mesh backer is the first tip, which will make tiling a mosaic much simpler.
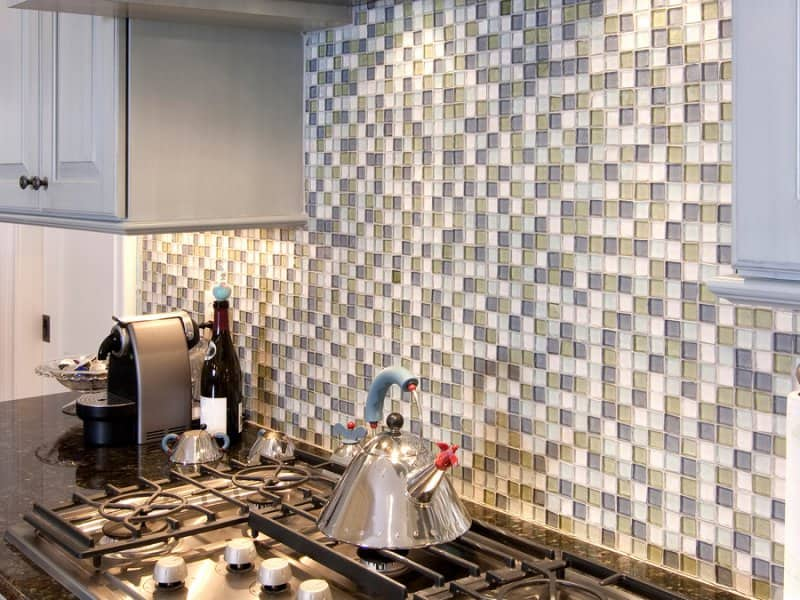 Kitchen wall tiles modern design
Using the backer will keep your mesh sheets stiff. Because glass mesh-backed mosaics are extremely flexible, they may be difficult to line up, particularly when wall tiling. Simply adhere the glass mosaic tiles to the backer's self-adhesive side and press it into your adhesive bed like a regular tile. It may be readily trimmed to suit any mosaic glass tiles since it is composed of PVC. Use grout protection once your tiles are completely mended, cleaned, and dried, as a last top tip. It's crucial to maintain clean grout since mosaics display it far more than bigger tiles do. Applying the durable grout protector Spray just takes a few minutes and it aids in preventing the accumulation of dirt and grime.
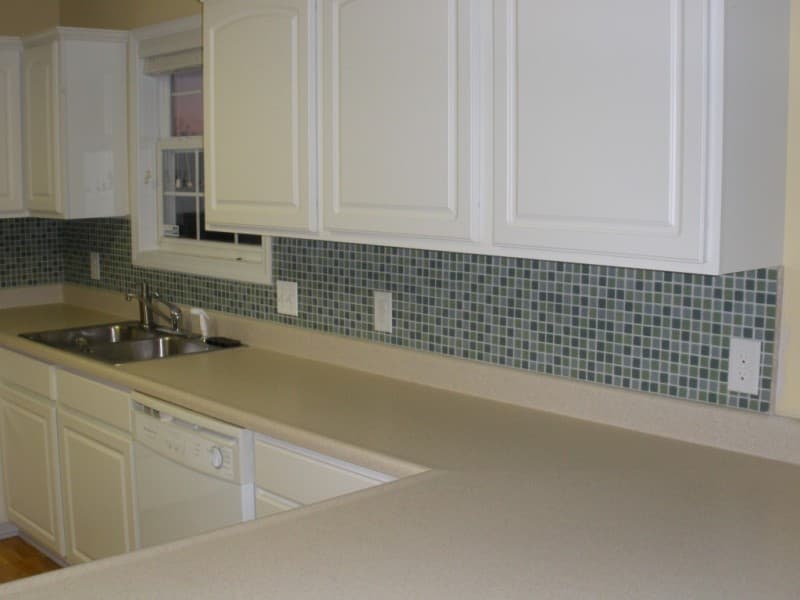 Ceramic kitchen tiles for export
How to install glass tile in shower
glass tiles is included as the most well-liked and useful shower options, providing install a durable, water-resistant surface for the shower from the very beginning. However, one of the most crucial choices you'll make when planning or renovating a bathroom is selecting the appropriate shower tile for the project. Although glass isn't typically thought of as being durable, glass tile may be just as resilient and long-lasting as ceramic tile. Glass tile is more robust than ceramic tile because it naturally maintains some of those qualities. Glass tile does not have moisture absorption since it is not porous and they are not proper for bathroom floor. Any tile job that suffers from moisture penetration risks developing mold and mildew.
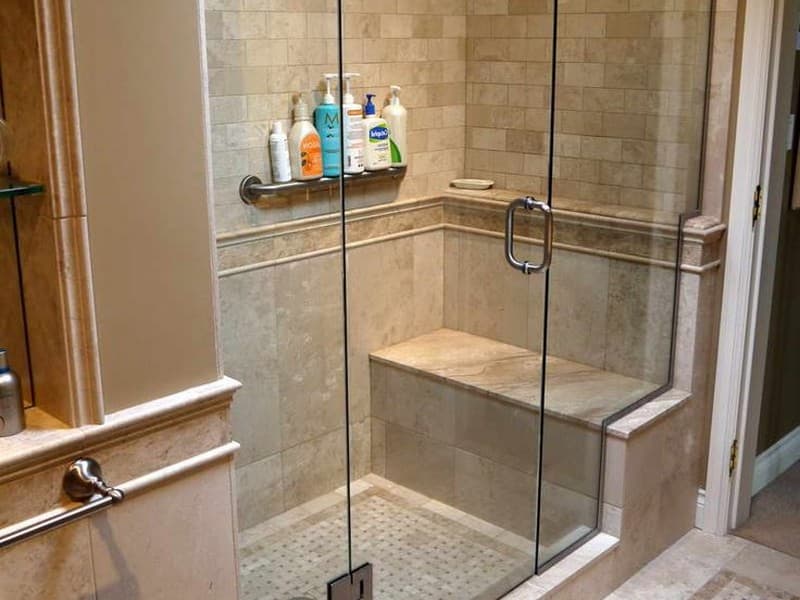 Tiles purchase porcelain bathroom floor
As long as it is installed correctly, there is no need to be concerned about glass tile. There isn't much of a difference between installing ceramic tile or installing glass tile, according to the majority of tile installers. Glass tile installation in the shower is rather simple, according to a professional installer. This cutting of glass might cause some installers to get frustrated, but overall installation is not too difficult in the shower. Glass tile may be utilized for bigger projects, including full walls or shower ceilings, but Hubbard often only sees it used as an accent. Placing the glass in the work area is necessary to install glass tile, much like ceramic tile. Due to the translucence of glass tile, the thin-set is often white to preserve a transparent backdrop that doesn't alter the glass' color. Glass tile, which is transparent, requires a flawless thin-set or subsurface, according to the installer. "If the tile is utilized in a swimming pool’s bottom that deals with water like a bathroom, the grout will also affect the installation's longevity and aesthetic appeal. 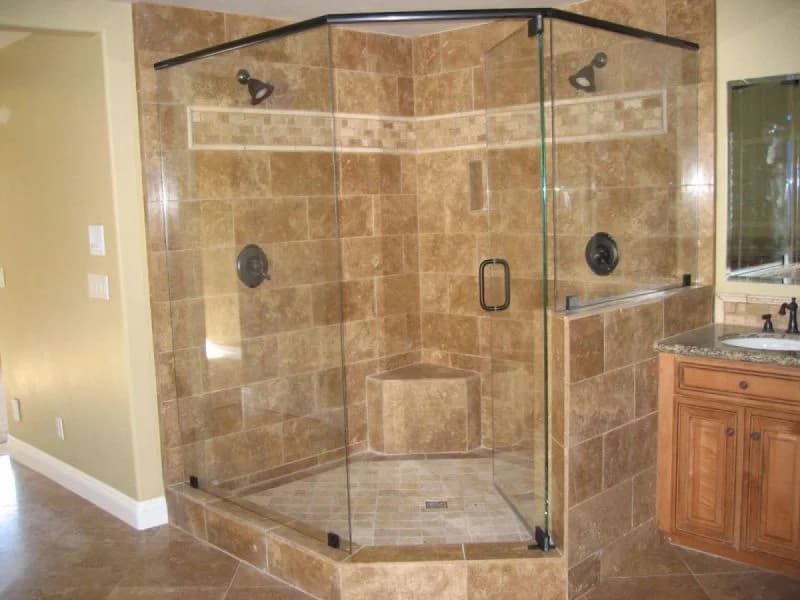
Glass tile adhesive
It's crucial to use the right adhesive when installing glass tiles in order to keep them firmly attached to the substrate or prevent them from falling off your walls. It is advised to use proper adhesive, in dry regions and moderately moist circumstances (like splashbacks and home showers). Mosaics made of glass, ceramic, porcelain, and natural stone may be installed with a white, excellent performance adhesive. It is a powder made of cement that has great anti-slip qualities and a prolonged opening time. flexible and appropriate for attaching glass, the adhesive must be combined with it (in a 1:1 dilution with distilled water). Before adding it to powder, the adhesive has to be pre-mixed with water. In order to prepare 0.9 liters of and 0.9 liters of water in a bucket for a 5-kilogram bag of sticky materials, add the 5 kg of Powder first. 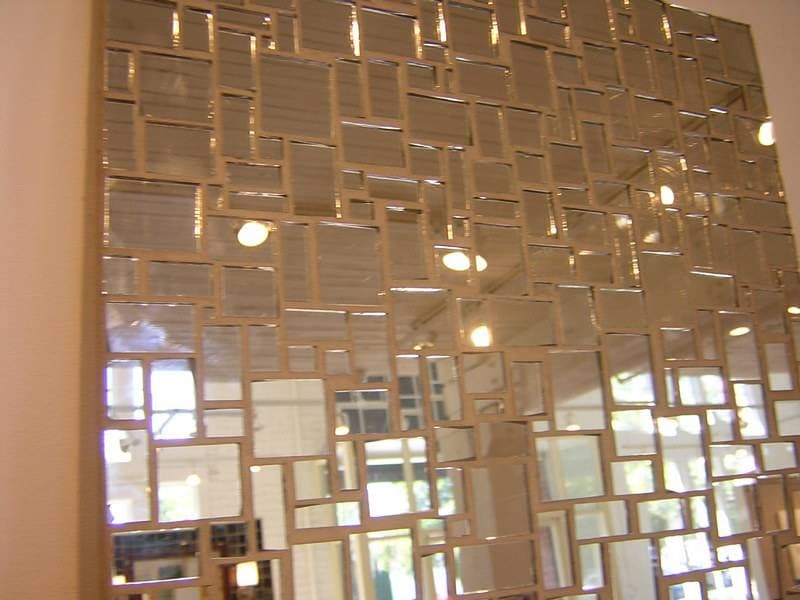 It is advised to use SF since the particles are so small and far less likely to harm the surfaces of the tiles when grouting glass tiles. It is best to avoid using a coarser grout since doing so might harm the glass tile in addition to producing a surface that is less acceptable. The glue should be allowed to cure for at least 24 hours before grouting any glass. With a rubber float, grout should be rubbed into the gaps between the mosaics, making as little contact with the glass tile face as possible while pushing hard to remove any air pockets. The best practice is to just grout around 1 square meter at a time, take away any extra grout, and clean the area with a moist sponge before moving on. When cleaning the surface, grout that has dried on the glass surface may be dragged over the surface, resulting in unneeded scratching and damage.
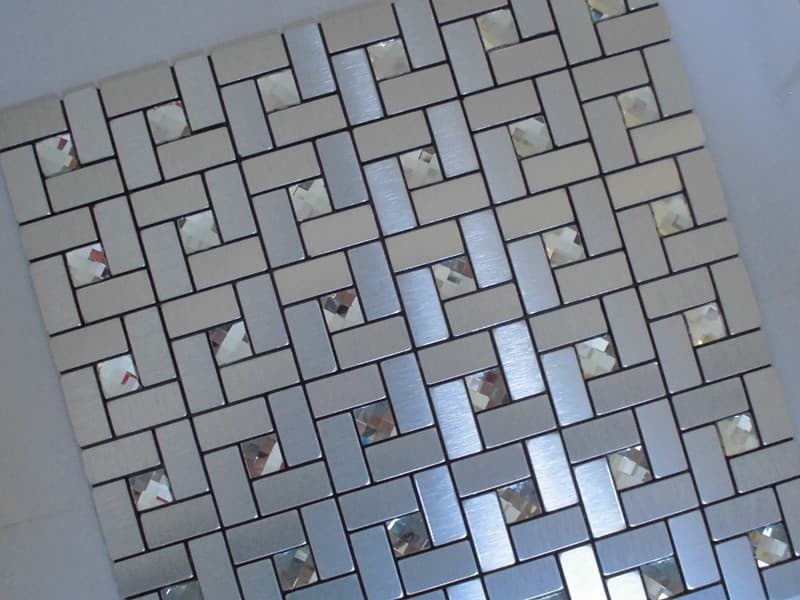
Glass tile installation problems
Verify the color harmony of the glass tile is existed but in contrast, there are installation problems too since glass may be the only material used in an installation, it's essential to use a binding mortar that adheres to the specific requirements of glass. When laying opaque ceramic tile, the color of a thin-set mortar was often not a problem. However, transparent and translucent glass allows the mortar to be seen through the tile; if the color of the mortar fluctuates, it will also do so in the glass tile. Use a glass tile mortar with a brilliant white tone that is managed to a constant standard color to avoid differences throughout a glass tile installation. Even in big installations that need numerous batches of mortar, the color constancy will guarantee a consistent look on the face of the glass tile. 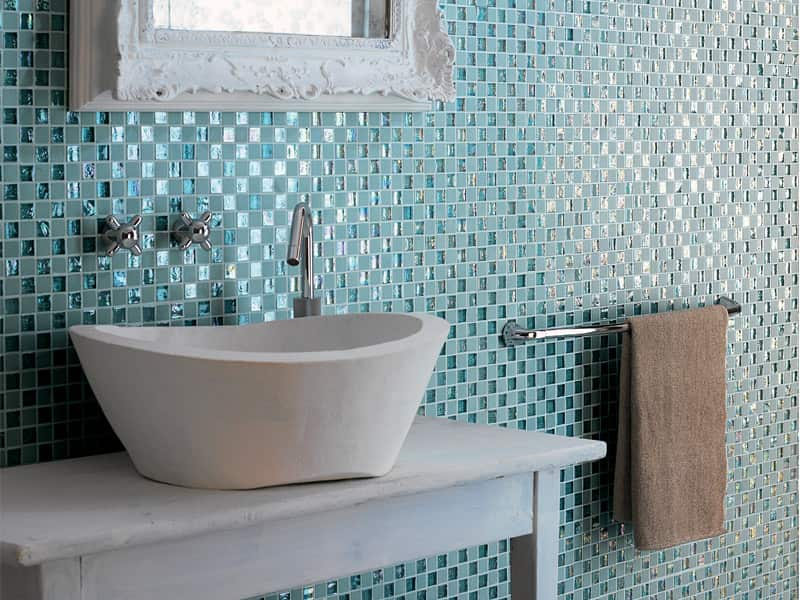 In addition, the mortar's brilliant white hue may improve the appearance of glass tiles that are transparent or translucent. In order to install ceramic tile, a thin-set mortar must first be applied to the surface using a notched trowel, and then the ceramic tile must be pressed into the mortar in order to collapse any ridges and enhance contact with the mortar. Unfortunately, doing so may leave a lot of space in the cement holding the tile in place. The randomly dispersed air pockets or spaces could be seen through the clear or transparent glass, although this wouldn't be a problem with opaque ceramic tile. The mortar must still be applied to the substrate using a notched trowel, but it must also be back-buttered (applied evenly and thinly to the back of a glass tile). Now since the back of the tile already is covered when the two mortared surfaces are forced together, any leftover gaps from the mortar ridges are buried and do not show through the glass tile. Make sure the mortar resists shrinkage as well. Regular thin-set mortars have a tendency to shrink and pull away from the tile, creating gaps and bubbles during the curing process.
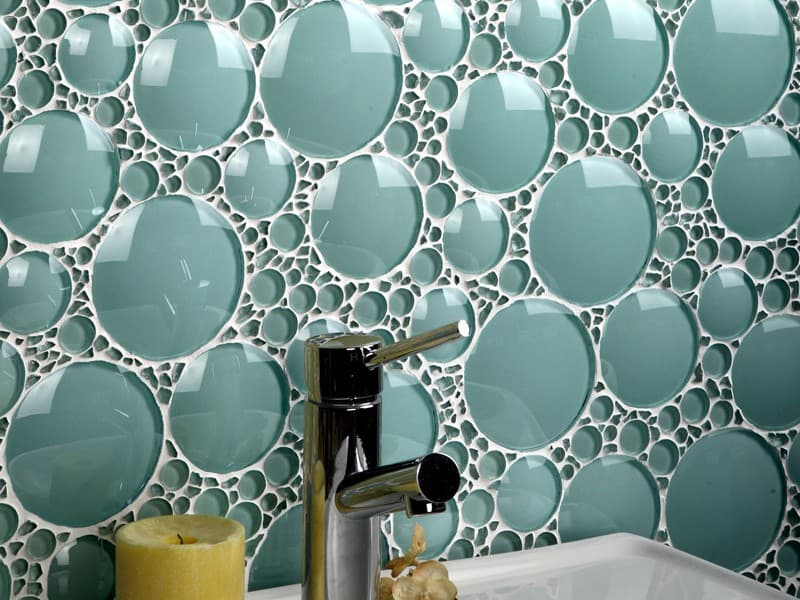
Is glass tile hard to install
Glass tiles must be properly installed on a surface that a hard work to do and has been meticulously prepared even if they are a long-lasting, simple to maintain, and durable option for bathroom decor or a kitchen backsplash. The importance of properly preparing the surface for installing glass tiles cannot be overstated. Cutting ceramic or porcelain tile is quite similar to cutting glass tile. However, any one of these tools should include a carbide blade and cutting wheel for cutting glass since it cuts and scores glass more effectively than other materials. Diamond blades may also be used with a wet saw. Diamond Blade with Wet Tile Saws for Glass Tile. The blade has a 7 mm continuous rim, a diamond-coated cutting edge, and is designed to make clean cuts through glass tile with little chipping. The setting materials must have a solid bond since the surface of glass is so smooth. 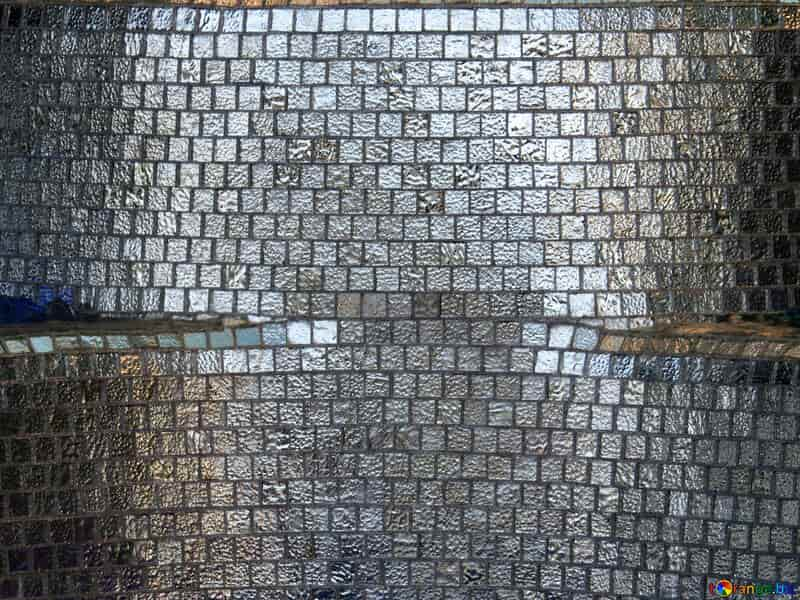 High bond strength materials with such a high polymer content ensure that the glass stays in its place throughout installation. Small, artisan glass tile manufacturers may not produce their goods to industry standards owing to surface modifications or tile backings, which is another installation difficulty. Metallic and painted backings may come free because they may not adhere to cement-based mortars effectively. Similar to mesh backing, water trapped under the tile might deteriorate the bond or lead to mold growth. Before beginning the project on a larger scale, be sure to construct a mock-up to evaluate the tile installation materials. There are times when glass tile installations fall apart as a consequence of exposure to heat sources like the sun. Glass tile expands and absorbs heat at varying rates from cement setting ingredients, which may cause fissures in the completed surface.
How to cut glass tile
Depending on your purpose, a certain glass-cutting technique may be best. You might need to use different tools than if you were cutting glass tile, for instance, if you were cutting glass for a window or a mirror. Tile cutters are often used to cut a wide variety of tiles, including glass, porcelain, ceramic, and more. The blade is what makes a glass tile cutter unique: Since glass is more delicate than porcelain or ceramic tiles, you should use a blade that is particularly made for cutting glass, and cut with extra caution. According to Bob Vila, you may manually cut glass tile using a glass scoring wheel, grozing pliers, or running pliers. If you are tiling a wide area, cutting glass using a tile saw, or even more precisely a wet saw, is advised since the task proceeds more swiftly. 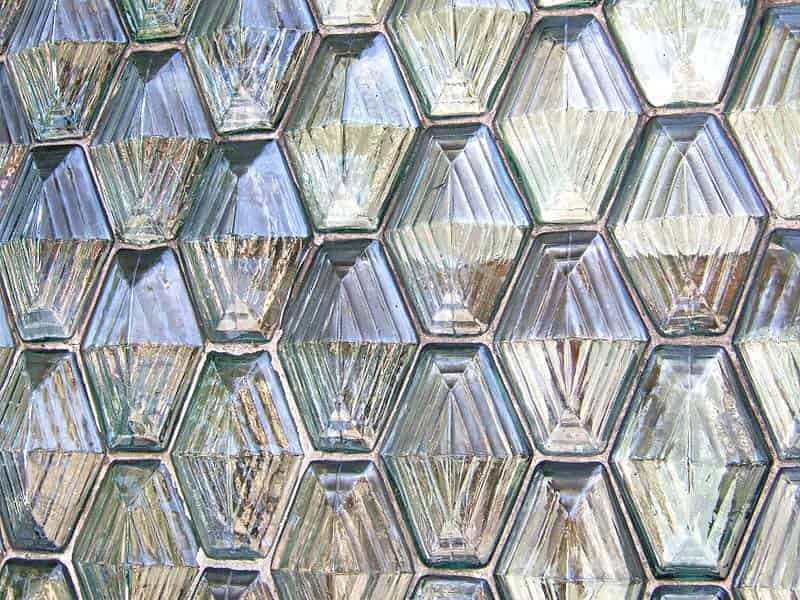 A bar cutter or floor tile pliers may also be used to cut glass tile, according to Sebring Design Build. Both of these techniques include scoring the glass while cutting it, which is comparable to manually cutting glass but with the use of equipment to speed up the process. The ideal blade for cutting glass tile, regardless of the equipment you use, is a diamond or carbide blade; in those other words, a blade that's also strengthened and made to cut glass without shattering or chipping the glass.

0
0