Make your selections and take the necessary measurements of beveled tiles to find out how to install them. To locate the tile that best suits your needs, go to the manufacturer's website or the home improvement store in your neighborhood. You should either place an order for samples of a few different types or ask the store if you may borrow the samples for the night before making a purchase choice. This will let you see how the styles look in your house. After you have selected your decision, the next step is to determine the tile's dimensions. Since there are so many different kinds of beveled tile available, it is advised that you lay a few samples up against the wall or floor where the tile will be installed so that you can make an educated decision. 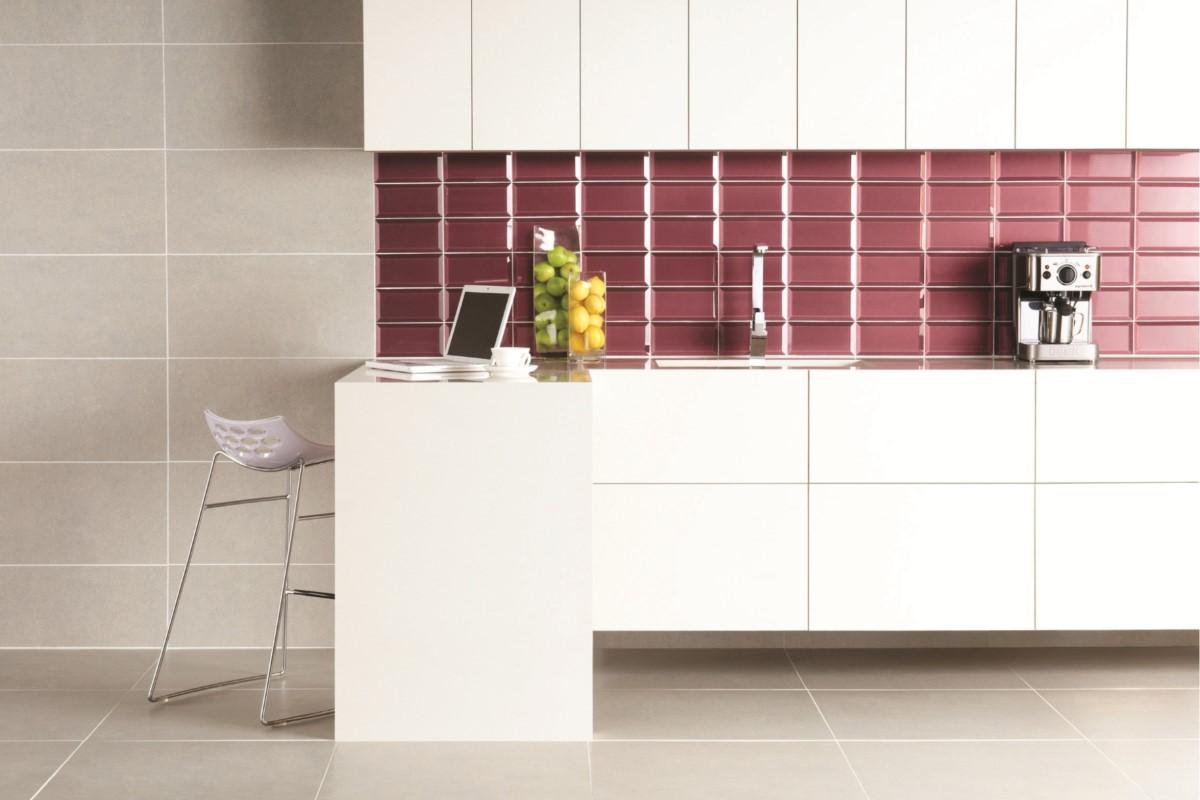 For example, the size of your tile might be 3 inches by 6 inches (7.6 centimeters by 15.2 centimeters), which can help you calculate how many you need. Take the necessary measurements to determine the number of tiles required to cover the space. You can determine the size of the area in which you intend to put the beveled tile by measuring it with a ruler or a tape measure. Take measurements of the length of the space to determine how many tiles will be required to cover it from end to end. After that, take vertical measurements of the area to determine how many tiles will be required to cover it from top to bottom. You will need the total of the two numbers, which can be found by adding them together. Take, for instance, the case where you have a beveled tile that is three inches long and six inches wide (7.6 by 15.2 cm). To cover a distance of 120 inches (300 cm), which is the length of the area in which you want to install it, you will need 20 tiles. To cover the area from top to bottom with tiles, you'll need 15 of them if it's 45 inches (110 cm) tall. When you add up all of these numbers, you'll find that you need a total of 35 tiles to cover the full area. You should clean the area and take off any coverings that were on the outlets or the switches. It would be best if you wiped off the area where you plan to install the tile using an all-purpose cleaner and a clean cloth in order to eliminate any dust or grime that may be present on the surface. Use a screwdriver to loosen the screws that are holding any outlet or switch covers in place, and then remove the covers from the outlets and switches. Putty or another type of filler can be used to repair any holes in a wall, and then sandpaper can be used to make the surface as smooth as possible.
  Put some painter's tape around the perimeter of the space. Mark the boundary of the place where you'll be installing the tile in order to prevent the glue from getting on the nearby area. Use painter's tape to do this task since it does not leave any unpleasant sticky residue when it is removed. It is not recommended to partition off the area using things such as transparent tape or duct tape. When applying thin-set tile glue to the wall, use a trowel that has a notched edge. Pick a glue that was developed specifically for tile, as this type of adhesive won't be overly thick or sticky. Put a thin coating of glue on a hand trowel, then cover the entire area where you intend to place the tile with the adhesive in a thin layer. Your neighborhood hardware or home improvement store should carry thin-set tile glue. You can also get it online. You may also place your order online. Begin by pressing the sheets of tile into place after the border tiles have been installed. To install a tile, place it where you want it on the floor or wall, and then press it down into the glue. If you have border tiles, you should start by laying those down. When installing tiles on a floor or wall, begin on one side and work your way across the surface, making sure that each tile is laid so that it is flush against the one that came before it. If you start at one end of the area and work your way across it, the task will be completed more quickly, easily, and consistently than if you start in the middle of the area. This is because you won't have to move around as much to add more tiles when you start at the end. Change the covers on the wall outlets and the switches. If you took the outlet covers off of a wall before you started installing tile, make sure to put them back on once you're done. After repositioning the covers so that they are flush against the wall, use your screwdriver to re-insert the screws that will keep them firmly in place.
  Give the adhesive at least a full night to dry. The tile adhesive needs at least 8-10 hours to thoroughly cure before it can be used. Before you do anything further to the tile, you should be sure that the substance has solidified and is completely dry. Wait for about an hour and then check to see if the glue is still tacky or if it has dried completely before proceeding. A rubber float is the tool of choice when applying grout to the tile. A rubber float is a tool that is great for adding grout because it is lightweight and portable. Put some grout on the float, and then use it to fill in the gaps between the beveled tiles in a uniform layer. Continue adding grout to the float and applying it until the spaces between all of the tiles are filled with grout. The use of grout can extend the life of your tile, prevent mold growth, and keep water out. Use a sponge to clean the tiles after the grout has been placed and has had time to dry for an hour. Keep waiting until the grout is completely dry, which should take about an hour (but check the packaging for specific drying times to be safe). After that, fill a bucket with warm water, and using a clean sponge, clean the tiles as well as the grout between them. Caulk should be applied to the joint between the tile and the wall or countertop. Use caulk to fill in the space between the edge of the tile and the wall, the countertop, or any cabinets if you want to ensure a watertight seal.
 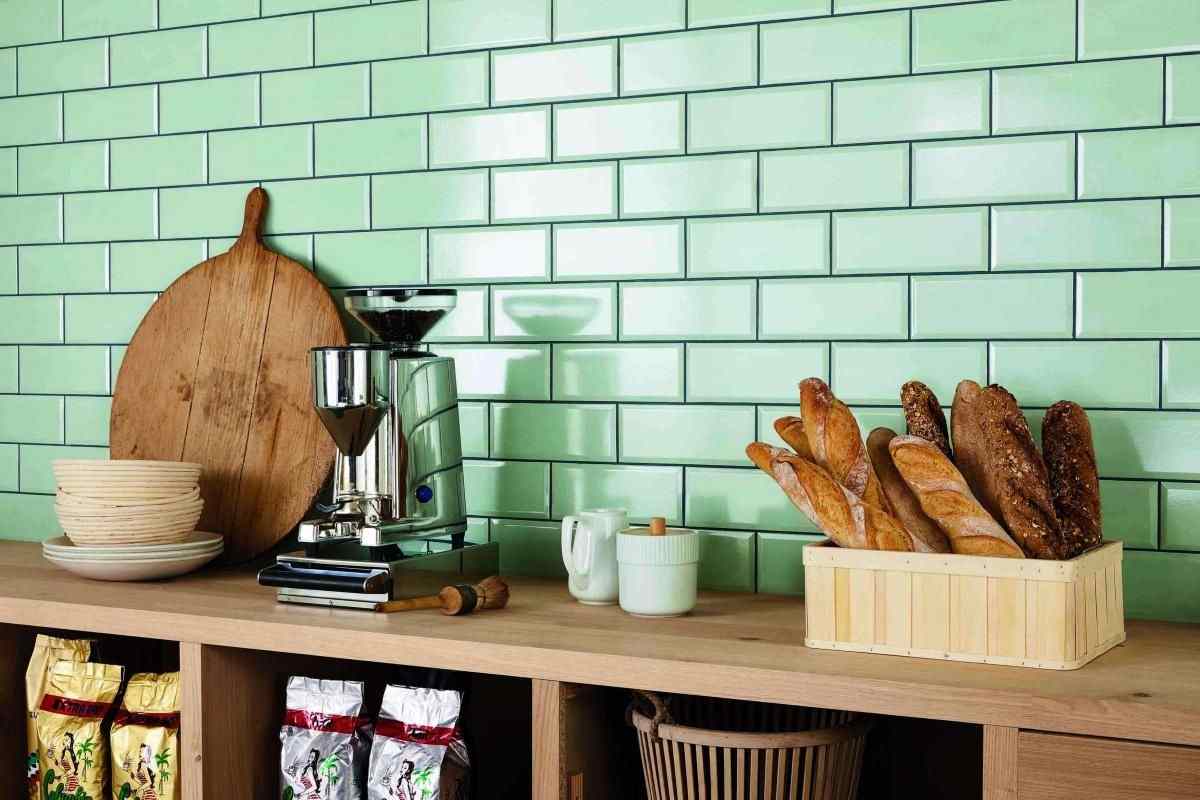 First, use painter's tape to seal off the parts that should not have caulk, and then apply the caulk only to the area that has to be filled. Please make use of your fingers to smooth it out and fill it in more completely gently. After that, take off the painter's tape and wait for the caulk to dry completely. Examine the product packaging for recommended drying periods.
💰 Tenfold your income 💎