Learn how the installation of outdoor porcelain tiles DIY is done, for a less expensive home improvement project if your yard might use a facelift. Whether your area is huge or little, a new patio can radically alter its appearance and transform it into a beautiful spot for entertaining and to be relaxing. People usually pick outdoor porcelain tile over patio pavers for a slightly more polished and elegant appearance. There are numerous options for patios, and we carefully evaluated each one. 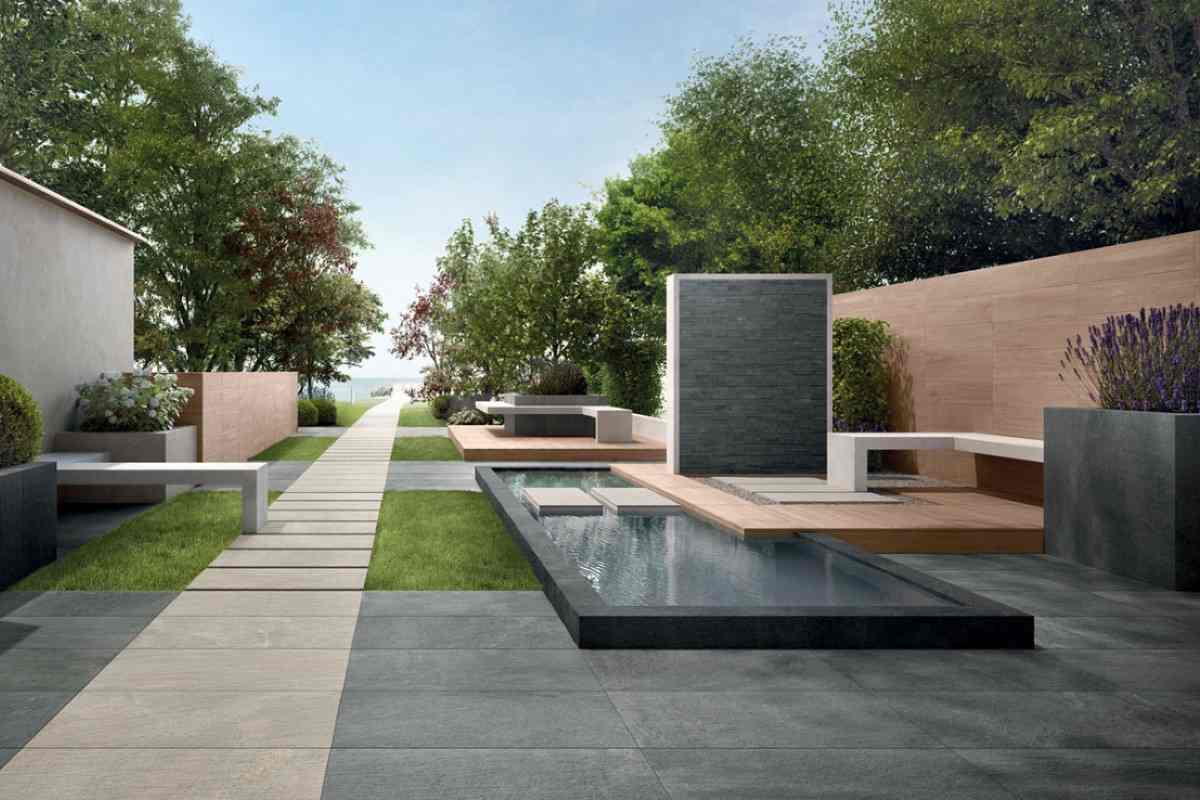 We chose porcelain because it is created by humans and is accessible in a vast array of colors and designs. They require less upkeep than natural stone alternatives since they are impermeable. They are as easy to clean as indoor tiles and will not turn green and dingy like other options. The final thing we appreciate about them is that they have a contemporary appearance without being excessively so. Plan a weekend for the installation of porcelain tiles in your outside space.
- Difficulty ranges from moderate to difficult, but don't let that prevent you! You can do it without a doubt; all you need is the proper equipment and some careful planning.
- While outdoor tile is typically more expensive than pavers, installing it yourself is less expensive than hiring a professional.
- A few days, including the tile's minimum installation time of 24 hours.
The difficulty of installing outdoor tiles lies in the necessity to frequently trim certain of them. Ensure you adhere to the idea of "measure twice, cut once" by laying out your tiles in the area to find the optimal arrangement that will prevent unnecessary cuts. If you must cut them, you will need a circular saw for most other slabs and a diamond-tipped cutting wheel for porcelain tiles. In addition to safety equipment (gloves, earplugs, and eye protection), you must wear form-fitting clothing to avoid becoming entangled in the machinery. Mark your specific area using wooden pegs and twine, ensuring the corners are square with a builder's square, or by nailing two planks of wood together to form a right angle. After laying the tiles, you must excavate some soil to level your patio with the house and/or yard. 10 centimeters for the hardcore and 1.5 centimeters for the mortar bed, plus an amount proportional to the depth of your tiles, a total of 11.5 centimeters of soil (e.g. if your tiles are 2cm you would dig 13.5cm in total). If you have removed too much soil, save the excess for the time being. Before testing, remove any large debris, rake the dirt smoothly, pound the earth with a sledgehammer or a piece of heavy wood, and level the soil.  In addition to ensuring that your patio has a slight slope so that water flows away from your home, you must ensure that the hardscape you install in step three is of the right depth (10 cm is the industry recommendation). If you want a comfortable slope, the industry suggests a "fall" (or slope) of 1 cm every 80 cm, which implies you should dig deeper by 1 cm for every 80 cm of distance. To assist with this, you must add a depth guide consisting of thread and pegs to help you lay the hardscape. To estimate the required depth (your chosen hardcore depth plus the adjustment for the runoff as described above), cut a number of wooden pegs from old wood and hammer them into the ground at various spots within the designated area. The top of the pegs will indicate how high your hardcore should be filled. Verify the levelness of parallel pegs with a level. Run a rope from the top of the patio to the bottom in a straight line with the tops of the pegs, measure the slope, and adjust the pegs as needed to achieve the desired slope. Distribute clean hardcore (which is available pre-bagged from builders' shops) or crushed stone to form a sturdy subbase once all the pegs are in place. As a foundation, this is vital for regions that require strength, resistance, and load-bearing capacity. Pack it down with a sledgehammer or by placing a board on top and pounding on it to ensure it is flat. Ensure the base is level with a level. You may now begin tile installation. Choose the format for their placement and the spacing between them (1.5cm is a good guide). Cut thin pieces of wood for use as tile separators. Using a mixture of sand and cement, layer your mortar on top of the hardcore at a thickness of around 1.5 centimeters, one row at a time (four parts sand to one part cement). Install the tile after applying the mortar. Using a rubber mallet or a piece of wood, tap the tile so that it falls flat and follows the hard job's descent. After completing the space, insert a spacer next to it and continue the process with the next tile.
  Because porcelain tiles are impermeable, a second procedure involving the application of a bonding slurry is required. Use the line of thread and your wooden pegs to ensure that the tiles are aligned with the slope so that precipitation may drain away. This can be purchased pre-mixed and is simply painted with a coarse brush over the back of the tiles prior to installation. If corrections are necessary, use the mallet or the trowel to reduce the amount of mortar that was poured. You may use a piece of wood as a straight edge to walk along the tiles and ensure that they are being set down straight as you progress. Allow the tiles to cure for at least 24 hours after installation; if it is raining or humid outside, give them additional time. Prior to their installation, avoid walking on the tiles. Once you have determined that the spacers are stable, you can remove them. After the tiles have been installed, grout the spaces between them with either a sand-and-cement mixture or a prefabricated, multicolored jointing solution. Sand and cement can stain porcelain tiles, so opt for jointing compounds if you must use them. Keep the height of the patio approximately two bricks below the damp-proof course if the patio will run alongside the house. If this is not possible, allow a 60-centimeter gap to prevent rain from spilling back against walls and causing moisture. This space can be filled with pea gravel, which is beautiful, reduces rain splashback, and aids with drainage. When a few days, the patio could be grouted after the mortar had dried. There are numerous options for patio grouting, but due to its rapidity. The product is given in powder form; thus, it must be mixed as indicated in a bucket.
  However, there are a few prerequisites before you can accomplish this. The mixture is fairly thin and watery; therefore, if you do not seal any gaps near the patio's exterior, it will leak out. Due to their narrow spacing and the possibility of water collecting on uneven surfaces, these tiles are particularly forgiving. Certainly not a task that should be rushed, but we're delighted with how they turned out and glad we chose porcelain because it's so easy to maintain. If you require extra guidance, please contact our consultants for more information.