With our recipe, you’ll learn how to make delicious caramel sauce that just requires sugar, milk, and sea salt. No need for cream or butter. Using milk in this homemade sauce not only makes it a healthier option. When I was younger, when having a lot of sugar all at once didn't seem like a bad idea, a caramel frappuccino was my preferred coffee beverage. My love of all things coffee + caramel continued even after I switched to a skinny caramel frap and subsequently to caramel macchiatos. I created this recipe for milk-based caramel sauce specifically for that justification. I attempted several other recipes, some of which used butter and others heavy cream; some were prepared using a dry approach and others a wet method. The point is, though, they were all troublesome in some way. One person suffered burns. Another was so thick that it was impossible to pour into a latté. Additionally, every recipe that called for cream or butter in addition to the necessary amount of sugar looked a little too heavy for a drink to be had every morning. Thus, here we are with a very basic caramel sauce produced without the use of cream or butter, after *many* failed batches. 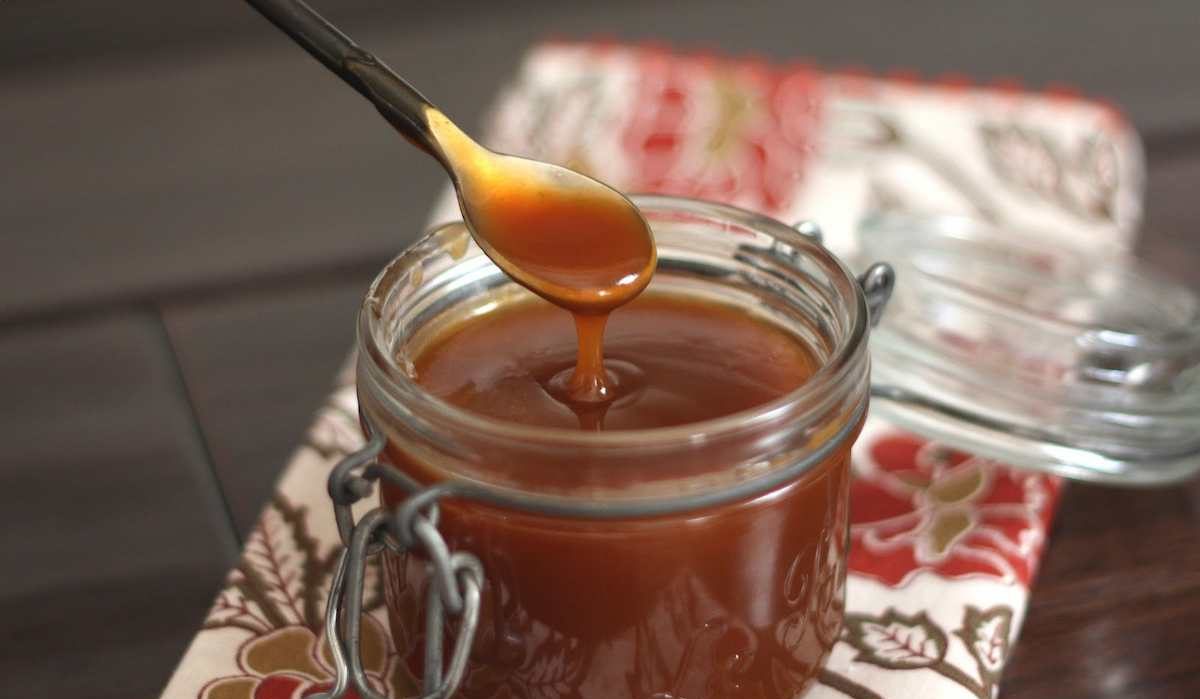 It's highly unusual to make caramel sauce with milk, and there's a good reason for that: milk has a lot less fat than heavy cream, which makes the procedure more challenging. But it is possible, it is still delicious, and with a little practice, it isn't that challenging. DRY-METHOD CARAMEL: WHAT IS IT? There are two fundamental ways to make caramel, as I previously mentioned: a wet approach and a dry method. Before heating, sugar is combined with water in the wet method; when the sugar melts, the water evaporates. The sugar is cooked on its own using the dry method until it begins to caramelize and turn liquid. The dry approach is more challenging for some individuals, but I like it. INGREDIENTS: For this recipe, you just need three basic ingredients: sugar, milk, and sea salt. Although people have mentioned using a variety of various kinds of milk in the comments, I tested this recipe with 2% and whole milk. Other varieties of milk that I've been told work can be found in the recipe notes.
 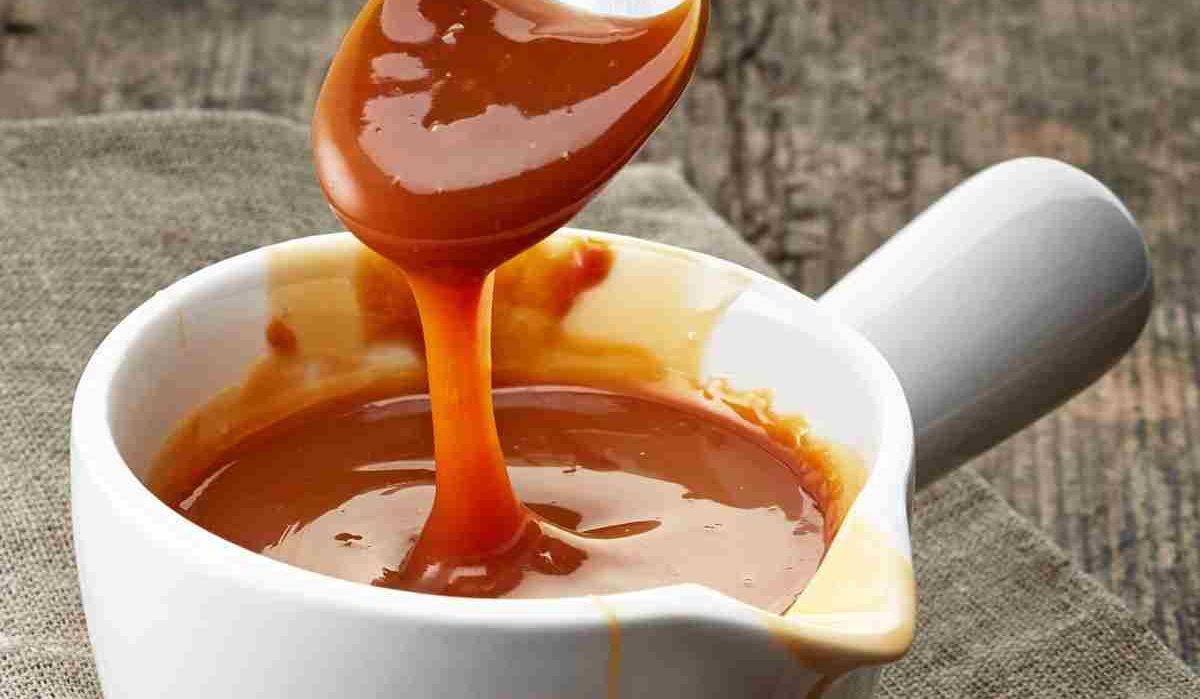 HOW TO MAKE CARAMEL SAUCE TIPS: Until you get the hang of it, this dish might be challenging. I strongly urge you to read the following advice before beginning: Begin with pristine tools. Make sure your spatula and pot are both dry and clean. Additionally, your sugar needs to be pure; if it has come into contact with any wheat or other ingredients, it may not liquefy as well. The sugar doesn't crystallize as easily when the surroundings are clean. Use a tall pot with a sturdy bottom. On this one, believe me! A shallow pan can result in a hazardous mess since adding milk to hot caramel will cause it to steam and bubble erratically. A thin pan will result in burnt caramel. Put on oven mitts. I advise putting an oven mitt on the hand you'll use to whisk the milk into the pot, even if it's a tall one. Once the milk has been added, you must constantly stir the caramel, but the steam can grow so hot that using bare hands to do so can be nearly impossible. Avoid multitasking. Never attempt to make caramel while completing another task. The procedure is extremely time-sensitive and advances swiftly. Everyone does not want their caramel to burn, seize, or curdle if they are not paying close attention.
 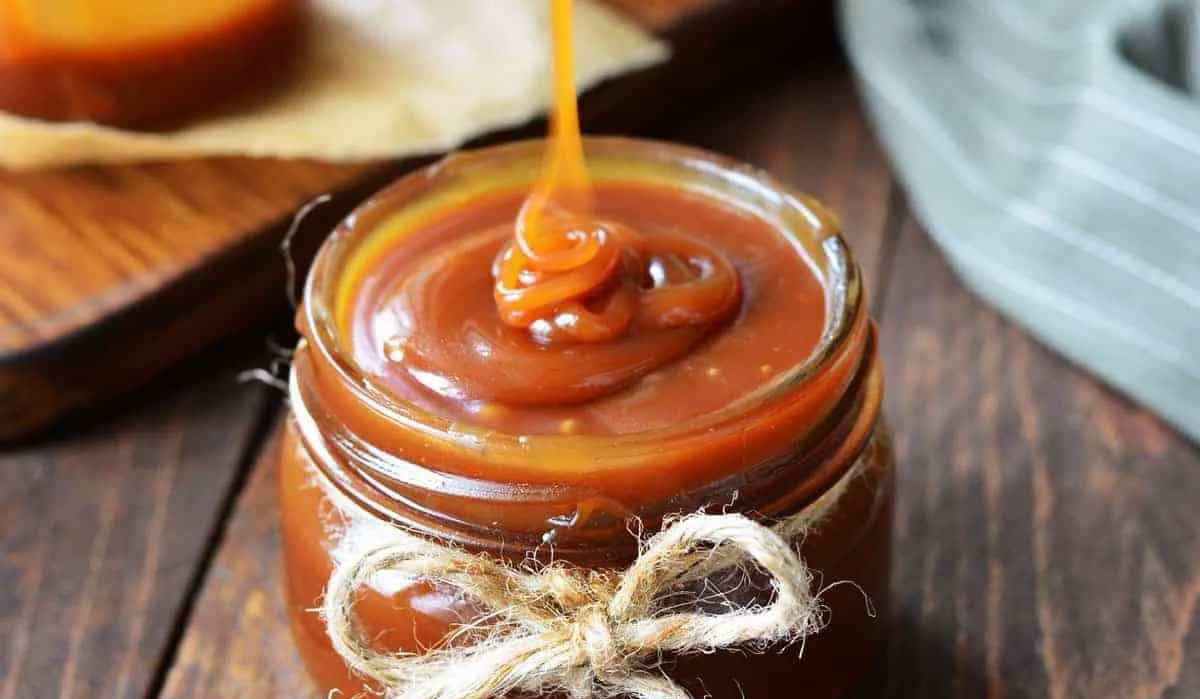 Avoid stirring the sugar. I cannot emphasize this enough: DO NOT STIR WHILE THE SUGAR IS HEATING UP AND BEGINNING TO LIQUIFY. Your spatula should only be used at this time to spread the liquid sugar on top of the solid sugar to prevent burning. Wait until all of the sugar has dissolved before stirring. Never let the caramel burn. Although it may seem apparent, I feel the need to state it anyway. Just until it becomes a rusty golden-brown hue when the sugar goes liquid, continue to heat it. then QUIT. Never give up! In all honesty, your first try at making caramel might not turn out perfectly. The second attempt is typically much better, though, as I can attest from my own experience and the experiences of the many people who have commented on this recipe. CARAMEL TROUBLESHOOTING When creating this caramel sauce, you could experience two main problems: The milk separates: The potential for milk to curdle is a drawback when using it in a caramel sauce. This can happen for several reasons, including using old milk, letting the sugar become too dark or burnt (and acidic) before adding the milk, and not regularly stirring the caramel after the milk has been added. In any event, smoothing out a curdled caramel sauce with an immersion blender will typically help you save it.
 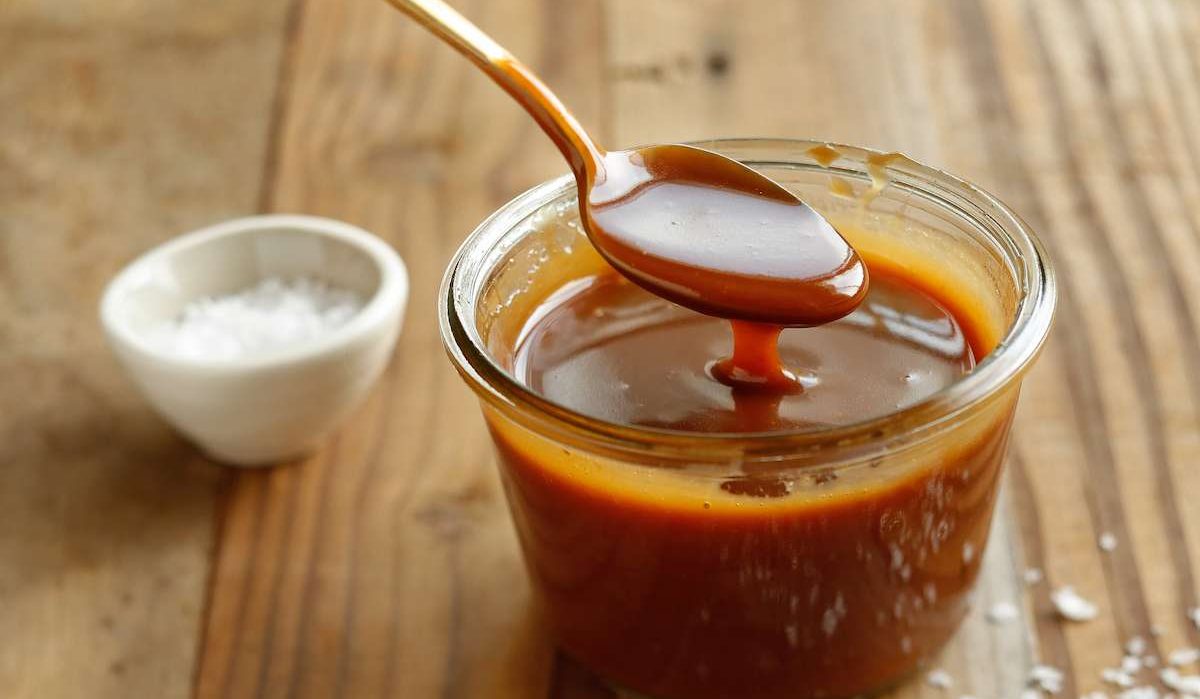 When milk is added to caramel sauce, it frequently seizes, so be prepared for this to happen. This results in a clump of caramelized sugar and a pot full of milk being left behind as the liquid caramel hardens into a semi-solid clump. Not to worry! Simply reheat the caramel while stirring it constantly until the clumps dissolve into the sauce. Although it can take some time, it ought to happen eventually. Ingredients:
- 1 cup sugar, granulated
- 4 glasses of milk
- 14 to 12 teaspoons of sea salt
Instructions:
- Heat the sugar in a heavy-bottomed, large, tall pot by placing it in and shaking it until the sugar is distributed in an even, thin layer.
Put the saucepan on a low heat source. While the sugar is heating up, set an alarm for 8 minutes. Do not touch the sugar during this period.
- Once the eight minutes have passed, check the sugar and continue to cook.
It's going to start becoming liquid if you can already smell it or see parts where it appears light brown or translucent. If it does, move on to step 3 right away. Otherwise, set the timer for an additional 8 minutes while monitoring the sugar level. 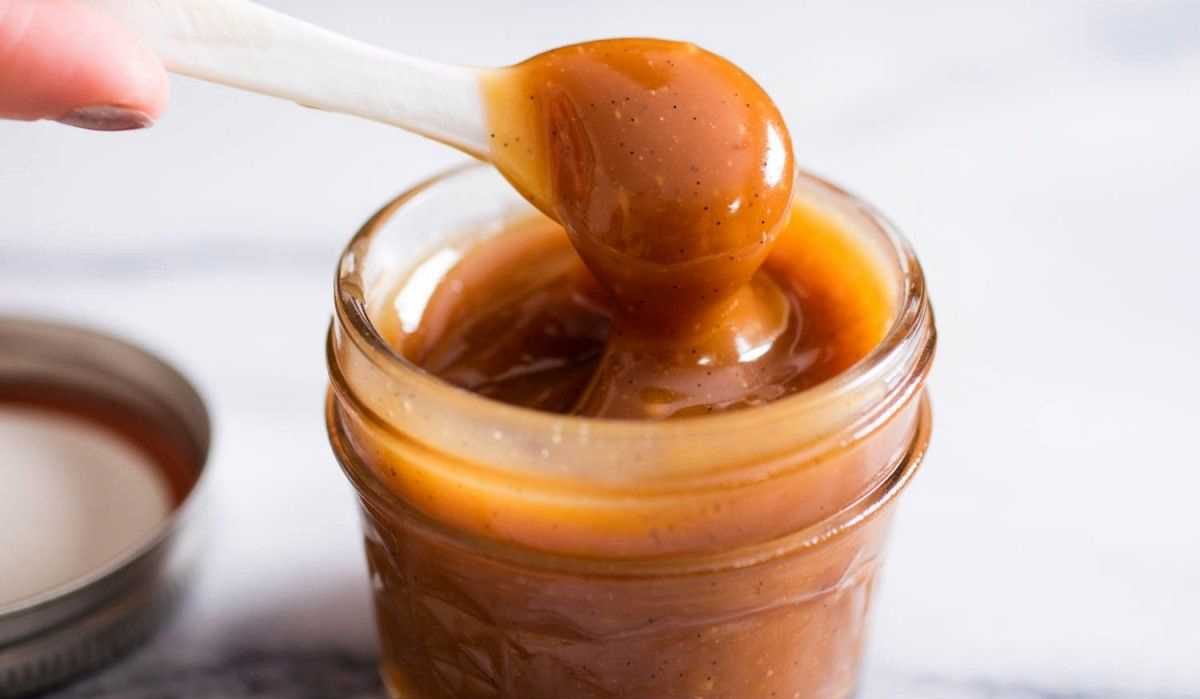 You should notice it starting to liquefy after around 8 minutes.
- Warm milk: In the meantime, get ready for the following few steps because they will happen quickly. In a microwave-safe container, warm the milk for about a minute while stirring to ensure even heating.
Place the warm milk, a trivet (on which you can easily set the ready caramel pot), and a heat-safe spatula next to the stove.
- Finish melting the sugar by scooping the melted sugar over the solid sugar with a heat-safe spatula as soon as you notice the sugar turning liquid.
As additional sugar becomes liquid, keep doing this to prevent the liquid portions from burning while without stirring the sugar itself. Stir carefully until the sugar has completely dissolved and turned a rusty golden-brown color. It shouldn't take more than a few seconds; take care to prevent burning.
- Once the caramel has reached the desired color, remove it from the heat, set it on the trivet, and whisk in half of the heated milk right away.
During this time, it's crucial to continue stirring the caramel. Be careful when stirring because the milk will cause the caramel to steam and bubble quickly. 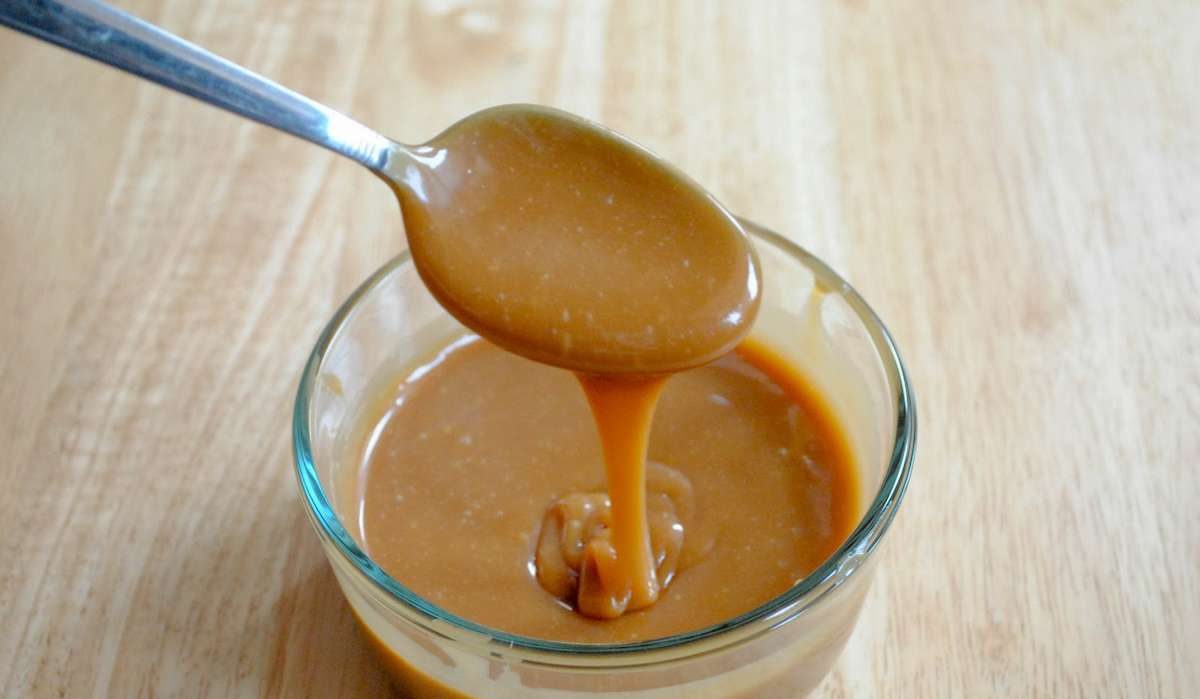 After the bubbling stops, mix some more before adding the remaining milk.
- Return to heat: The addition of the milk may have caused some (or much) of the caramel to solidify. Return the pot to the fire if this is the case or if you like a richer caramel.
Over low heat, stir continuously until any caramel that has set has melted back into the mixture. If necessary, carefully remove any chunks that have hardened from the bottom or sides of the pot, melting them back in as you go. Be patient; though it may initially seem as though they won't melt, this should eventually happen.
- Making a thicker caramel: After adding the milk, simmer the caramel, stirring frequently, for an additional 10-15 minutes if you prefer a thicker caramel that is ideal for pouring on baked goods.
When it is hot, it won't appear to be particularly thick, but as it cools, it will thicken significantly.
- Once the caramel has simmered for the proper amount of time and all of the firm parts have melted, season with salt and allow to cool. Sea salt is whisked in.
Into a heat-resistant jar, pour the caramel (if using glass, you can put a metal spoon in it to prevent shattering). It will thicken as it cools; cover and keep in the refrigerator.