Do you want to learn how to grout your ceramic tiles the right way? And You want to know the instructions? In this article, through DIY with six simple steps, it will be reviewed since it is a legitimate question, particularly when considering the fact that grouting is a procedure that only needs one try to be completed successfully. After your tiles have been arranged in a streamlined grid or chevron design, it is time to apply grout in order to bring the project to a successful conclusion. If the grout is starting to look a little dirty, you may even replace the old grout with a new batch of grout altogether if you want to. Despite the fact that grout is not the most luxurious material you will use in a makeover, it nevertheless has a considerable impact on the overall look of any tile job. This is because grout is used to fill the spaces between tiles. Due to the fact that there is such a wide variety of colors available to choose from, grout may be used to create contrast or to construct a stylish area using a single color. However, before you get out the trowel, you need to make sure that you are prepared for the task at hand. In addition to looking terrible, tile that has been grouted incorrectly is less strong, more likely to chip, and requires repairs. Furthermore, improperly grouted tile is more likely to require repairs. 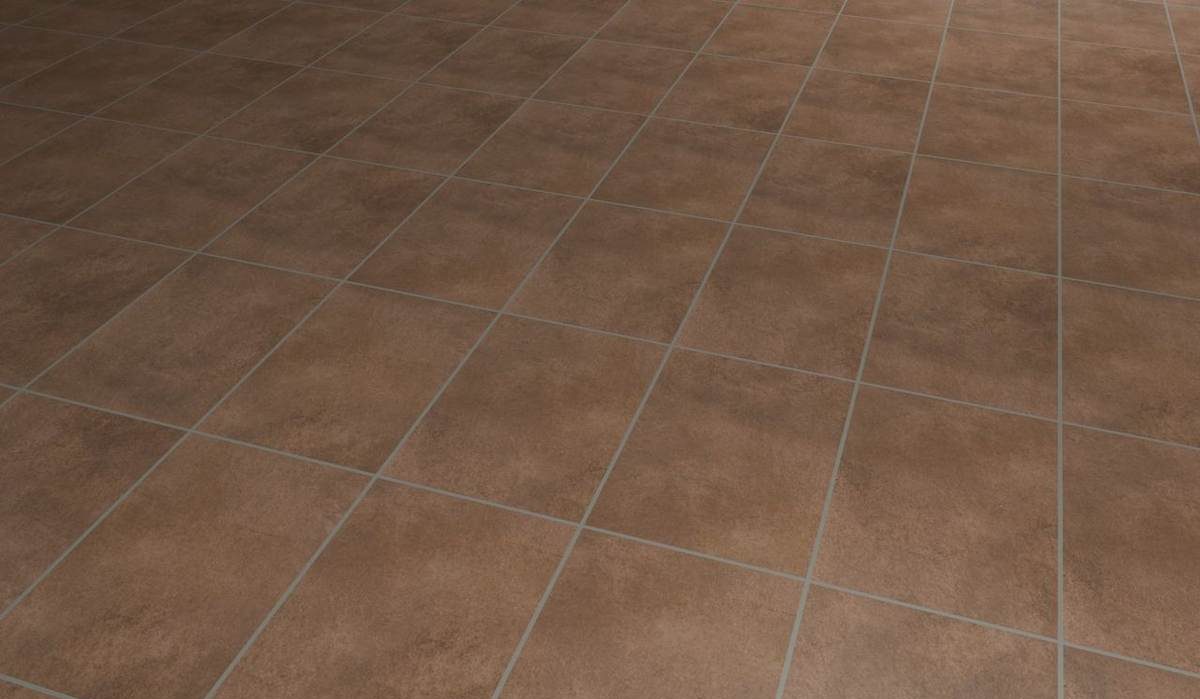 We have developed a comprehensive manual that walks you through the process of grouting tile in a step-by-step format. After reading this essay, you will have the knowledge and skills necessary to grout like a professional.
- Make your choice of grout.
Grout can be broken down into three primary categories: cement-based (with or without latex), epoxy-based, and urethane-based. Dan believes that every occupation has both positive and negative aspects to it. When working on any kind of tile job, whether it be installing floor tile, kitchen backsplash tile, wall tile, or any other kind of tile, it is essential to be aware of the various options that are available to you. Cement-Based Joint Compound or Grout The type of grout that is most usually used in construction projects is one that is constructed of cement. According to Dan, they are also the ones that are the easiest to use. If the space between your tiles is an eighth of an inch or less, you should use unsanded grout; however, if the space between your tiles is more than that, you should use sanded grout. 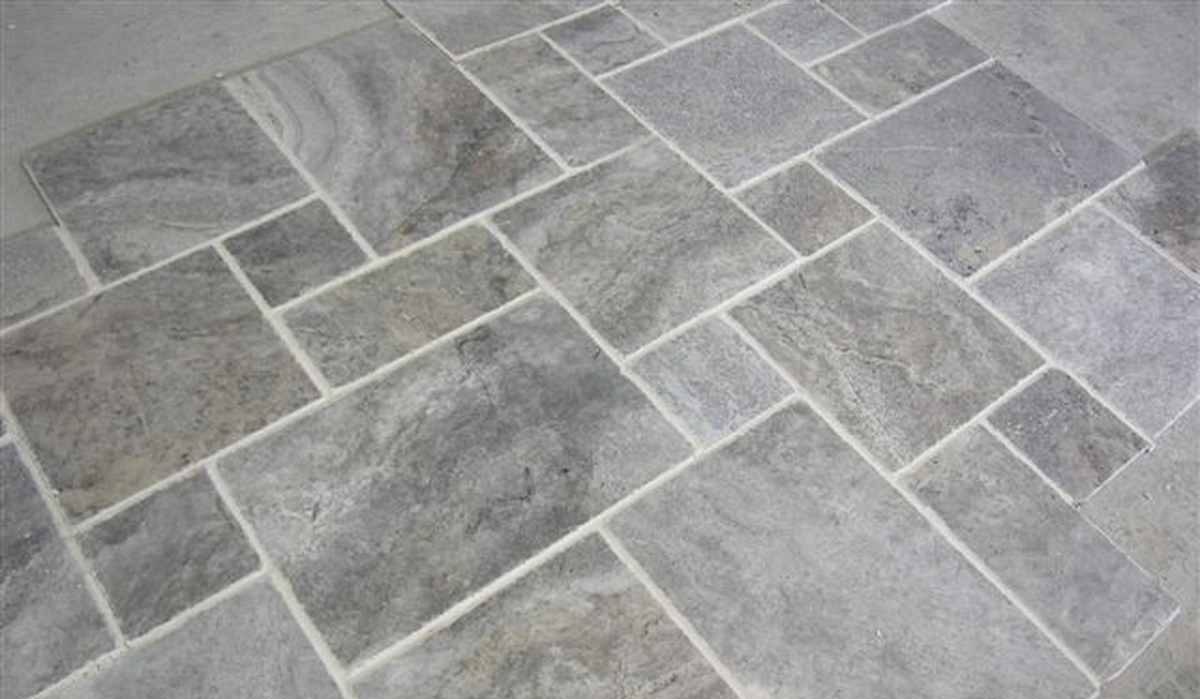 Grout made of acrylic Epoxy grouts are typically two-part mixes that contain solids and color additives, as Dan explains in his post. They also come at a high price. Because they are more difficult to apply than cement-based grouts and as a result demand more manpower, they are typically reserved for usage in commercial construction projects. Because it can also build a haze that is difficult to remove, he does not recommend that rookie grouters use this sort of grout because it is so tough to clean up. (He also cautions that there is a possibility that some people have an allergy to epoxies.) Grout made of rubber He also mentions that urethane grouts are expensive and come in buckets with the mixture already inside. "You remove from the bucket what you require, combine it, and put it to use. Once the lid has been replaced on the bucket a second time, you should be able to use it without any problems. To remove urethane grout from tiles after it has been grouted, use a sponge that is completely dry. If you intend to use urethane grout in the one and only shower in your home, you should be aware that it needs to cure for a full week before it can be submerged in water.
 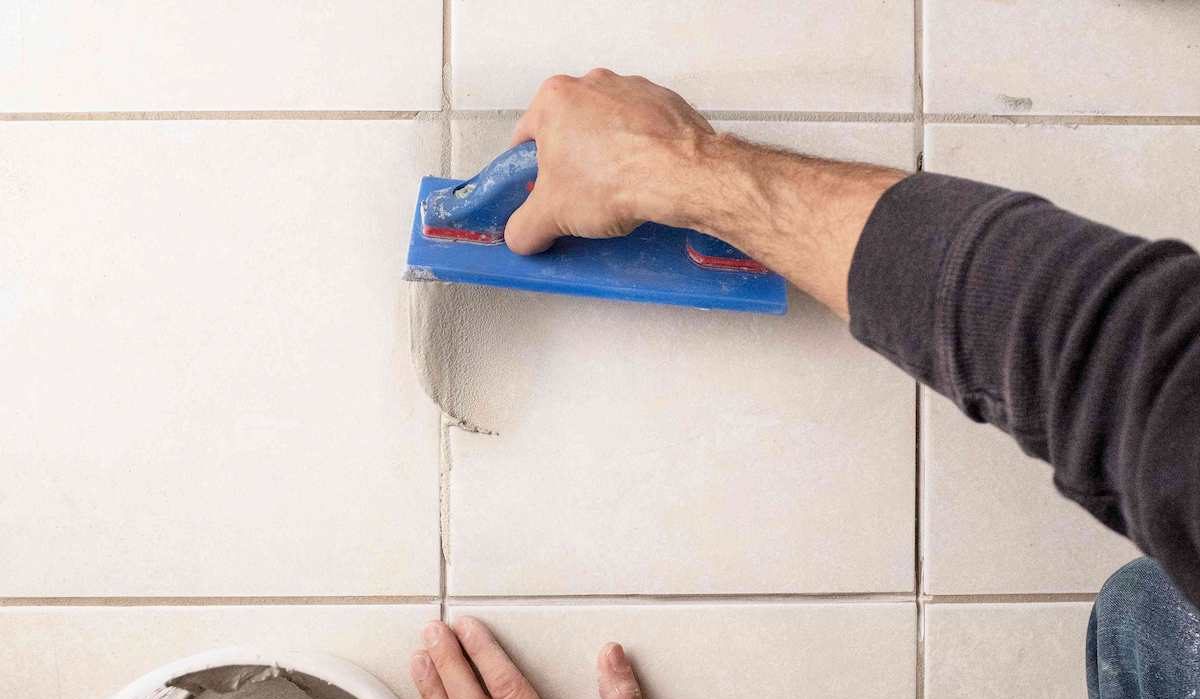 When trying to determine which grout color would give your space the most pleasing appearance, you have a few options to choose from. First, determine whether you want the grout lines to stand out against the tile or blend in with it. We are imagining a wall of white ceramic tile with light-colored grout in either the shower or the kitchen for an exceptionally streamlined look and feel. A pristine and clean appearance can be achieved by using grout that is either same or quite close. (Keep in mind that pure whites will be the most difficult to keep clean; as a result, you should probably choose a light beige or gray color instead.) If you want to add a little bit more excitement to the area that is tiled, you could also try experimenting with different colors of grout: Recent years have seen an increase in the use of colored grout in some of the most hip and trendy bathroom settings. These itty-bitty details, whether they are pink, blue, or yellow, breathe some new life into the areas of your home that are used the most. Before making your final choice, visit your neighborhood hardware store to browse through all the choices.
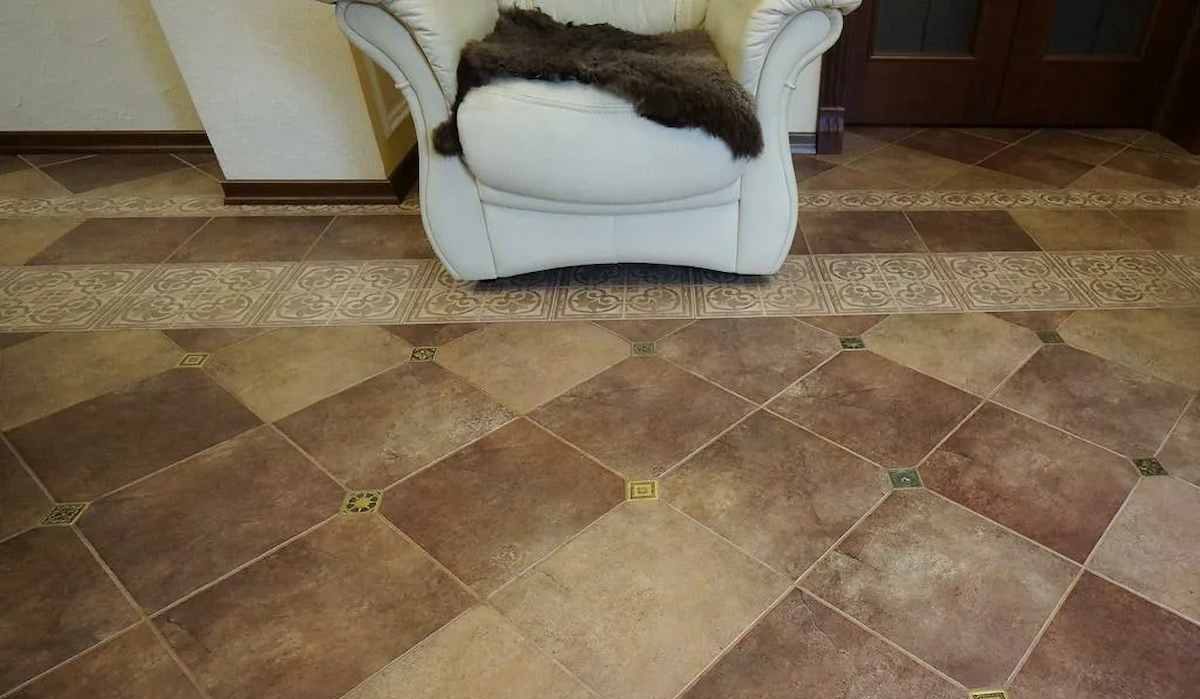
- Gather all of the necessary equipment and materials for grouting.
In order to begin grouting, you must first ensure that you have these essential pieces of equipment available, according to Dan. 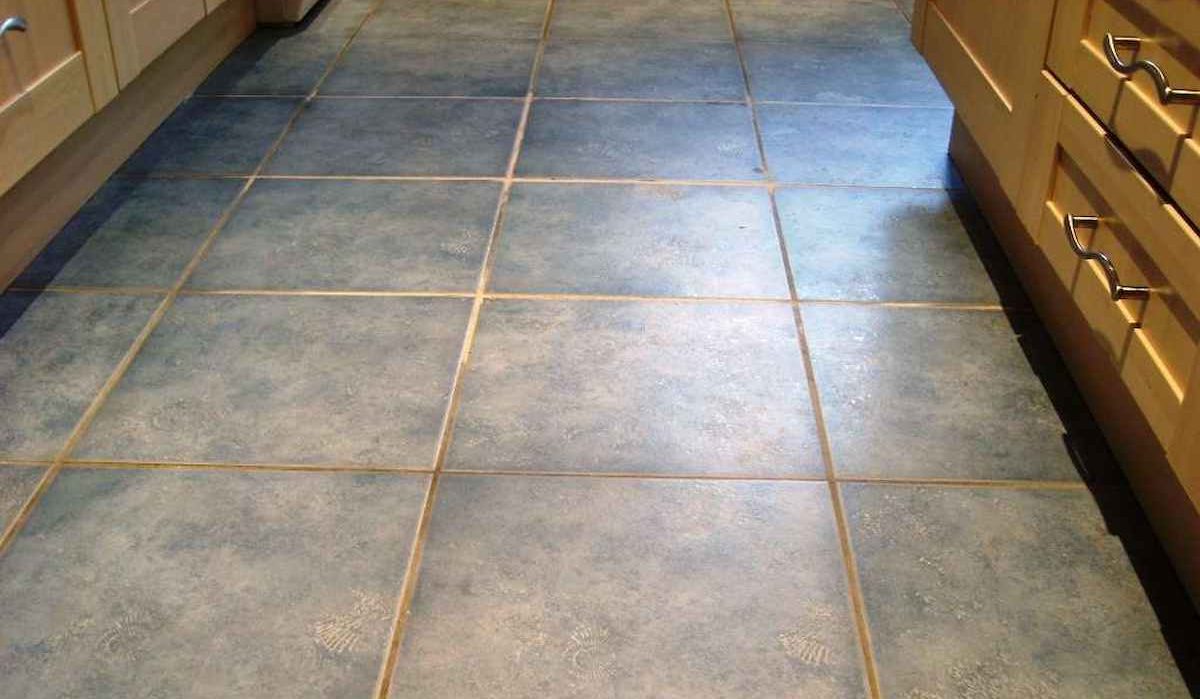 Before you get too far into your do-it-yourself grouting project, check to see that you have all of the necessary ingredients ready to go. 3 to 4 pails Margin trowel float for rubber grout hammer and paddle (optional to mix) sponges that have closed-cell structures cheesecloth or other sterile fabrics sponge to be used for grout Rubber gloves a roll of blue painter's tape On a sheet of paper or a tarp, mix the grout. Do you find yourself pondering the reason behind our recommendation to avoid applying grout using a putty knife? It is recommended that you use a proper grout float for your grout installation project, despite the fact that this toolbox essential may appear to be a decent choice for the job.
 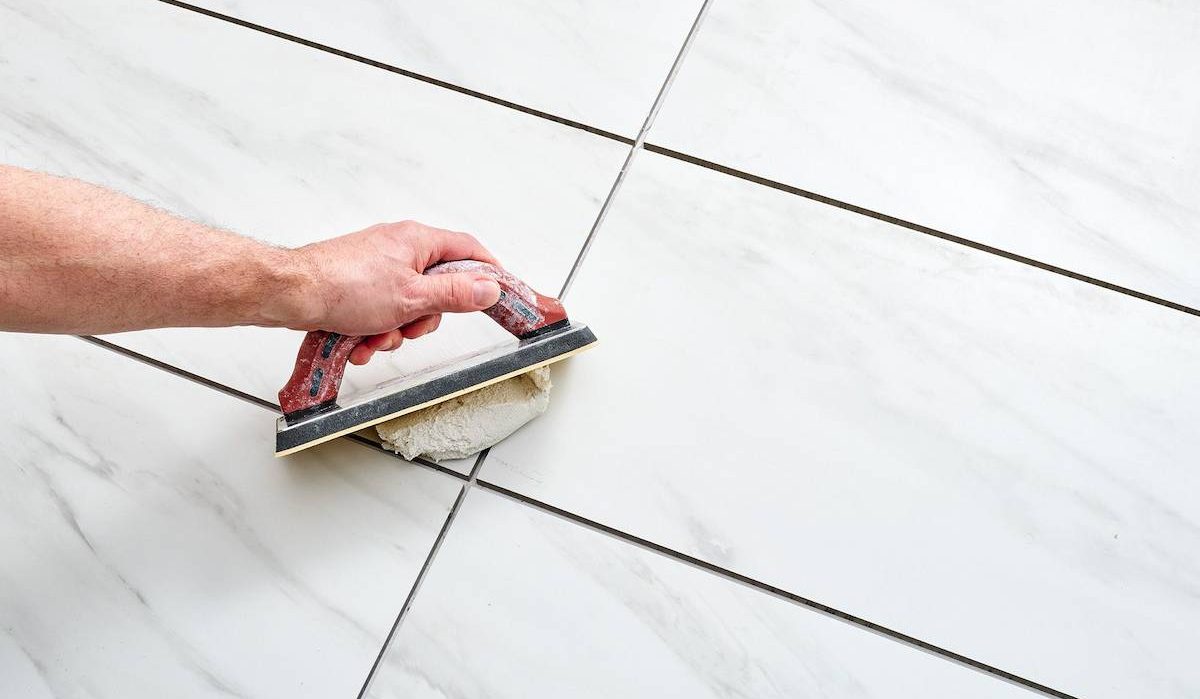 The metal blades of the toolbox essential might cause damage to the tiles.
- Combine the mortar.
When it comes to making your grout mixture, you shouldn't just wing it. On the package or the bag, Dan recommends carefully reading and following any instructions provided by the manufacturer. Under no circumstances should you add an excessive amount of water. The consistency and strength of the grout will be improved by using less water. It is in your best interest to blend as much as you can while simultaneously consuming as little water as possible. The grout's color will be uniform from the beginning to the completion of the job if the mixing process is done thoroughly.
- Run a test to see how it goes.
Before you begin, you should get some experience with grouting your tiles. He suggests beginning with a very small area so that you can get some practice in. The creation of a mock-up is often recommended as a prudent course of action. Tile should be set out on a board that is roughly 18 by 18 inches in size before using it. After that, you should grout it to see how it will turn out. It is highly recommended that you initially practice your methods on that.
- When applying it, use only a small amount of grout at a time.
 After applying a quantity of grout mixture ranging from a quart to a half gallon to your tiles, you may go to work. With the help of a grout float, work the grout into the joints at an angle of 45 degrees. The angle at which you hold the float, which should be at a 45-degree angle, is quite important. Broad arcs should be used for working the grout thoroughly into each of the tile joints. In addition to that, you may make consistent use of your grout float to clean up any excess grout. Work on the tile wall or floor one section at a time rather than attempting to grout the entire surface at once.
- Ensure that the tiles are spotless.
Once the grout has been allowed to dry for a few minutes, wipe the surface of the tile using a grout sponge (see the container for the required time). After the grout has had time to cure and firm, you will need to clean it once again and remove any grout haze with a damp sponge, towel, or cloth. You want to use water sparingly in this stage as well. Dan recommends that before beginning the process of washing the grout from the tile, you wait until it has partially dried up. "Be careful not to wash the grout joints out by using an excessive amount of water," the instructions state. Also, keep in mind that dirty water will not clean anything, so make sure to regularly clean both your sponges and your buckets of water. There is a reliable, professional team behind this website which is ready to share its tiles knowledge with you and cooperate with wholesalers and importers around the world.