The opener machines of our garage door types should be fitted correctly in a professional and smooth installation process in order for the device to fit as intended and function securely. The majority of garage door openers include an arm that links the carriage to the garage door and a carriage that travels along a rail or tube from a motor to the front of the garage. The motor and carriage are connected by a chain in common chain drive garage door openers. A belt links the engine and carriage in a belt drive garage door opener. A big, threaded rod guides the carriage in a direct drive garage opener. This tutorial gives advice for effective garage door installation as well as instructions on how to set up a garage door opener. Using necessary items, you presumably already have in your home collection, you may complete the somewhat difficult process of installing a garage door opener in an afternoon. Verify that you have all the necessary garage door opener components before beginning assembly. 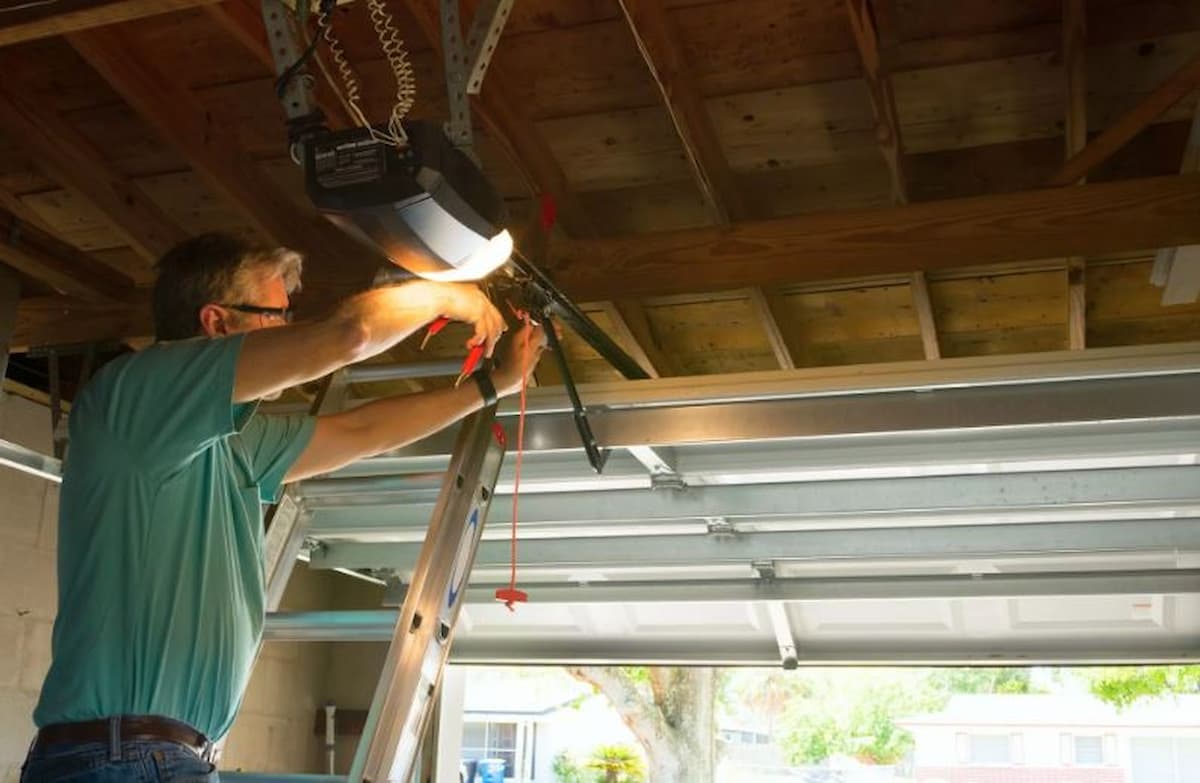 Follow the manufacturer's instructions while assembling the carriage tube. To raise and lower the garage door, the carriage will be able to move from the power unit to the front wall using the carriage tube. Be cautious to tightly seat the carriage tube components. Check the assembled length against the manufacturer's specifications by measuring. Use a socket wrench or other instrument to make any adjustments that are required as instructed. Attach the carriage tube to the power unit's front. Attach the rail clamps so that they may subsequently be connected to the wall bracket above the door. At this stage, wiring and switch installation are required for certain doors. The carriage should be mounted on the carriage tube. Because various makes and models connect in different ways, always follow the manufacturer's instructions. The carriage tube is fastened to the wall above the door by the header bracket, which is also used to place garage door openers. Depending on the style of the door, the precise placement may vary, although it is often put near the door's center. Find the garage door's highest point of travel by manually raising it. Mark the wall above the door at this height using a level. Make a second mark two inches above the previous mark. The bottom edge of the header bracket should be aligned with this second line before being fastened to the wall.
 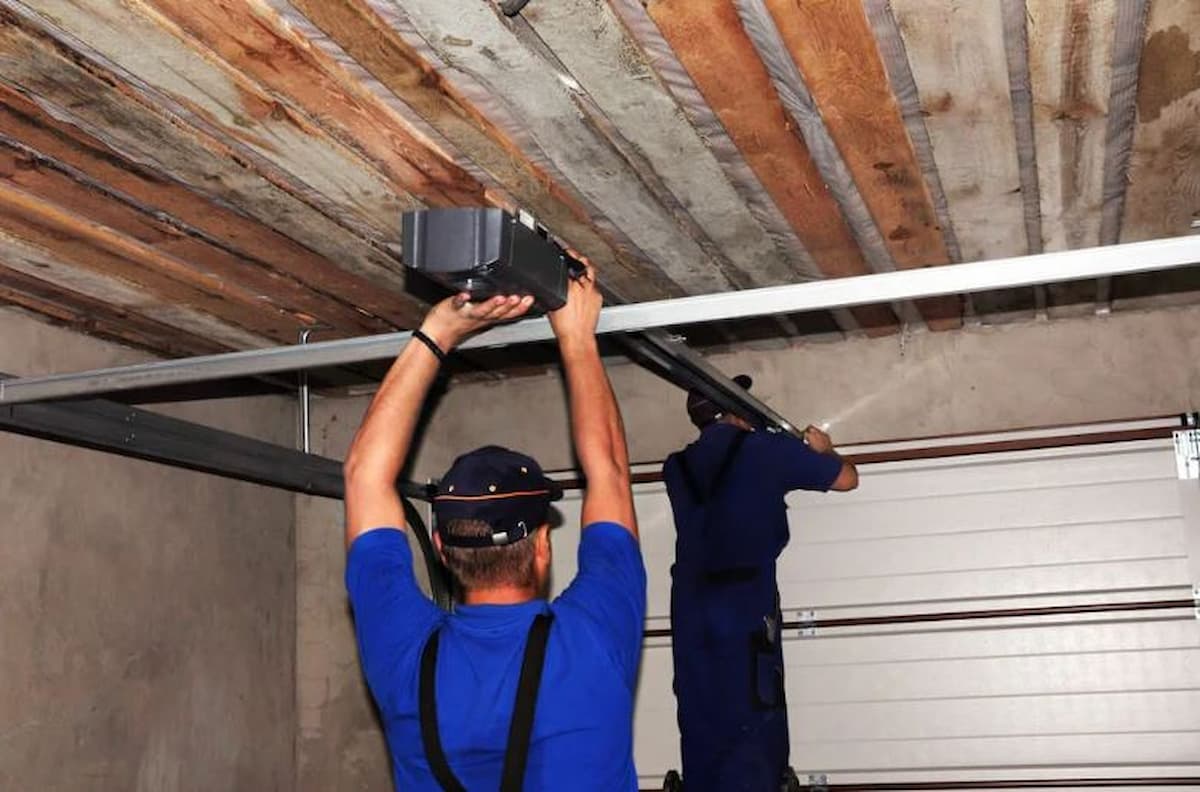 Lift the carriage tube's free end, and then fasten it to the header bracket. To avoid scratches, make sure the power unit is lying on a pad. Raise the power unit once the carriage tube is fastened to the header bracket. Place it safely on a stepladder so that it is near the ceiling. The majority of units hang from metal straps and angle irons that have regular holes bored in them. Use lag screws to fasten the angle irons to a rafter (or rafters). Hex-head screws are used to fasten the straps to the irons. Using the supplied hardware, fasten the straps to the power unit. Make sure the garage door is free of the opener by raising it repeatedly. Install the opener control box on your garage wall after attaching the cables as instructed. Make sure you place it so that everyone in the home can easily access it and that the cables can reach it from the power source. Reach the power unit by running the control box cables over the garage ceiling and up the wall. According to the manufacturer's directions, attach them. The majority of units hang from metal straps and angle irons that have regular holes bored in them.
 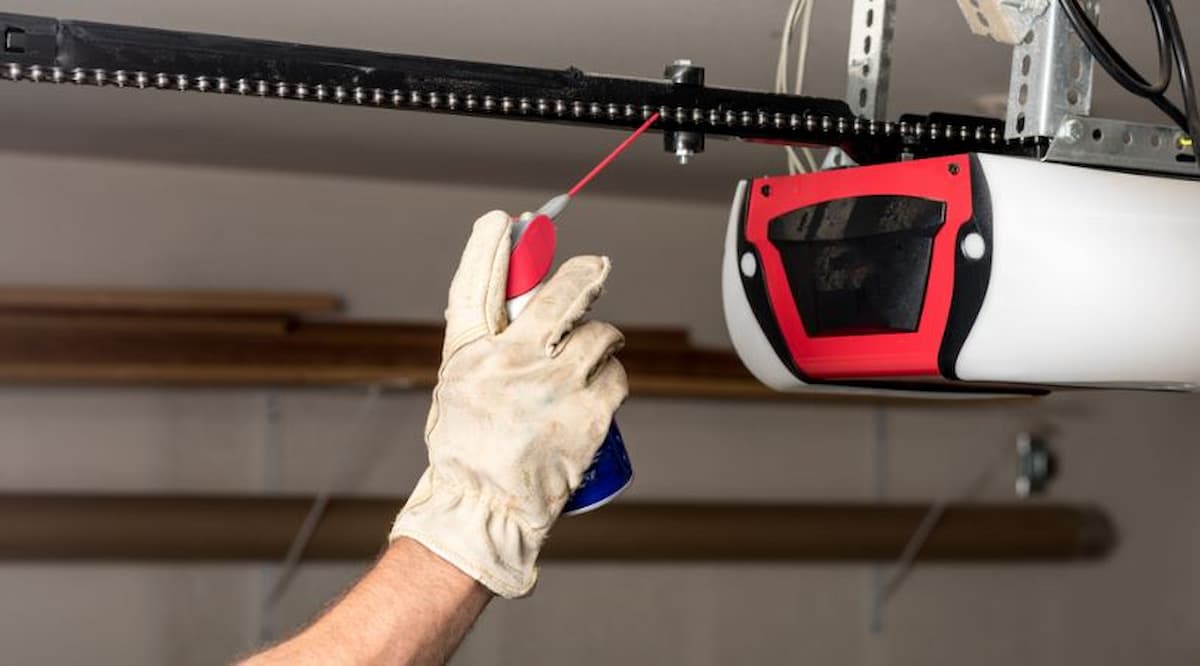 Use lag screws to fasten the angle irons to a rafter (or rafters). Hex-head screws are used to fasten the straps to the irons. Using the supplied hardware, fasten the straps to the power unit. Make sure the garage door is free of the opener by raising it repeatedly. Install the opener control box on your garage wall after attaching the cables as instructed. Make sure you place it so that everyone in the home can easily access it and that the cables can reach it from the power source. Reach the power unit by running the control box cables over the garage ceiling and up the wall. According to the manufacturer's directions, attach them. All units are required to include a safety feature that will turn off the engine if anything gets in the way of a closing door. Two sensors that generate a light beam over the garage threshold typically make up the safety device. The garage door stops and promptly lifts to the up position if something damages the beam while it is in action. The sensor mounts should be aligned using a laser level. Ensure that the sensors are positioned no more than six inches above the garage's ground level. Install a device as instructed, one on either side of the door.
 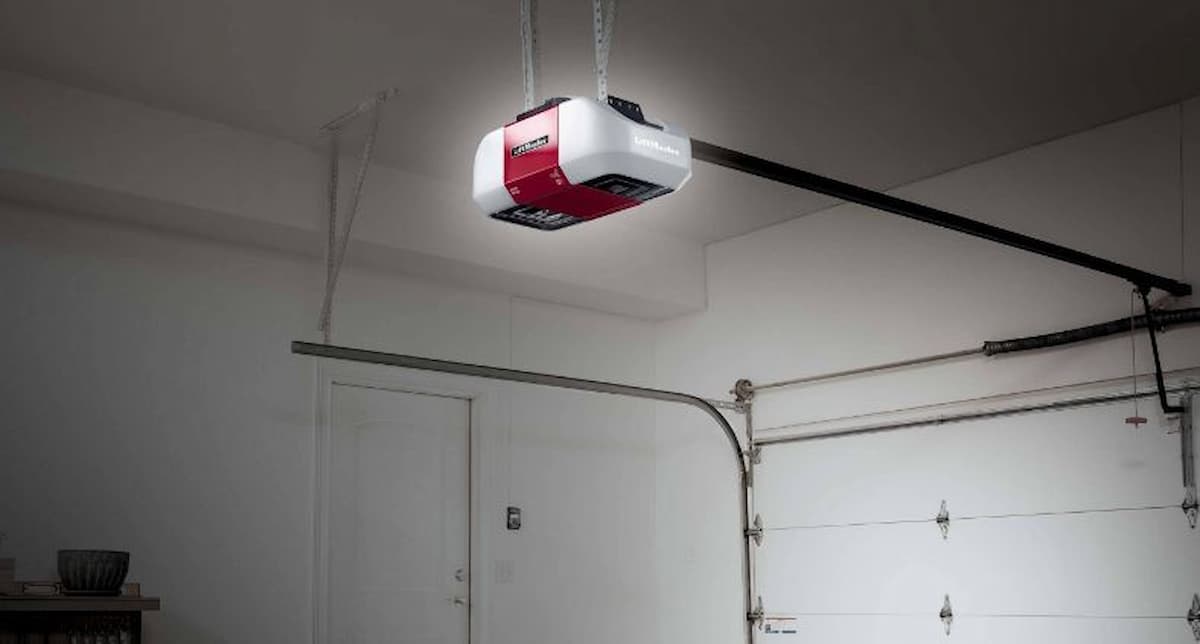 Run the sensor wires up the wall and roof of the garage. For tacking the wires in place along the course, most kits provide the proper fasteners. As instructed, attach them to the power unit's rear. The door should be tested, and any changes should be made. Remove the old opener's mechanism before installing a replacement. Verify sure the garage door opens and shuts correctly and is balanced. Utilize lithium-based grease to lubricate and clean the rails. Make sure an electrical outlet is nearby when installing a garage door opener for the first time, especially if the power supply will be positioned on the ceiling. You may need to put in an outlet if one isn't already there or hire an electrician to do it. Pick the garage door opener type that best fits your house. Although they might be loud, chain drive openers are often reliable, economical, and able to raise large doors. Garage door openers with direct drive and belt drives often cost more but are less loud. Consider buying a garage door opener extension kit to make up the difference if your garage door is higher than usual
💰 Tenfold your income 💎