Ceramic tiles can be used on concrete floor to provide the impression of a warmer atmosphere in a living space. However how to apply them especially personally is not that much hard. Get the concrete in its final form. The concrete should be completely cleaned with an acid-based solution or deep cleaner of your preference. Check the surface of the floor for any cracks or pits that require fixing, and then use the appropriate concrete repair kit to make the necessary repairs. It is normally desirable to thoroughly clean the concrete before placing tile with a muriatic acid-based cleaner or another acid-based cleaner. After leveling, the concrete is then sealed. After the concrete has had time to dry from your repairs, you should then spend some time sealing it. After the sealant has had time to dry, apply the concrete repair or leveler and check to see that the surface is smooth and free of any imperfections. Tiles and grout will crack if the floor is not level. Before applying a floor leveling product to concrete, it must first be completely cleaned. Otherwise, the product could not work properly. 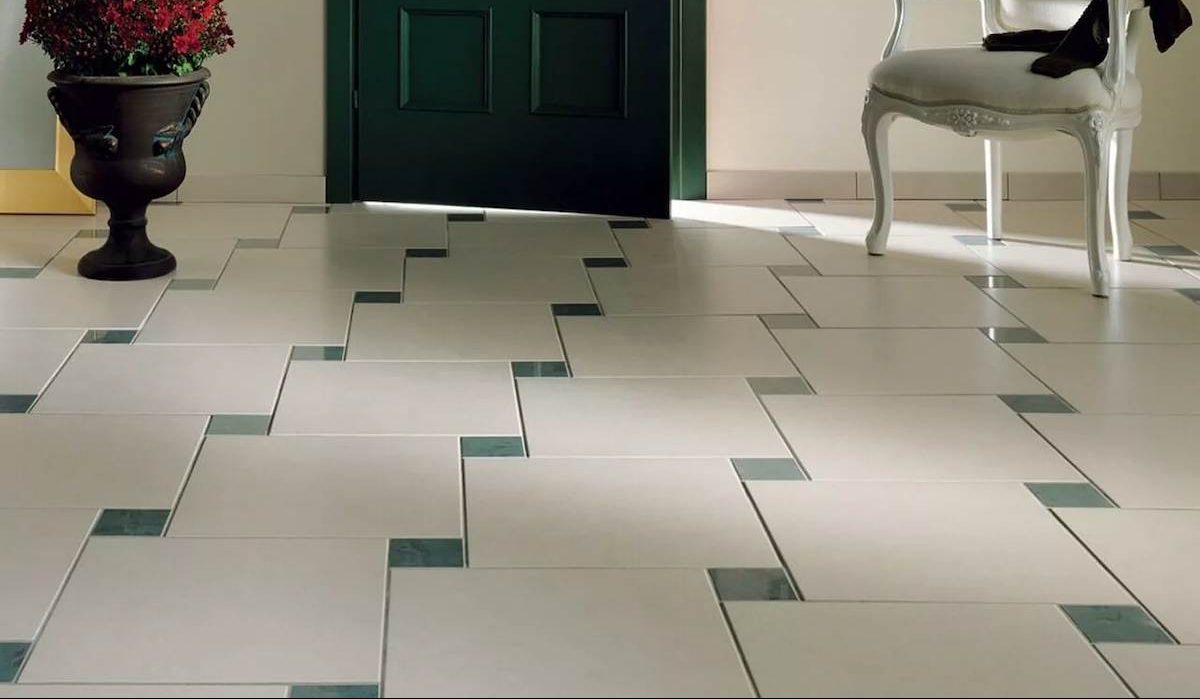 With the assistance of a sealer that is based on sodium silicate or lithium silicate, the concrete will be fortified and protected from water. Because silicates work below the surface, they won't interfere with the adhesion process. Make a plan for the arrangement of the tiles. Before you begin laying the tile, it is a good idea to first lay out your design. Make a plan in advance to determine which tiles will need to be cut, how many will need to be cut, and where the tiles will be placed once they have been cut. It is imperative that you carefully sketch the floor with chalk lines since the lines will be of great assistance. mortar mixture After you have determined where you want to begin, mix the mortar in line with the advice given by the manufacturer. If you overmix it, it will start to set up before you can use it, so try to avoid doing that. Start by spreading the mortar over a small area with the grooved trowel that you have. Never extend beyond the area that can be covered at once by three or four tiles if at all possible. There are many varieties of tile, each of which requires a specific kind of mortar. Ask the salesman who is helping you buy the tile to guide you in making the right choice when it comes to the tile you want to buy.
 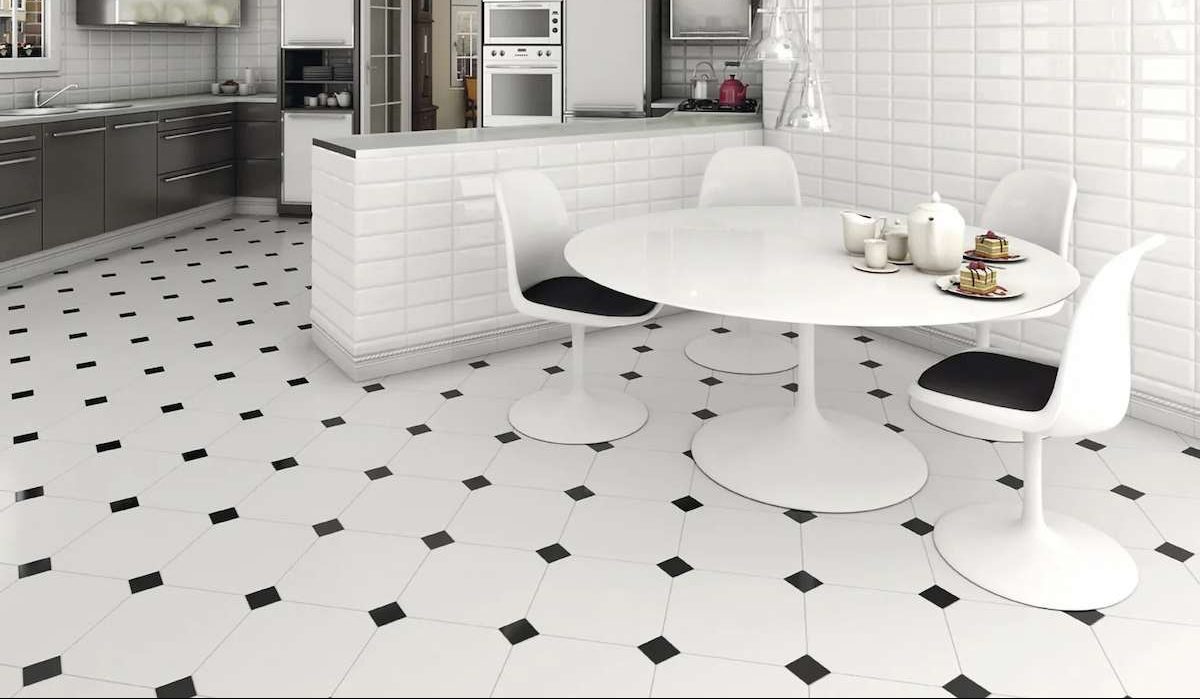 It is going to be necessary to use a grooved trowel to spread the mortar. You can find ones with grooves of varying sizes; thus, before purchasing a mortar, verify the directions that are printed on the packaging to ensure that you choose the right one. Fix the tiles in place. When you are setting the tiles into the mortar, use the spacers to ensure that you are maintaining a level alignment with the chalk line. As you move on to the subsequent rows, make sure that your pattern remains square by utilizing the spacers. After a tile has been set, it should not be moved or touched in any way. Clean up the mess in this region. To prevent clumps of mortar from drying on the surface of the tiles, wash them down periodically with a moist cloth while you work. As you get closer to the end of the room, check that the pieces you cut will fit together securely. Next, wait for the mortar to completely dry in accordance with the instructions provided by the manufacturer. Install grout. After following the mixing instructions on the container, apply the grout to the tile surface using the grout float in an even and thorough manner. Before using a moist towel to remove any excess grout from the tile's face, use the float to search for any low places that might be present.
 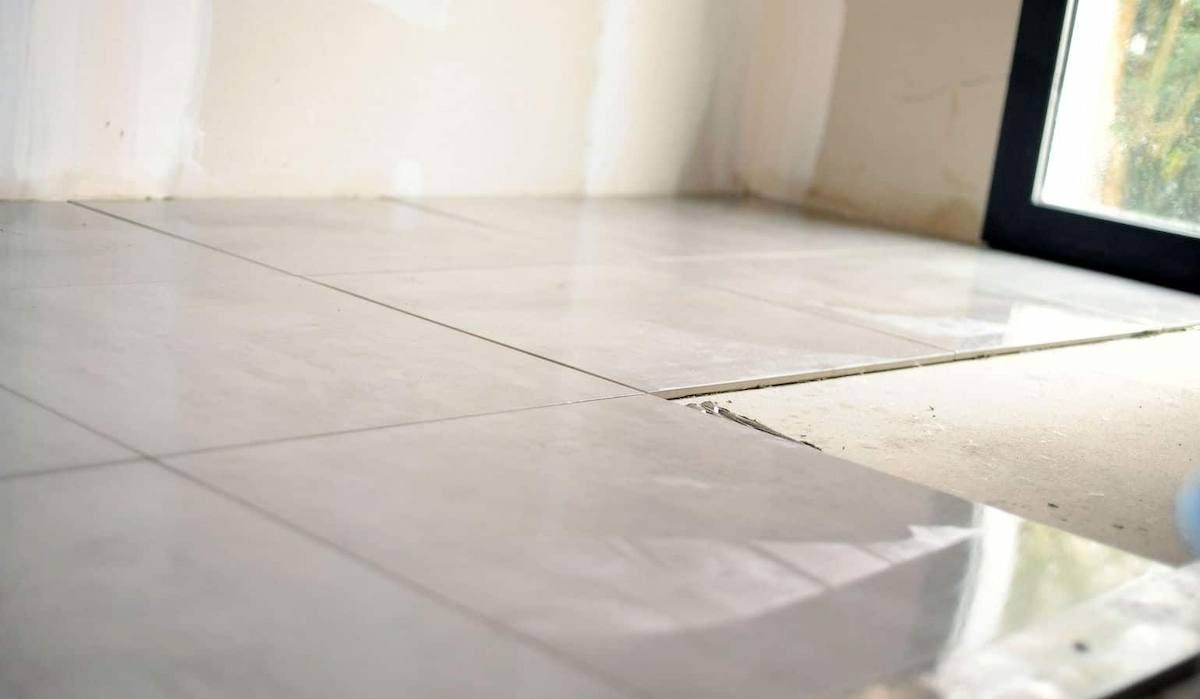 It is not a cause for alarm if the tile suddenly appears to have a hazy appearance. After allowing the grout some time to set, repeat the technique, but this time use the float to squeegee any excess grout off the face of the tile. In addition to the many hues available, grout can either be sanded or left unsanded, depending on your preference. Sanded grout should be used whenever the spaces between your tiles are more than 1/8 inches wide. The use of sand in the grout makes it more durable. Using grout that has not been sanded, a size of 1/8 inch or less will do the job just fine. You will probably find that the unsanded grout is easier to work with in the smaller gaps due to the fact that its surface is much smoother. Sanded grout may be difficult to work into spaces that are very narrow. A word of warning: if your floor is tiled with marble, you should never use grout that has been sanded. Marble requires the use of grout that has not been sanded, so while installing it, ensure that there is no more than a 1/8-inch gap between the tiles. The sanded grout will leave scratches on the surface of the marble tile, and once those scratches are there, the tile cannot be fixed.
  Straighten up. Once the grout has completely cured, take a rag that has been dampened with water and wipe the entire floor surface. During the time that it takes for the tile to dry, you will most likely see a haze developing over it. Again, wait until it is totally dry before removing the haze from it by going over it with a rag that has a little bit of moisture in it. A grout float can be utilized for the purpose of working the grout into the crevices between the tiles. Decorate the joint compound. Use the grout sealer to prevent stains and mildew from taking hold in the future after you have polished the residual grout and mortar residue off of the floor and are certain that the grout has fully cured. This step should be performed once you are satisfied that the grout has entirely cured. Make your selection from the available fonts and formats to utilize. When ordering, make sure to add 15% to your square footage measures to account for typos and cut pieces. There is a reliable and professional team behind this website which is ready to share its tiles knowledge with you and cooperate with wholesalers and importers around the world.
💰 Tenfold your income 💎