Glazed tiles may get crackle. For fixing them, spread the required glue over the fixing surface using a suitable notched trowel. We advise only covering an area of about 1 square meter with glue so that it is still usable. The back region should be entirely covered with glue. Applying 2mm minimum to 6mm maximum is recommended. Please fill any gaps at the back of dados, trims, and slips before mounting them with glue to avoid air pockets from accumulating and potentially weakening the installation. Place the first tile in the corner created by the wooden battens, then push it firmly into place while giving it a small twist. Place the following tile next to the first, leaving room for a grout joint, and so forth over the prepared area in a sideways and upwards motion . As a result of our tiles' varying depth and rustic, hand-made nature, make sure they are laid flat and level. Do not "spot bed" any tiles; all tiles must be put into a full bed of glue. Once the adhesive has dried and the wall has been tiled with whole tiles, remove the wooden battens and tile the perimeter with cut tiles. 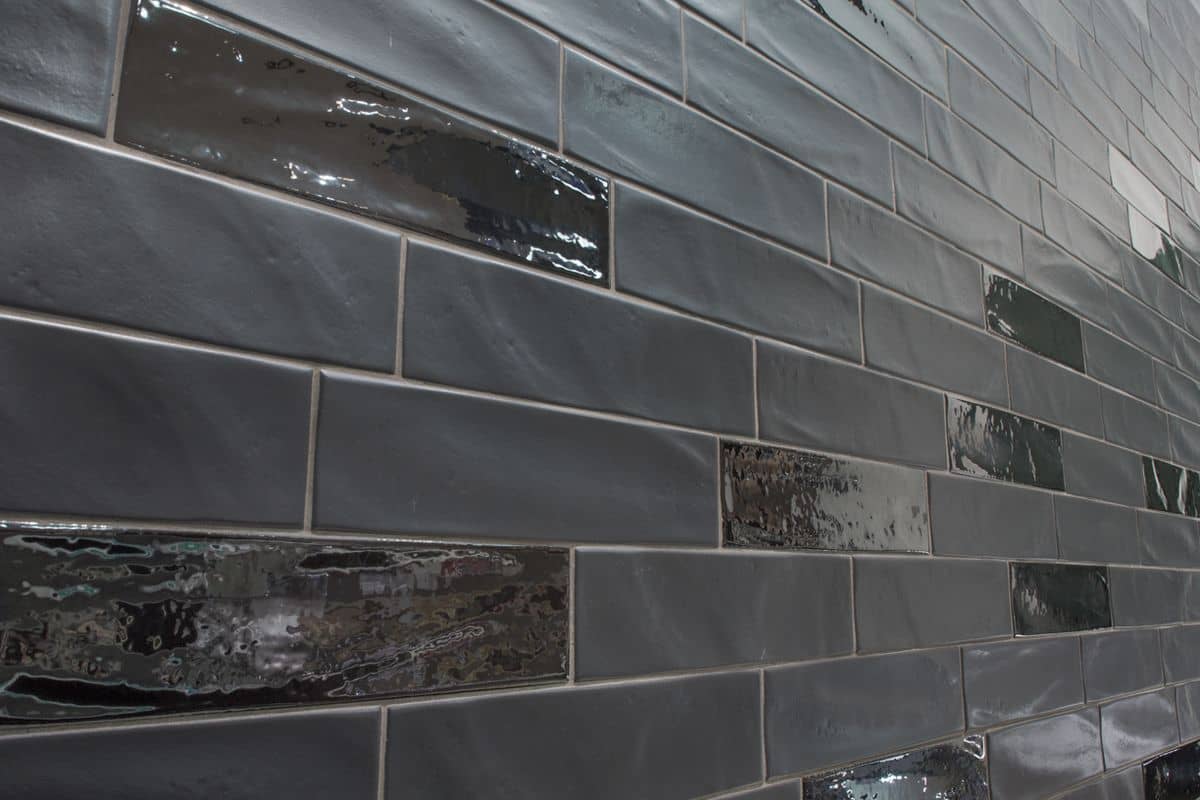 Crackle-glazed tile cutting: Every tile with a crackle glaze that will need to be cut must be sealed with Lithofin KF Stain-Stop. Apply the substance to the tile's face and edges where it will be cut. After 10-15 minutes and before it dries, remove any leftover KF Stain Stop off the tiles with a soft cloth. Your expert installer will be able to advise you on the best equipment for cutting the tile of your choice. We advise using the proper safety eyewear or glasses and following all provided safety recommendations. A wet cutter of the "Bridge" type is suitable for cutting tiles with crackle glaze. The Bridge cutter's blade is introduced from above the tile, in contrast to the "Table" type wet cutter's introduction from below the tile. Because of the angle of the revolving blade, this can occasionally make it easier to cut delicate glazes. To make precise straight, angled, and mitered cuts, use the Bridge wet cutter. The used blades should be of the highest caliber and have a diamond edge. The motor that drives the spinning blade glides along a stationary rail. In order to keep the blade cold and facilitate cutting, water is also applied to it. The water supply system needs to be cleaned frequently to stay in working order. Clean and precise cuts along the tile's length are made possible by this technique.
 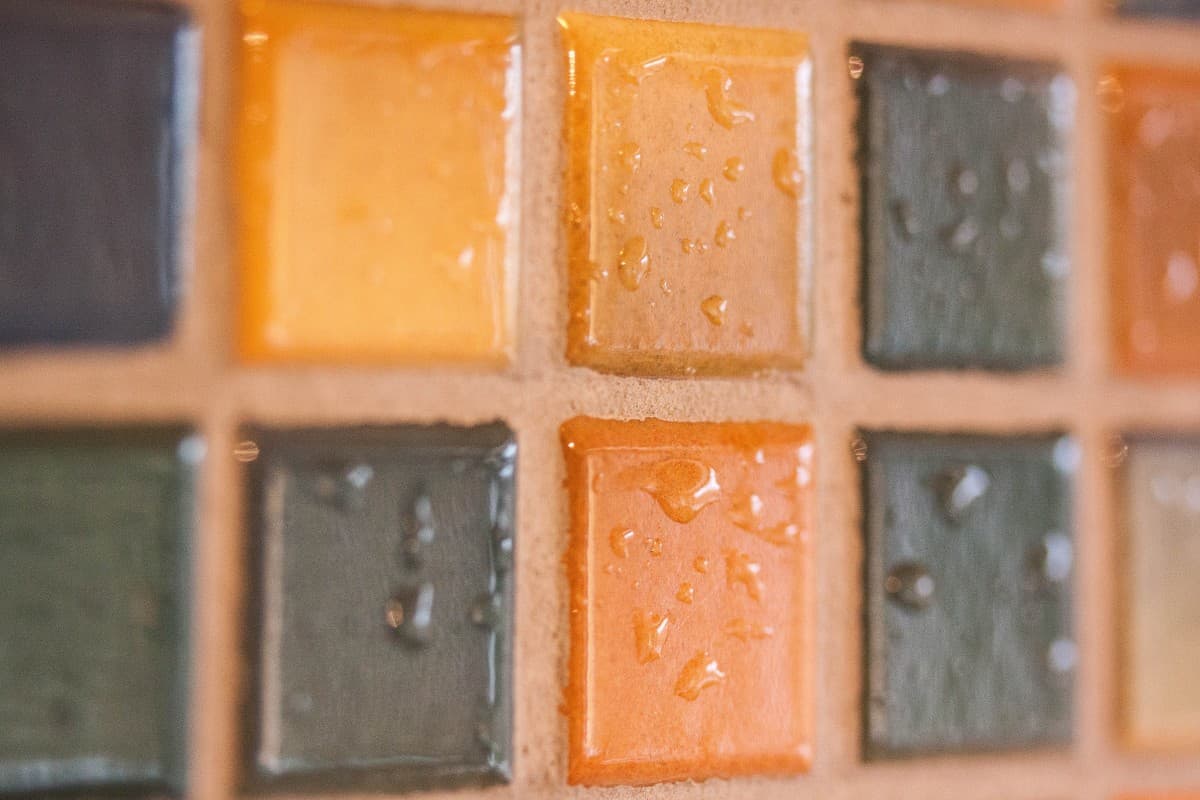 Instead of a sliding rail, other cutters like this one use a sliding bed or base. On tiles with crackle glaze, it might be essential to lightly dress the cut edge with a fine diamond file to finish the cut. Crackle-glazed tile sealing The adhesive bed and grout joints should be clean, dry, and free of adhesive remnants as well as from dirt, dust, and other loose debris before sealing. If grout becomes stuck in the cracked surface of the tiles, it will enhance the crackling effect, which is perfect for creating a "old look." If not, the tiles should have 1- 2 coats of KF Stain-Stop applied to the face and edges in addition to any coats done before cutting. After 10-15 minutes, before KF Stain Stop dries, wipe any leftover product off the tiles with a gentle cloth. Prior to grouting, allow the surface to thoroughly cure for no less than 48 hours. Follow the advice of your skilled installer. Crackle-glazed tile grouting: For the structure to move, there must be a grout junction between each tile. All Fired Earth Grout is appropriate for use in pools and other totally submerged environments as well as indoor and outdoor applications. Although not impenetrable to the flow of water, it is water resistant. The use of a suitable tanking membrane should be taken into consideration in instances where the background must be protected against water infiltration.
 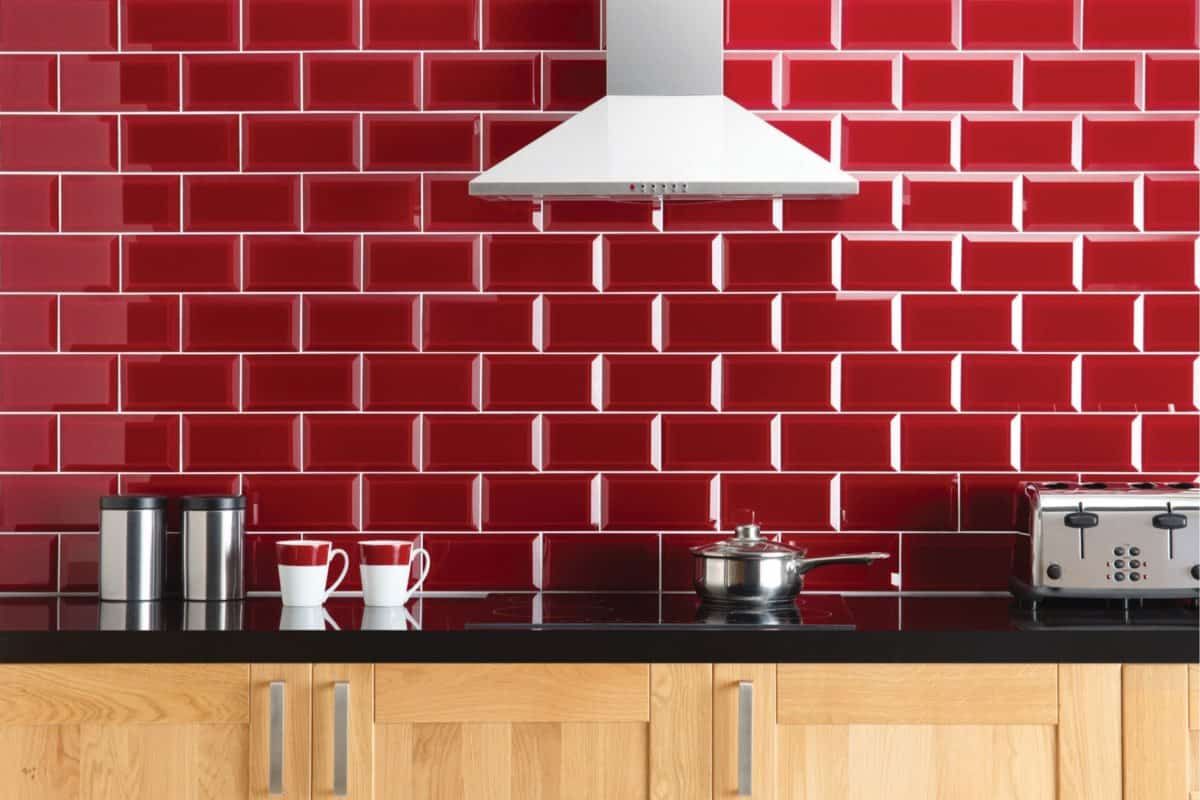 A variety of colors are offered for our grout line. Please make sure you have the right shade of tile for your project. Before grouting the entire area, we advise grouting a small test section of tiles to make sure the grout's color matches your expectations. Please be aware that silicone sealer, not grout, must be used whenever one plane of tiling joins another or another material or where a waterproof sealant is required. Getting Ready for Grouting The adhesive bed and grout joints should be dry and free of adhesive residues, dirt, dust, and other loose particles before grouting. The drying time of the adhesive will be influenced by a number of variables, such as the type of adhesive, substrate, tile type, temperature, etc. When choosing a color for grout, keep in mind that grouts might contain vibrant color pigments. Dark colored grouts can stain lighter colored tiles by seeping into the tiles, leaving dark patches around the tile edge or, in the case of slurry grouting, over the tile face. We advise utilizing cream or limestone when employing a combination of dark and light tiles. Before grouting a whole area of tiles, always test a tiny section. Mixing: Pay close attention to the mixing instructions listed on the product's back.
 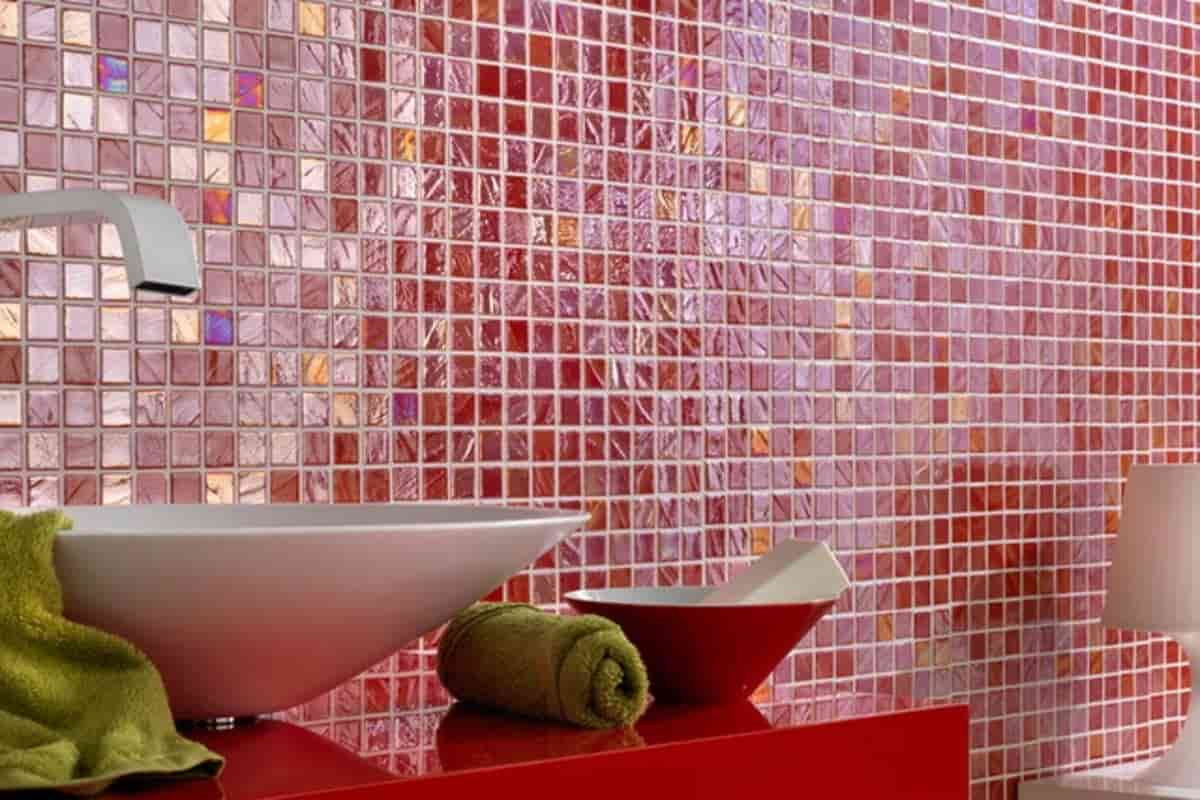 Application: Apply the grout to the grout joints using a soft rubber squeegee or float in diagonal sweeping motions, being careful to thoroughly compress the grout into the grout joints' entire depth to ensure that there are no air pockets and the joints are completely filled. The grout in the joints can be compacted using a timber dowel with the proper diameter. When the grout has started to form up in the joints but before it has dried on the tile face, work in manageable areas and remove any leftovers. The finest cleaning results come from using a fine textured foam sponge that is damp but not excessively wet. Avoid over-washing the grout as this could result in a white bloom (efflorescence) and fade the color. To prevent color variance, make sure to grout in a continuous sequence, especially when working with mosaics. Regularly changing the cleaning water will also help with cleaning. Once the grout has dried, a clean, moist cloth can be used to wipe away any leftover grout dust from the surface. Finally, polish the surface with a gentle, dry, clean cloth.
 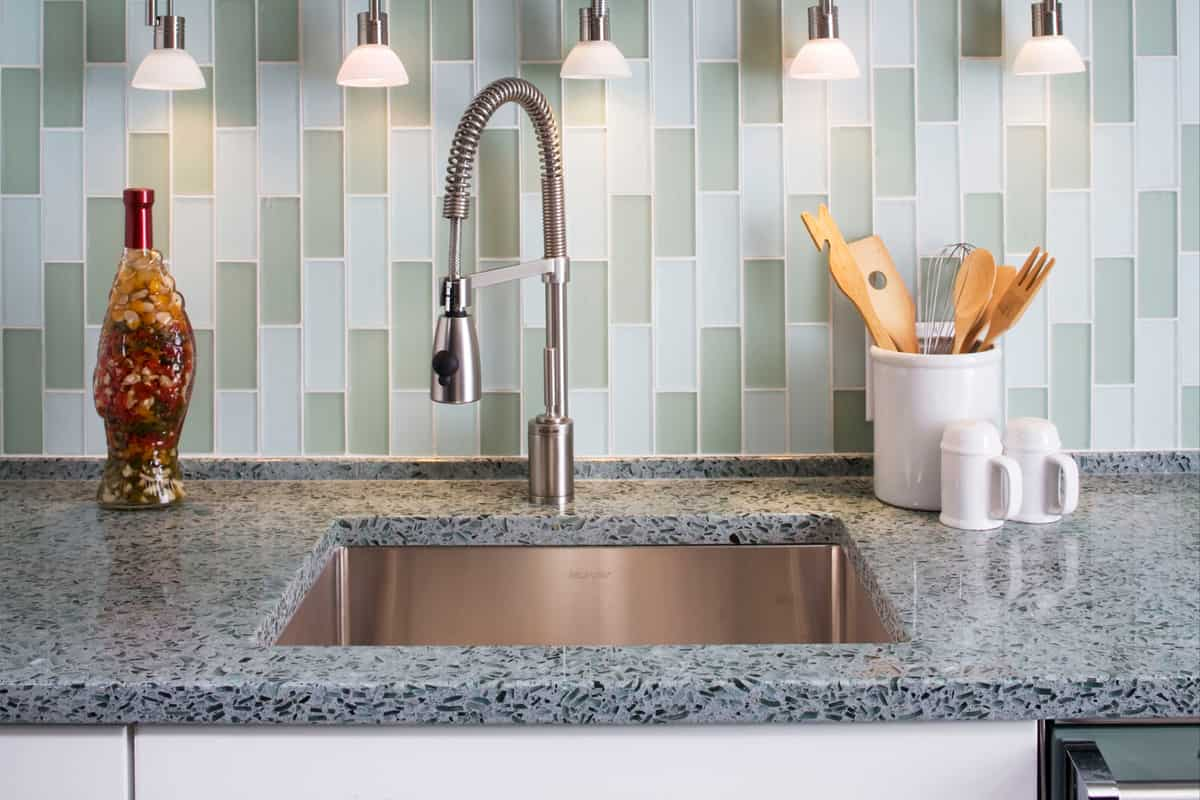 If efflorescence does develop, the salts can be eliminated by repeated washing with fresh water or an appropriate efflorescence cleanser after the grout has fully dried and cured. Some tiles' surfaces are prone to scratching, so care must be used when applying and cleaning the grout. Make sure all grouting equipment are fully clean and free of any dried-on grout, etc. Instead of grout, all perimeter joints must be sealed with a high-quality silicone sealant. As a result, the tiles will be able to expand and contract naturally throughout heating and cooling cycles. Additional Crackle Glazed Tile Sealing: Apply a second coat of KF Stain Stop to the front face of the tiles and the grout once the grouting is finished and completely set. After 10-15 minutes, before KF Stain Stop dries, wipe any leftover product off the tiles with a gentle cloth. If you are an importer or a wholesaler, from anywhere on earth, do not hesitate to contact us.
💰 Tenfold your income 💎
