In the following part, you will learn about canning your tomato sauce using a pressure cooker. This time of the year is the time when all of your tomatoes have reached their ripeness, but now you have an abundance of them. When you planted several tomato plants in your garden, you were aware that there was a chance of this happening. You've consumed so many tomatoes that you're beginning to wonder if they'll start growing out of your ears soon. So what do you do? It is time to start canning! Yes, the moment has come to transform all of your hard work into something that you will be able to make use of as the weather becomes cooler. 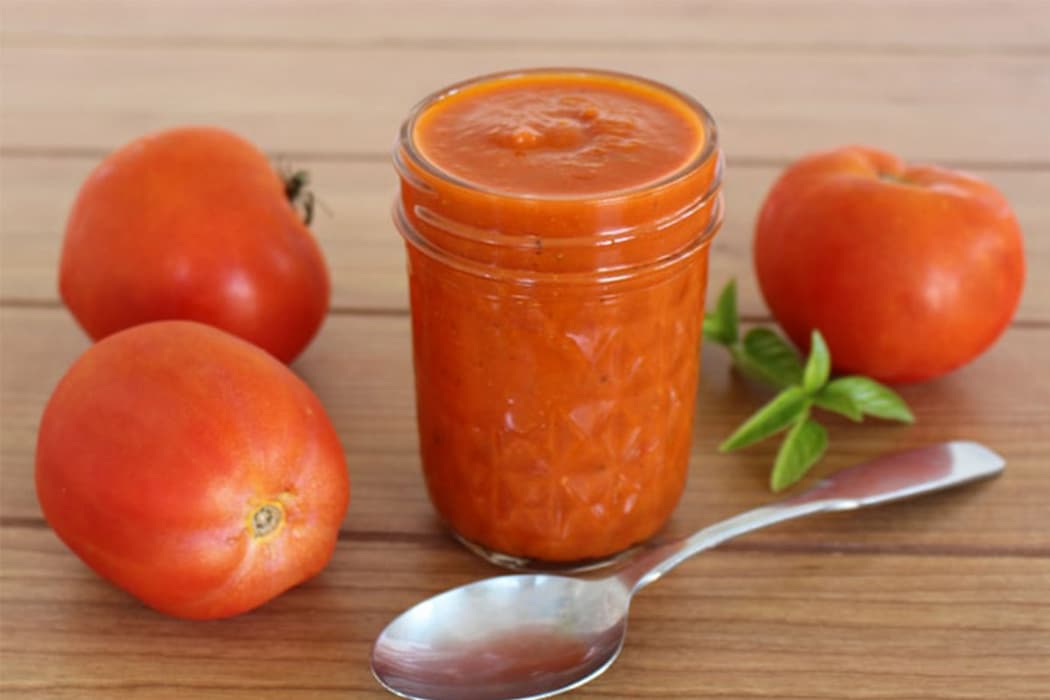 Additionally, your efforts won't be in vain at all. There are so many different applications for all of those tomatoes, ranging from soups to pasta sauces to salsas. The amount of preparation work that is required for canning tomatoes is, however, the aspect of the process that is the most time-consuming. Before you can do anything useful with them, you have to subject them to a variety of processes, such as scoring, blanching, coring, and extracting the seeds. All of that, however, can be wasteful, and you end up throwing away part of the ingredients that you put into your sauces. So what do you do? When you cook a dish, you make sure to use all of the ingredients and avoid wasting anything along the way. It requires a lot less effort, is much simpler, and results in a greater intake of nutrients. With this recipe, all you need to do is toss the ingredients into your pressure cooker or Instant Pot, and then sit back and let the appliance do the cooking for you. And it's going to be a hit with everyone in your household.
  Below are the steps that are needed to be taken in the process of canning tomato sauce if you are going to use pressure cooker.
- You may have to process six-quart mason jars at a time if you place them on a rack inside the stock pot. Fill both the jars and the stock pot with cool water until it reaches the very top of the jars. Place over a heat setting of medium and cover. Keep an eye on it, but don't let it boil.
- After putting the bands to the side, prepare six pairs of lids, then place the flat lids in a small saucepan and turn the heat to medium. Do not bring to a boil, but instead maintain a warm temperature throughout the operation.
- Now take the jars out of the heated bath and set them aside. Turn them over as you remove them from the pan, and then pour the water back into the original container. Put them on a towel and lay it out on the counter so that the opening is facing up. Do not attempt to dry them! Simply place them where they go, then insert the funnel. Each jar should be filled with sauce, allowing a headspace of one inch.
- Utilizing the little magnet tool, take the flat lids out of the hot bath. Position on top of each jar. Screw the collars on by hand, but be careful not to make them too tight! Keep in mind that each jar still has to have some air released from it.
- Put the rack inside the pressure canner, and then place your full jars on top of it. Warm water to a depth of 2-3 inches should be poured in. Close your lid.
- Wait with your canner on Medium-High Heat until the vent starts to let steam out before opening it. Ten minutes should be allotted for the steam to escape before moving the dial to position 1. Hold your breath until the steam begins to emerge again.
- Hold the temperature at this for 1 hour and 15 minutes. After the 75 minutes have passed, remove the canner from the heat and wait for the pressure within to release naturally.
- When it is safe to open the canner, do it facing away from you to prevent any further steam from hitting your face. Take the cans out of the oven and set them down on a clean towel to cool. You'll know you can have successfully sealed when you hear those delightful "pop" sounds. Before relocating them or utilizing them, give them 12 to 24 hours of rest. Place in a cool, dry, and dark location.
Notes to consider before getting started: Make use of the very best tomatoes you can get your hands on. Even while D.O.P. San Marzano tomatoes shipped from Italy are easily accessible and offer quality assurance, you can use any high-quality domestic or international canned tomato in its place. Check to see that the San Marzano tomatoes you purchase have the D.O.P. label on them rather than a label that just says "San Marzano style." 
tomato sauce in pressure cooker
You can have a red tomato sauce that tastes like it's been simmering all day even on a weeknight thanks to the pressure cooker. In most cases, we connect the Maillard reaction with cooking at extremely high temperatures, such as using flaming-hot skillets or grills to sear our steaks or scorching-hot ovens to produce dark bread crusts. The reaction, however, can take place at temperatures far lower than those described; it only happens to proceed at a pace that is significantly more leisurely. When I make a large batch of my Slow-Cooked Tomato Sauce, which requires an oven temperature of approximately 300 degrees Fahrenheit and approximately six hours to cook, I take advantage of this fact. Even though the sauce never even gets close to reaching the temperatures necessary for browning meat or bread, its color still changes quite a bit while it cooks for such a lengthy period.  This darkening of the hue is accompanied by a corresponding darkening of the flavor. This is not a bright and fresh-tasting tomato sauce at all. Because it did cook for such a long period, the result is a sauce that is extremely rich and nuanced in flavor. What if, though, I don't have the entire day to devote to simmering my tomato sauce? What if it's six o'clock on a Wednesday night and I want to be in my pajamas and bed by eight, with a satisfied smile on my face, a full stomach, and a feeling of complete fulfillment? I suppose I could use Daniel's 40-Minute Red Sauce as an option. Because the flavor basis is made with tomato paste, the finished product has some of the richness that comes from cooking the sauce over low heat for a long time. On the other hand, because I was smart enough to anticipate just this kind of scenario and purchase a pressure cooker for myself, I now have a superior alternative sitting here on the counter. Because a pressure cooker cooks at a higher temperature than a pot that is simply simmering, specifically 250 degrees Fahrenheit at high pressure as opposed to 212 degrees Fahrenheit for standard boiling, a variety of fascinating processes take place within the walls of the pressure cooker, which are hermetically sealed.
  Browning is one of these processes. We don't often associate browning with moist cooking methods such as simmering, boiling, or steaming; yet, a pressure cooker enables liquids to reach hot enough to start experiencing the Maillard reaction, which is necessary for browning. You can generate many of the rich flavors that are characteristic of tomato sauces that have been simmered for hours in just 45 minutes of cooking at high pressure. The good news for a cook who works during the week. You may be thinking, "Wait a minute—the sauce in the oven cooked at 300 degrees Fahrenheit for six hours, and you're only cooking at 250 degrees Fahrenheit for 45 minutes." A lower temperature, and a shorter amount of time. What's the deal? The explanation is that the air temperature in the oven is 300 degrees Fahrenheit, but just because the air temperature is 300 degrees Fahrenheit does not entail that the temperature of the sauce is also 300 degrees. You’ll discover that the majority of the sauce never gets hotter than approximately 200 degrees Fahrenheit, except for the very top layer. Because the majority of the darkening that takes place in an oven takes place just at the surface of the sauce, you will need a respectable amount of time to bring the sauce to a level of darkness that will impart flavor to the entire batch. The contents of a pressure cooker, on the other hand, are heated to a temperature of 250 degrees Fahrenheit. This is the sauce that covers everything, from the very top to the very bottom and everything in between. The browning process takes less time overall because it happens more evenly and it takes place over a larger amount of food. It is important to keep in mind that liquids do not diminish in a pressure cooker, which means that the final flavor of a sauce cooked in a pressure cooker is not quite the same as the flavor of a sauce cooked in an oven. However, unless you are making a direct comparison between the two, neither you nor your dinner guests are likely to detect the difference between the two.
  To be able to consume this stuff on any day of the week, I am willing to suffer the consequences of such a sacrifice. Instruction:
- Tomatoes should be placed in a large basin. Crush the tomatoes by squeezing them through your fingers until the pieces that are left are no larger than half an inch. You can do this with your hands. Place the smashed tomatoes in a jar with a lid and store them in the refrigerator until step 3 is complete. One cup equals 240 milliliters.
- In a pressure cooker, melt the butter by heating the olive oil over medium heat until the butter is completely melted. After adding the garlic, continue to stir it over low heat for about two minutes, until it has softened and released its aroma but has not browned. After adding the pepper flakes and oregano, continue cooking while stirring for approximately one minute until the mixture becomes fragrant. After adding the tomatoes, carrot, onion, and basil, give everything a good toss to blend. Add a pinch each of salt and pepper to the dish. Put the lid on the pressure cooker, then bring the pressure up to its maximum. Cook for 45 minutes, after which time the pressure should be released and the lid can be opened.
- Remove the onion halves, carrot, and basil from the dish using the tongs. To the sauce, add the tomatoes that you kept and whisk to integrate everything. If using fish sauce, add it now. Add a large amount of salt and pepper, then whisk in minced herbs and, if preferred, extra olive oil. Season with salt and pepper to taste. Serve immediately, or allow to cool at room temperature before transferring to airtight containers and placing in the refrigerator for up to one week. Both options are available. As an additional storage option, the sauce can be stored in airtight containers for up to half a year. To reheat, place in a saucepan with a half cup (120 ml) of water and cook over low heat, stirring constantly until it all melts and is thoroughly heated.
0
0