Recently, while assisting a friend with some renovations, we discovered some ceramic tiles in one of the rooms and agreed that they should be replaced. I want to know if you can place ceramic tiles over previously installed ceramic tiles because I still want to use tile. I asked some tilers, and these are their responses. Laying ceramic tile on top of ceramic tile is OK. However, it is better to remove the tiles if they are very broken or if you notice air pockets in the tiles. Air pockets show that the tiles were placed improperly and will soon require replacement. A variety of subfloors are suitable for ceramic tiles. Plywood and concrete are the most widely used. It is feasible to tile hardwood floors as well, however. The pros and cons of laying ceramic tile over ceramic tile are discussed here, along with detailed instructions for how to accomplish it. 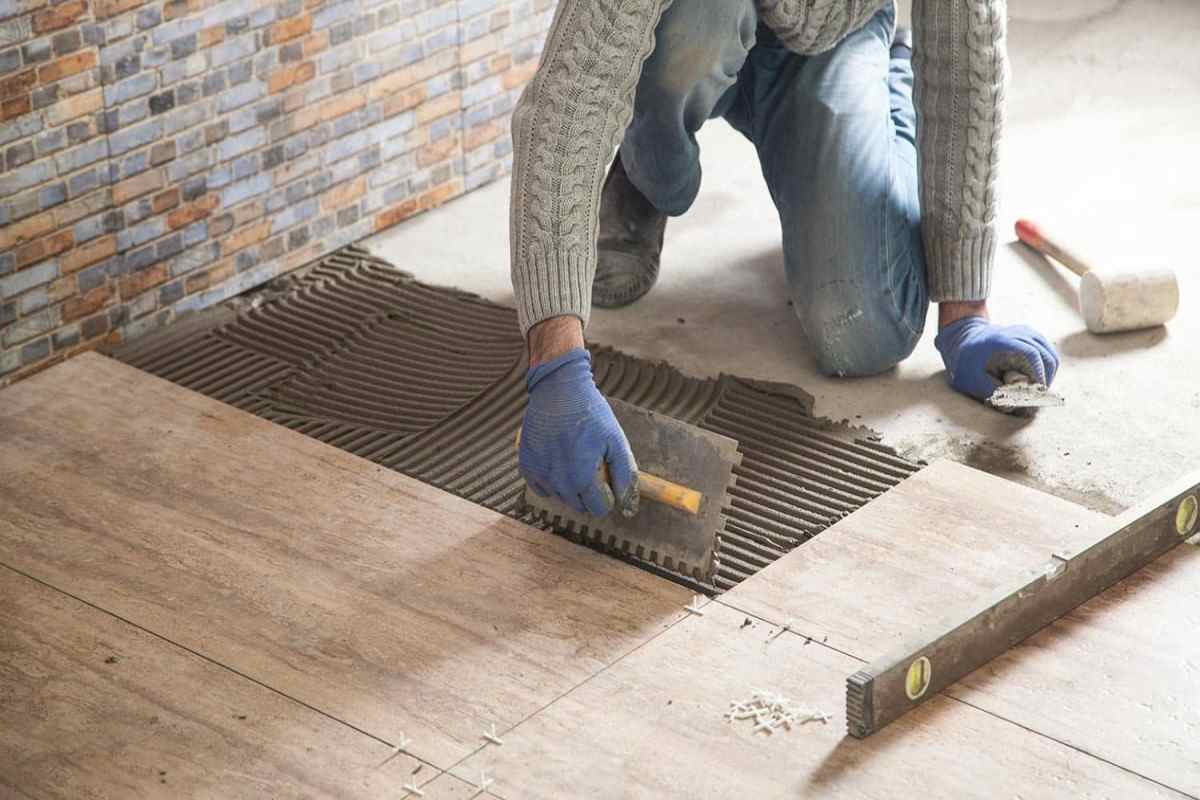 I was interested in how ceramic tiles compared to the other types of subfloor and whether it is a good idea as it is completely acceptable to place ceramic tiles over ceramic tiles. Here is if you should, in the opinion of builders and tilers. Ceramic tiles should generally be laid on top of ceramic tiles. Ceramic tile installation is mostly affected by how sturdy, level, and flat the subfloor is. Before adding ceramic tiles on top, ceramic tiles must be examined to make sure they are level and installed properly. The top of the tile is lightly tapped to check for proper installation. Tap the tile's surface with your finger or a thin coin, such as a quarter. You can detect air pockets by the hollow sound they make. When the adhesive wasn't applied correctly or wasn't used enough, air pockets were formed. Air pockets cause tiles to deteriorate significantly more quickly than tiles that are properly fitted. Therefore, you can choose to take the tiles out and start over if you find that they were installed improperly. Depending on how much of the tile floor contains air pockets and the state of the tiles overall, it should be handled on a case-by-case basis. In general, putting ceramic tiles over existing tiles saves labor and time. Thus the project will be less expensive and time-consuming than removing the existing tiles. However, some people would rather take out the current tiles for their own peace of mind if they don't know who put them in or what's underneath. I enjoy doing my own repairs and have fitted tiles before. However, I was wondering about the overall procedure and if there are any precautions when laying ceramic tiles over ceramic tiles. Here is what I discovered. Following are the steps for placing ceramic tile over ceramic tile:
- Make sure the ceramic tiles are level and flat.
- To determine how the tiles will fit, arrange them on the floor.
- Apply mortar to the ceramic tiles already there.
- Install the tiles
 1. grout the seams. Make sure the ceramic tiles are level and flat. In order for the tile floor you create to be level, the surface you lay the tiles on must be level. Check the level of the existing ceramic tiles using your carpenter's level. It's acceptable to have a few small errors. However, you should use a self-leveling compound to fix any evident high or low places on the floor that are visible. Making a self-leveling compound involves combining the powder with water and applying it to the floor. It will level off as it dries. Filler can also be used to cover flaws and strengthen weak regions. Your local hardware store offers a wide variety of types and brands. It works well with using a general-purpose putty or filler for tiling. 2. Arrange the tiles on the floor to determine their compatibility. Once the floor is level and flat, you should arrange the tiles to determine which arrangement will work best. A thin strip of tile at the edge where the floor meets the wall is generally something you want to avoid. Start by placing one row of tiles down the center to make the arrangement simple. After that, arrange the remaining tiles. Change the location of the center row so that the end tiles are as large as possible. For instance, you might discover that you need to start with half a tile on one wall before moving on to the other. Or that if one wall starts out with a full tile, the other wall will end up with a half tile.
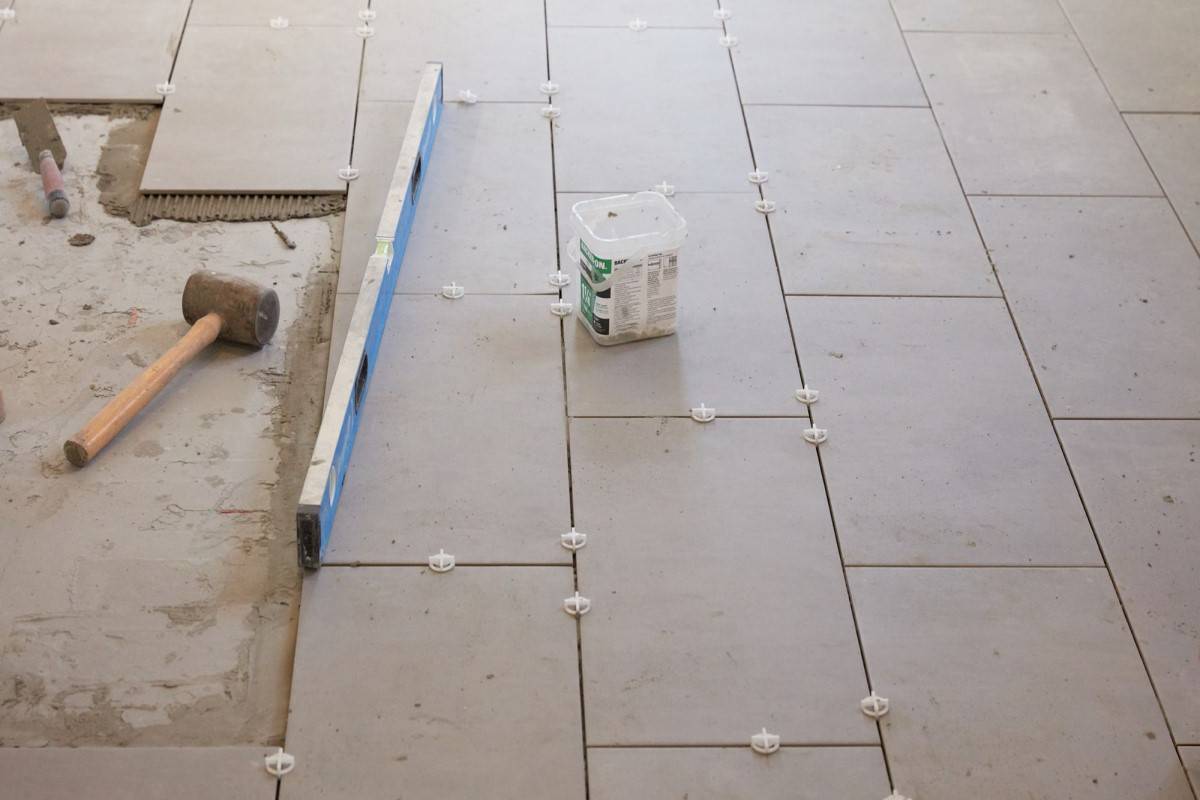
 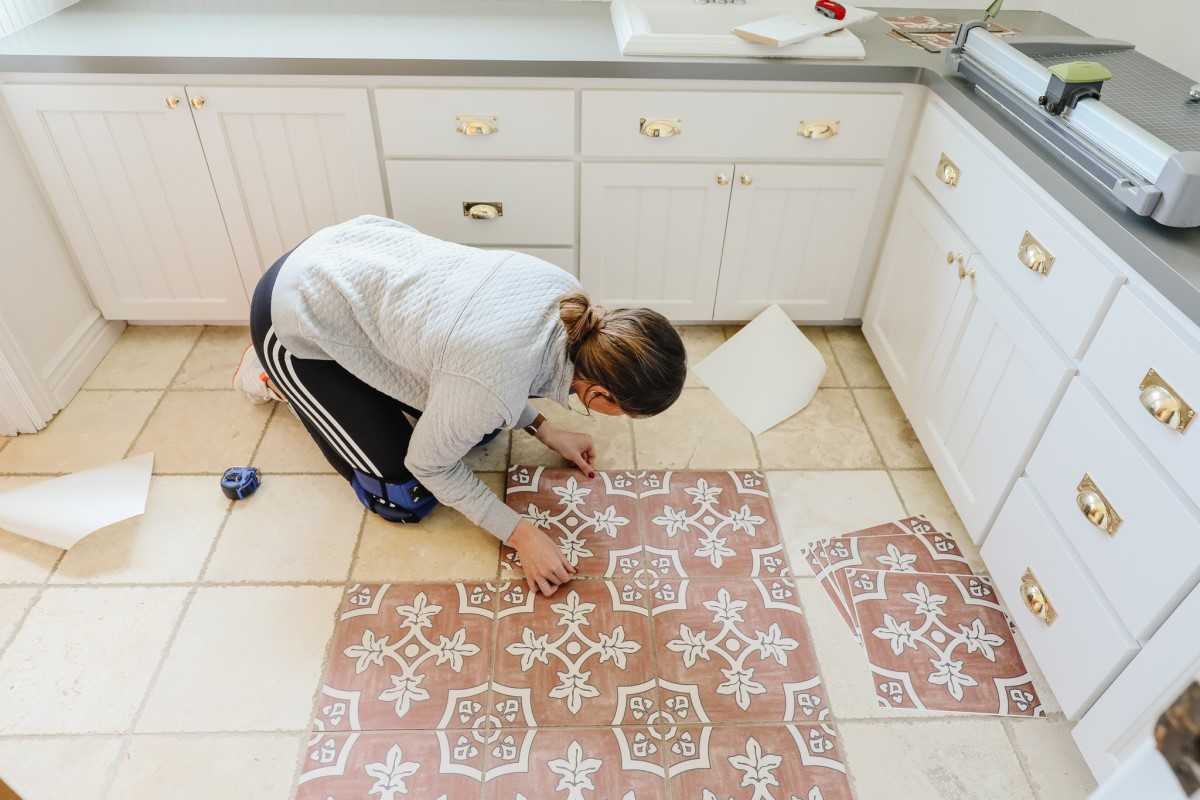 Use tile mortar, then position the tiles. You may now start applying mortar because you know how you're going to lay the tiles. Mortar adheres the tiles to the subfloor like glue. The USA National Tilers Association has released a video that explains how using various trowel patterns when applying mortar affects how tiles look. Additionally, the ideal way to apply tile mortar. I am familiar with a few local tilers, and they have informed me that occasionally they come across projects that have been tiled improperly, necessitating additional costs for repairs. Go to the directions in the aforementioned video to learn precisely how to apply the mortar and arrange the tiles on it. Joint grouting You will use spacers when laying your tiles to maintain an even gap between each one. However, grout will still need to be added to the gaps between the tiles. The mortar under the tiles will have dried in 24 to 28 hours, at which point the spacers can be taken out. Now you must fill in the voids between each tile with grout.
 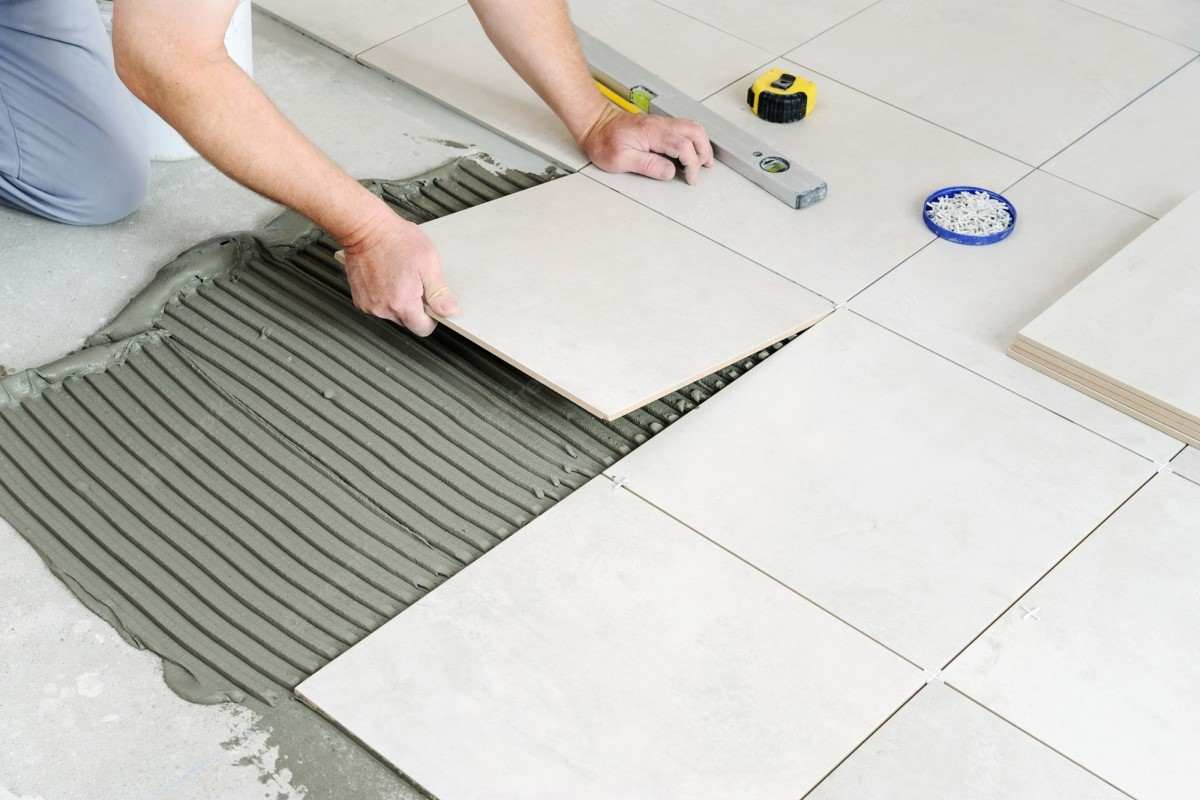 Working with grout is akin to working with pottery clay since it is damp and soft. Using a trowel, apply it to the crevices between the tiles, then smooth it off with a moist sponge. By lightly wiping the tops of the tiles and the grout with a moist sponge, you may make the surface of the grout smooth and uniform. It's possible that there will be some grout residue that won't be apparent until it dries a little. On the top of the tiles, you will notice fine dust finish. To remove it, take a fresh, damp sponge and wipe the tiles' surface once again. Try to avoid touching the grout in the joints, as it will still be wet and squishy as you go. Depending on the temperature and humidity, grout needs one to three days to dry completely.