Buy all kinds of ceramic tiles outdoor+price
The outdoor patio flooring by same materials such as ceramic and tiles that are used on the stair too.
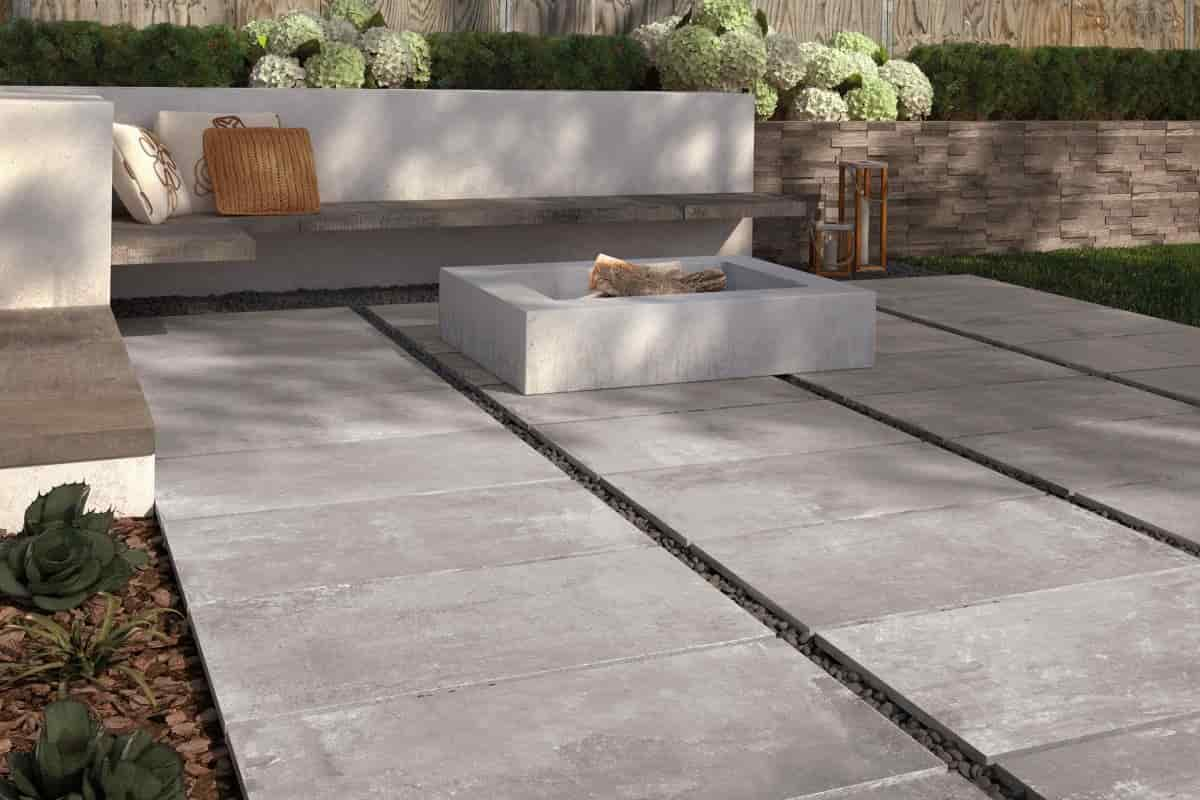
ceramic tiles outdoor use
For the use of outdoor tiles might potentially improve the appearance of concrete walkways and garden layouts.
Tiles are a versatile option for decorating your staircase; you may use them to cover the risers or the treads, depending on your preference.t
Which Types of Tiles Are Ideal for Outdoor Applications?
When it comes to selecting tiles for an outdoor area, the most important factor to take into consideration is how they will look. Even while the majority of tiles may be used outside, only a select few of them have the necessary level of durability for a garden or patio.
The following is a description of some of the most popular tiles, along with an explanation of whether or not they are suitable for use in environments that are exposed to the elements.
materials for construction that are also utilized as raw materials
If you are looking for the option that will seem the most appealing to the eye, natural stone tiles are your best bet.
They may be utilized to complement a wide variety of design sensibilities and are able to mix in well with a number of different exterior decoration schemes. As a result of their remarkable durability, they are ideal for use in both indoor and outdoor settings.
When it comes to tiling your outdoor steps, natural stone is an excellent choice of material to work with.
Porcelain
When it comes to landscaping your yard, porcelain tiles are an excellent solution to use. They don't absorb much waer, if any at all, and they don't show stains from rain very easily, thus they are great for places that get a lot of moisture.

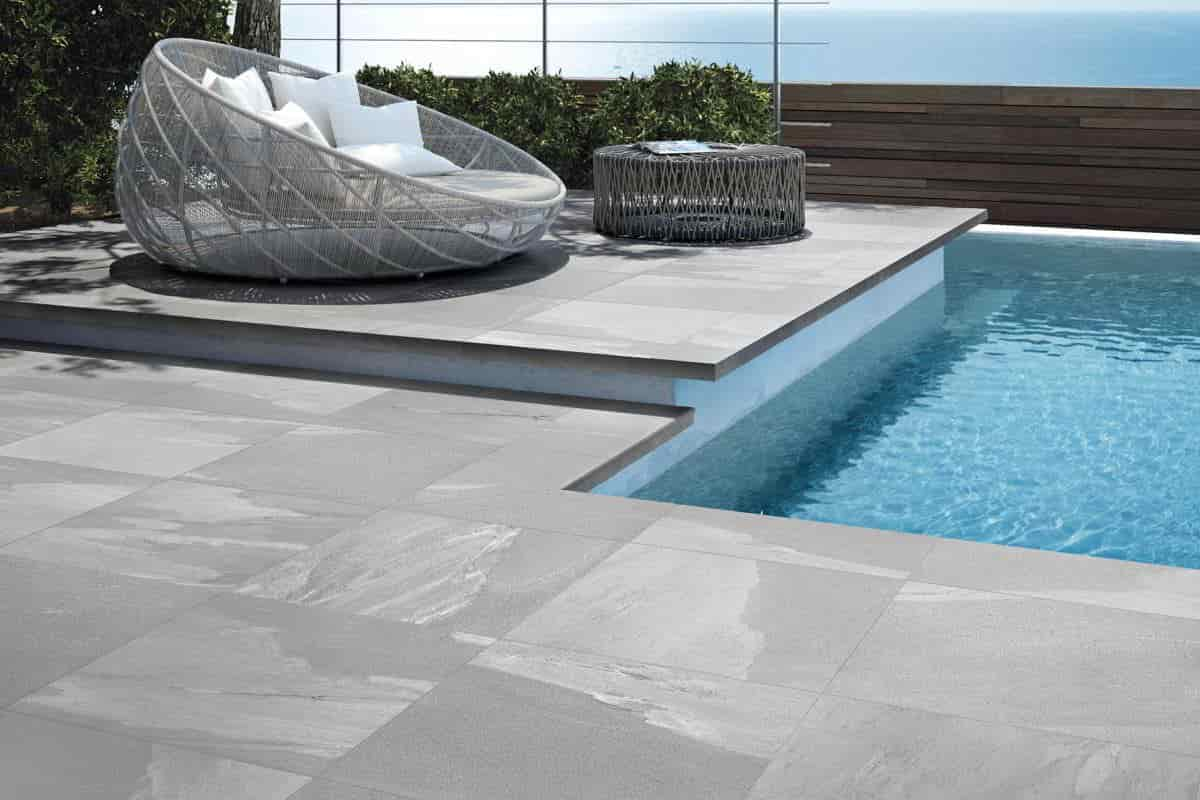
ceramic tiles outdoor wall
Because they are inherently resistant to UV radiation, even prolonged exposure to the sun does not usually cause them to degrade. The versatility of porcelain tiles makes them a leading candidate for the title of finest outdoor tile. They can be utilized for a variety of applications, from stair accents to outdoor tile flooring.
Utilization of Tiling on Decks
Decking tiles are intended for use as a surface for walking or lounging on in outdoor areas, such as the front or back yards of a house. However, as opposed to the more common varieties made of ceramic or porcelain, decking tiles are often crafted from hardwood.
Wooden tiles are often employed in deck construction because they are able to give uniform spacing between boards in a manner that is visually pleasing.
Marble
Even though they are more costly than other kinds of tiles, marble tiles are one of the solutions that will last the longest and look the most beautiful for years to come. Marble tiles may be found in a number of different shapes and are often utilized in gardens all over the world.
Marble tiles may be used outside, whether you want to create the look of a light marbled vertical stair riser tile or a dark marbled effect over your patio.
The first thing that has to be done is to gather all of the necessary materials.
Make sure you have all of the essential tools before you begin installing tiles. Purchasing a tile cutter is a good idea if you have any reason to believe that you may need to alter the form of the tiles you are using in your tiling project.
As long as you own them, you will have everything else you need to tile your outside space in the manner that is right.
Next, make sure that the stairs are very clean and that they are aligned properly.
You need to give the space on your concrete steps a complete and thorough cleaning before you can put the first tile. You should clean the area in which you want to place the tile by using a brush, some soap, and some water.
It is also recommended to make use of a spirit level in order to guarantee that the stairs are completely level. If the bubble on the level is not precisely in the center of the step, you need to apply a leveling mix to make the step smooth before you tile it. This must be done before tiling the step.
ceramic tiles outdoor
In the third phase, you will need to decide where the center tiles will be placed.
The next thing that has to be done is to carefully indicate the position of each tile. Find the center of the vertical length of each increase by using a tape measure. Because here is where the first tile will go, locate the exact center of the riser in your mental map.
At this point in time, another good suggestion would be for you to make sure that the tiles you want to use for your riser are the appropriate size and form for your steps. Trace the area using chalk or a pencil to demonstrate to your tile cutter where it needs to make adjustments.
Prepare the glue as the fourth step.
Because preparing your glue might be a messy procedure, you should equip yourself with a bucket and some old clothing. Alterations in temperature might cause movement, which is why we recommend use a flexible adhesive outdoors. Purchase in bulk a high-quality adhesive.
In a bucket, thoroughly combine the tile adhesive in accordance with the directions provided by the manufacturer.
The next step is to apply a layer of caulk to your stair riser that is about 1/8 of an inch thick using your notched trowel. If you wait longer than 15 to 20 minutes, the glue you're using can dry up at too slow of a rate.
Installing the Floor Tiles
You are now able to begin tiling once the glue has been applied and the location of the stair riser has been decided. Place the tiles into the adhesive very carefully, leaving a gap of about 2 to 3 millimeters between each one (the tile spacers will help you get the spacing just right).
Installing the grout is the sixth phase in the process.
The last step in the process of making a tile mural that is uninterrupted by gaps is to grout the spaces between the tiles.
A grout float is the most effective instrument for uniformly dispersing grout into the spaces, and the first stage in the process is to gather the necessary resources.
Make sure you have all of the essential tools before you begin installing tiles. Purchasing a tile cutter is a good idea if you have any reason to believe that you may need to alter the form of the tiles you are using in your tiling project.
As long as you own them, you will have everything else you need to tile your outside space in the manner that is right.
Next, make sure that the stairs are very clean and that they are aligned properly.
You need to give the space on your concrete steps a complete and thorough cleaning before you can put the first tile. You should clean the area in which you want to place the tile by using a brush, some soap, and some water.
It is also recommended to make use of a spirit level in order to guarantee that the stairs are completely level. If the bubble on the level is not precisely in the center of the step, you need to apply a leveling mix to make the step smooth before you tile it. This must be done before tiling the step.
In the third phase, you will need to decide where the center tiles will be placed.
The next thing that has to be done is to carefully indicate the position of each tile. Find the center of the vertical length of each increase by using a tape measure. Because here is where the first tile will go, locate the exact center of the riser in your mental map.
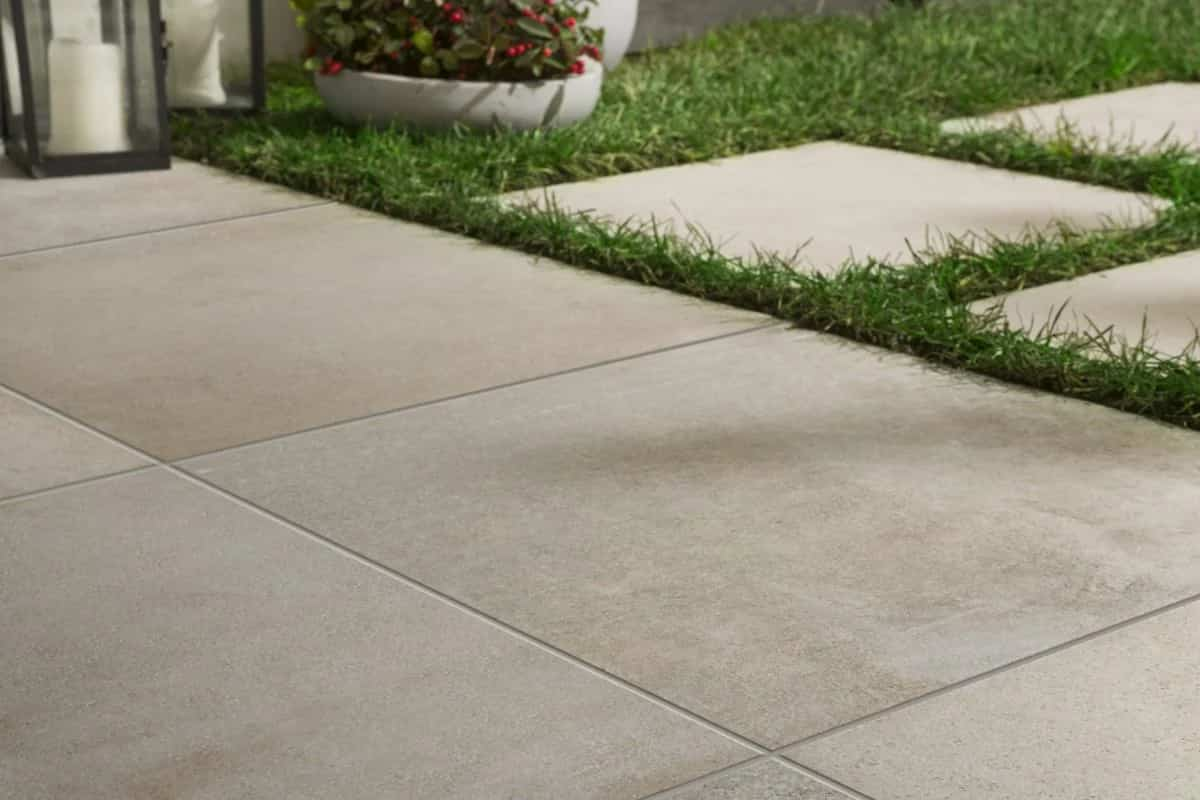
ceramic tiles outdoor patio
At this point in time, another good suggestion would be for you to make sure that the tiles you want to use for your riser are the appropriate size and form for your steps. Trace the area using chalk or a pencil to demonstrate to your tile cutter where it needs to make adjustments.
Prepare the glue as the fourth step.
Because preparing your glue might be a messy procedure, you should equip yourself with a bucket and some old clothing. Alterations in temperature might cause movement, which is why we recommend use a flexible adhesive outdoors. Purchase in bulk a high-quality adhesive such as Weber SPF.
In a bucket, thoroughly combine the tile adhesive in accordance with the directions provided by the manufacturer.
The next step is to apply a layer of caulk to your stair riser that is about 1/8 of an inch thick using your notched trowel. If you wait longer than 15 to 20 minutes, the glue you're using can dry up at too slow of a rate.
Installing the Floor Tiles
You are now able to begin tiling once the glue has been applied and the location of the stair riser has been decided. Place the tiles into the adhesive very carefully, leaving a gap of about 2 to 3 millimeters between each one.
Installing the grout is the sixth phase in the process.
The last step in the process of making a tile mural that is uninterrupted by gaps is to grout the spaces between the tiles. A grout float is the most effective instrument for uniformly dispersing grout into the spaces between the tiles.
How useful is this article to you?
Average Score
5
/
Number of votes:
1