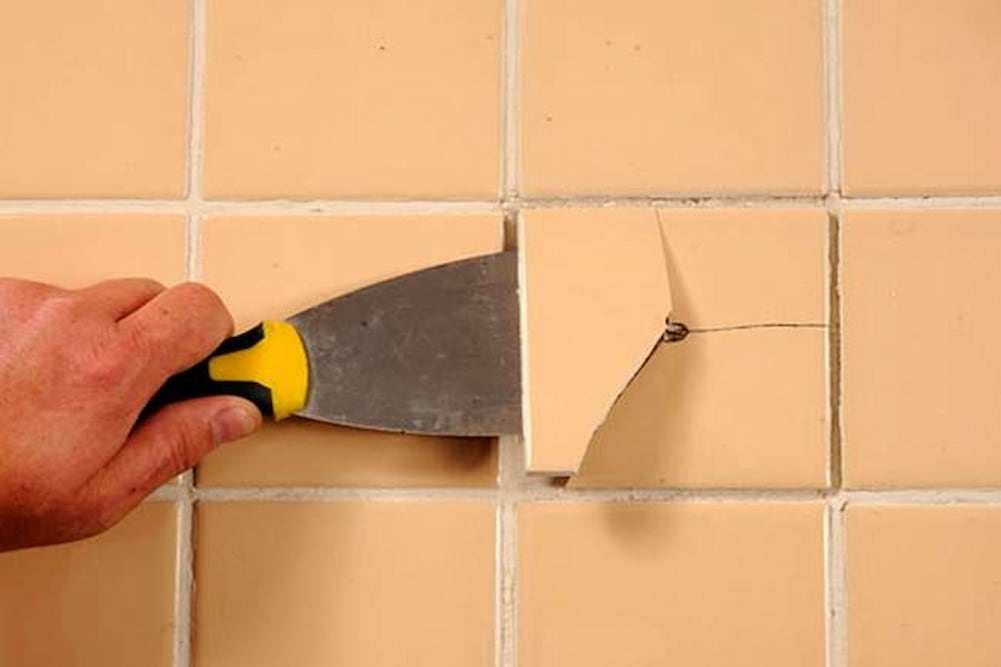
to replace or repair a broken tile is a usual thing while you have covered an outdoor or indoor wall or floor. Although real tiles are a durable flooring material, individual tiles can chip, crack, or otherwise be damaged beyond repair. Luckily, it's one of the easiest floor types to repair, even though it's as strong, weatherproof, and water resistant as a tile floor. 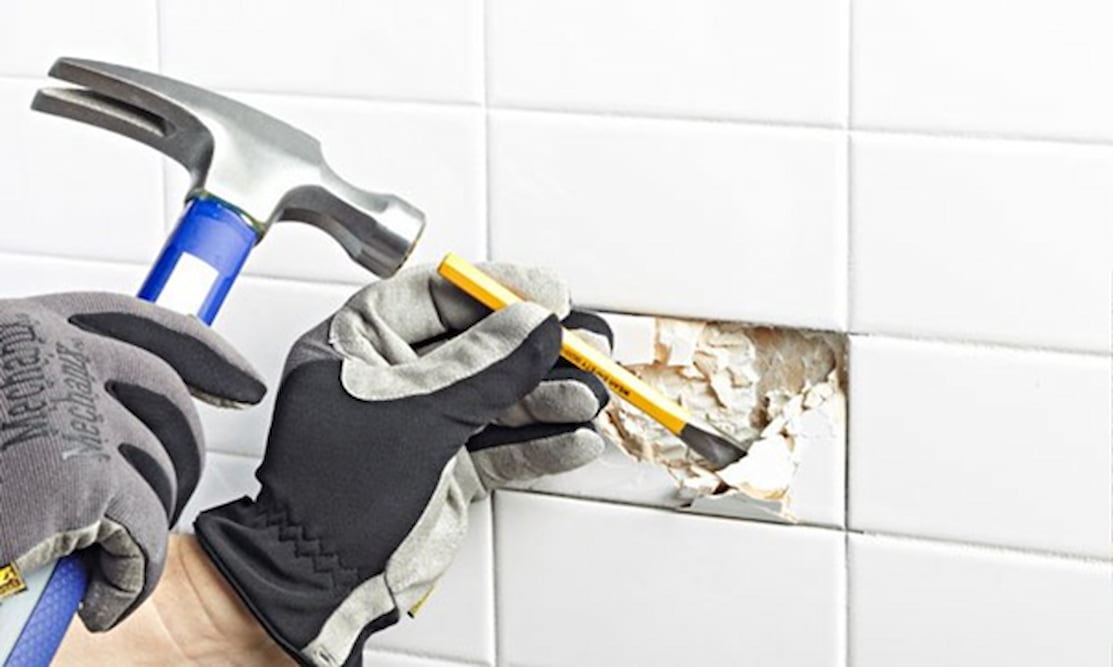 To replace a damaged tile, you simply scrape the grout around the tile, break and cut the tile, and scrape off the old adhesive (probably thin, grout-like adhesive mortar). This way you can start over with a clean subfloor. Tile floors are a beautiful addition to any home and, when installed correctly, they are a long lasting solution. However, tiles are not immune to cracks. Floor tiles can crack due to simple things like problems during installation, extreme temperature changes, excess weight, or placing heavy objects in the wrong place. Fortunately, homeowners can easily repair fine cracks in floor tiles with a few simple tools, including Popsicle sticks or toothpicks and a compound called epoxy. While hairline fractures and slightly larger cracks can be an easy fix, cracked floor tiles, chipped tiles or large cracks in the floor will require tile replacement. Replacing tiles requires additional steps, including obtaining replacement tiles. This wide range of tasks may require the experience and skills of professionals. Homeowners should be careful when moving around cracked tiles to prevent the cracks from getting worse. When trying to repair cracked tile to protect bare feet (or pet paws), be sure to seal the area.
 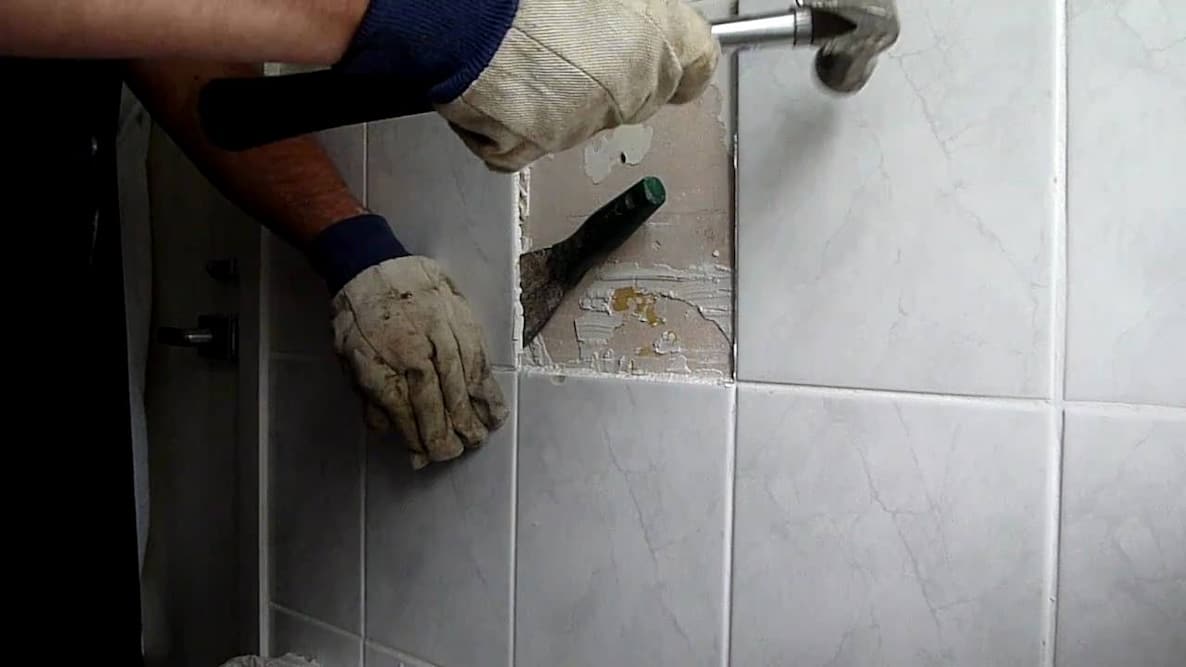 The following steps explain how to repair cracked floor tiles without completely replacing the tiles, including best practices to follow when repairing cracked tiles.
- Equipment / Tools
- Carbide-tipped grout saw
- Hammer
- Nail set
- Cold chisel
- Putty knife
- Coarse sandpaper
- 1/4-inch notched trowel
- Goggles
- Work gloves
- Rubber mallet
- Piece of 2x4 board
- Small screwdriver
- Tile spacers (optional)
- Needle-nose pliers (optional)
- Cloth
- Sponge
- Bucket
- Shop vacuum
- Level (optional)
- Materials
- Thinset mortar
- Replacement tile
- Tile grout
- Tile sealant
- remove the old grout
 Use a carbide grout saw to scrape the old grout around the broken tile. Take care not to chip or scratch the surrounding tiles as you work. Use gentle but firm strokes to remove all of the grout until one side of the tile is completely exposed.
- Break Up the Tile
Use a hammer to drive a nail into the surface of the tile, drilling it in one or two places. This will break the tile so you can remove it. However careful you are, stone fragments can fly during this step. Be sure to wear safety glasses and heavy-duty work gloves to protect your eyes and skin from debris.
- Remove the Tile Shards
Place the tip of the cold chisel in one of the cracks, then tap the chisel with a hammer to loosen and lift the tile fragments. Gouge very carefully near the edge of the tile to avoid damaging adjacent tiles. Only break up tiles and old layers of mortar, taking care not to damage the underlying subfloor or tile backing material. 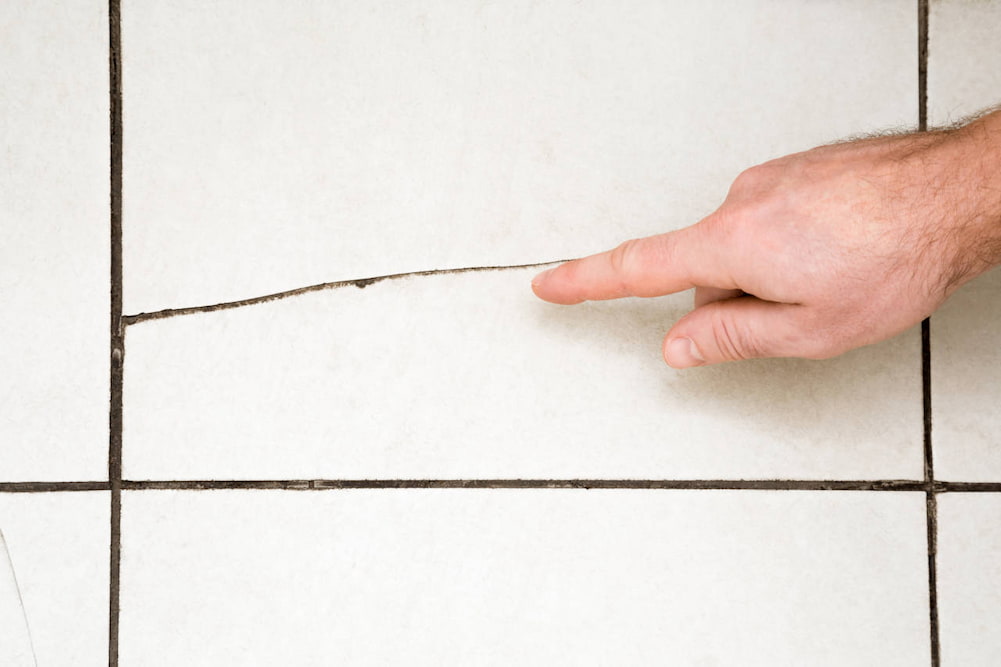
- remove the old adhesive
Use a putty knife or cold chisel to scrape off the old adhesive. Remove as much adhesive as possible, then use coarse sandpaper to remove any remaining adhesive and smooth the area. Vacuum all the sand and dust from the floor.
- Place the New Tile
Blend a little batch of thinset mortar according to the manufacturer's information. Use a 1/4" notched trowel to apply the mortar directly to the back of the tile. Slide the notched edge of the trowel over the mortar to create an even ridge. Be sure to cover the entire underside of the tile. Lay the tile on the floor and press down until its surface is flush with the surrounding tiles. You can twist it slightly back and forth to let it rest in the mortar. If necessary, place a tiling spacer at each of the four corners to ensure your grout lines are straight. Otherwise, just line up the tiles by eye so that the grout lines are all the same width. 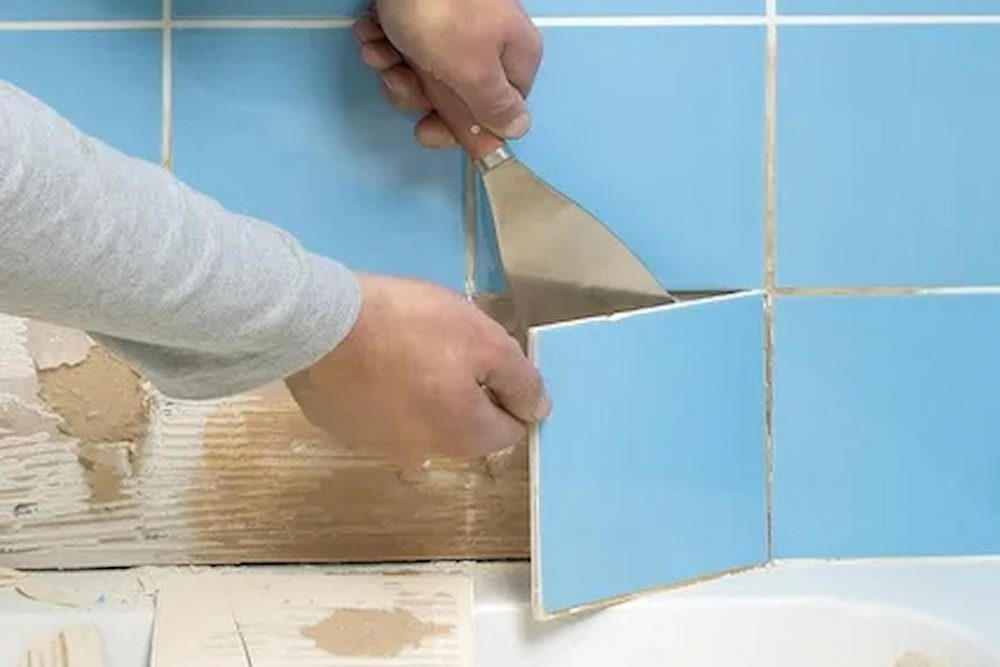
- Tap Down the Tile
Place a straight 2x4 board over the newly placed pieces so that the board touches at least two adjacent pieces. Tap the board lightly with a hammer or mallet to press the new tile down so it's flush with the next one. You can also use a spirit level to make sure the tiles are aligned. In the case of cracked tile, the surface of the tile may be uneven, even if the rest of the floor does not get it perfectly. Focus on the edges of these tiles, even adjacent sections along the grout line.
- Clean Up the Work Area
Use a small screwdriver to remove excess adhesive from the space around the tile. Use a damp cloth to wipe away any remaining mortar from the tile surface. If you used a spacer, carefully remove it with needle-nose pliers. Let the tiles sit for at least 24 hours.
- Grout the Tile
Blend a little batch of grout according to the manufacturer's information. Use a putty knife to apply the grout to the space around the tile. You can also use your fingers to press the grout into the space. 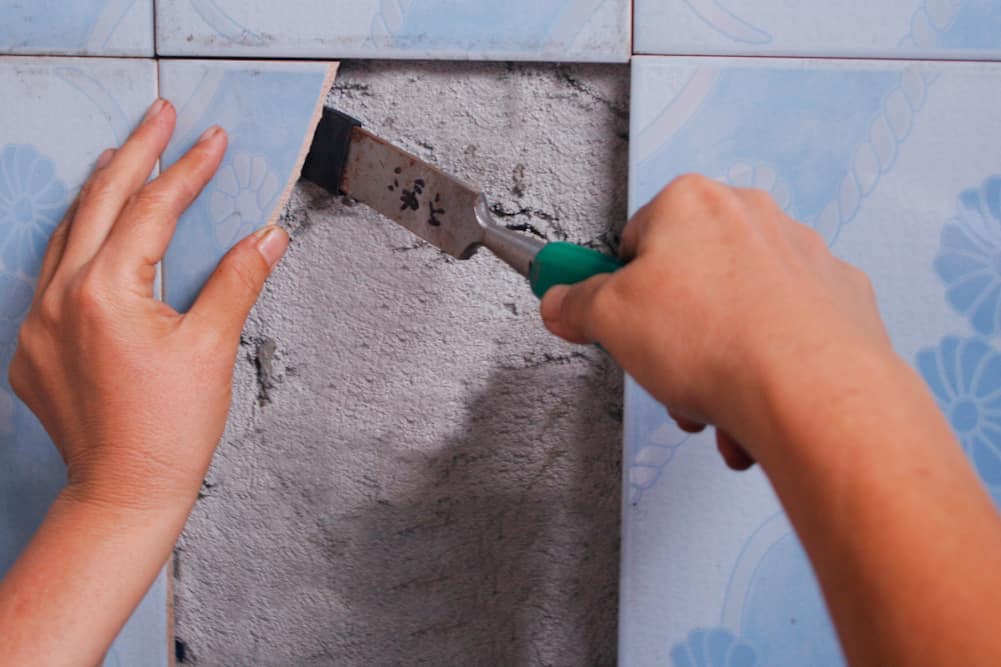 Wipe off any excess from the tile surface with a rag. When the grout does not yield to the light pressure of your fingers, carefully rub the grout lines with a damp sponge to smooth the grout and clean the tile surface. Wash the sponge regularly in a bucket of clean water. If the grout leaves a haze on the tile surface, that's fine. Allow the grout to dry overnight and seal in the morning following the directions for a good grout sealer. Wait about an hour for the grout sealer to dry before proceeding to the next step.
- Clean and Seal the Floor
Clean the entire surface of the floor with lukewarm water, making sure to remove all dirt and debris. Let the floor dry completely. Apply a commercial grade underground natural stone sealer to the entire floor following the manufacturer's instructions. The sealer will seep into the stone, creating an invisible barrier that allows individual tiles to shimmer with enhanced color. This will help integrate the new parts into the rest of the installation.