Are you seeking for some easy instructions to bring life into a boring kitchen? Consider installation and replacing the ceramic tiles on the backsplash and give some thought to the possibility of doing it yourself. The installation of a tile backsplash in a kitchen can be beneficial on a number of levels, including visually, emotionally, and practically. You can handle this rather straightforward installation of an upgrade on your own by following these steps: FIRST STEP: Determine the width and height of the area that will be covered by the tiles you will be utilizing. This will be the FIRST STEP in this project. After that, decide on the layout of your tiles by first sketching an outline of them on graph paper and then scaling it to the proper size. The second step is to remove the range hood and stove from the kitchen, turn off the power to any plugs or switches, and remove any cover plates that are on the appliances. 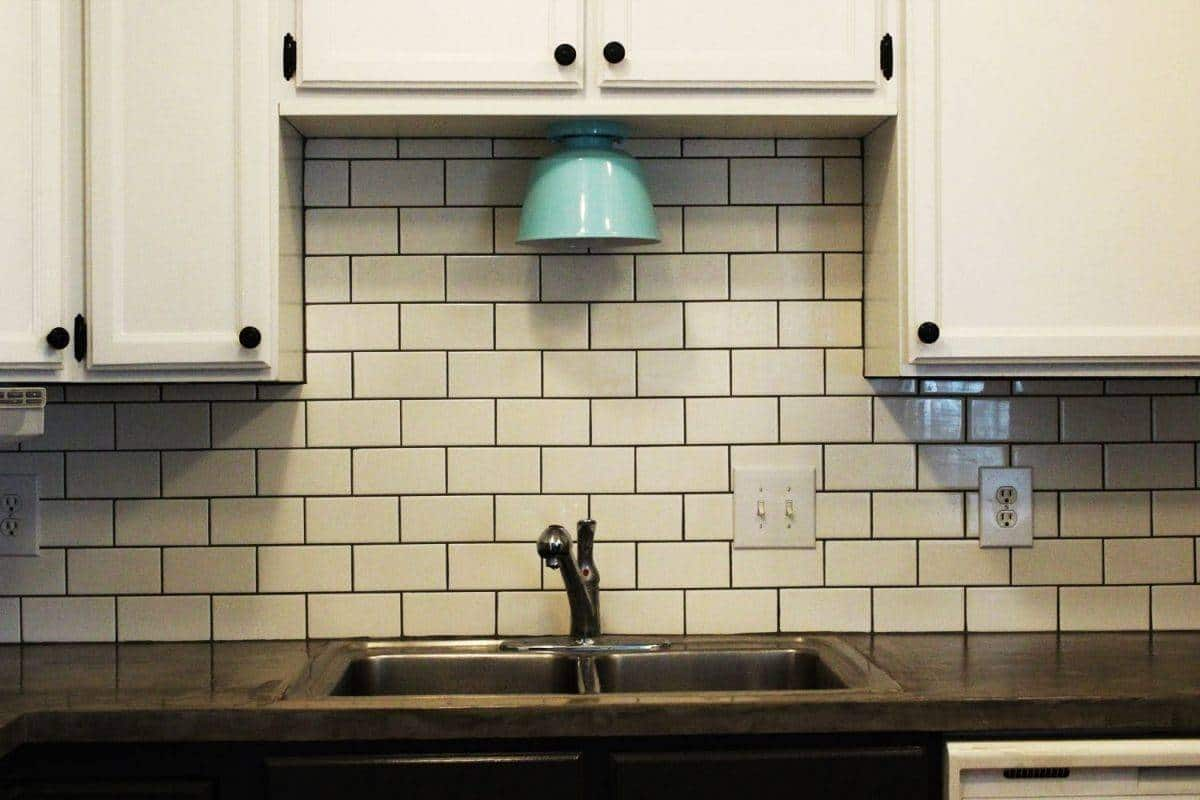 A level and a pencil are all that are required to mark the beginning point of the backsplash in your kitchen. Align the temporary ledger board with the baseline so that it can play a role in maintaining the position of the tiles while the installation is being done. To begin the process of fixing the board to the wall, begin by using a drill to create pilot holes for the screws in the board itself. Then, using a screwdriver, drive three or four screws into their respective holes. STEP 3: After measuring and noting the point that corresponds to the visual center of your plan, move on to the next step. After that, make a beginning line that is plumb by drawing it with a level in order to vertically align the tiles in your pattern. Arrange the tiles on a countertop in the manner specified by the pattern printed on the graph paper. STEP 4: Using a grooved trowel, apply tile mastic to a small section of the wall, commencing in the middle of the wall along the ledger board or counter, and working your way outward.
  This will serve as a marker for the beginning of the row of tiles on the bottom. In the middle of the vertical line, position the first tile, being careful to leave a gap of approximately 1/8 of an inch at the bottom of the tile. This will allow a bead of caulk to be applied once the operation has been completed. During this process, position a temporary spacer with a vertical measurement of 1/8 of an inch adjacent to the tile that is located on each side of the original tile. After that, you will need to wriggle and press the tile into place. Installing the second tile should be carried out in the exact same manner as the first. Continue working away from the centerline as you install the tiles, as this will speed up the process. ACTION Use a scoring cutter to cut the tile as you go along if you need to cut or trim a tile at the end of a row or around an electrical outlet. You can also use this method if you want to trim the tile. Mark the tile where you want to cut it, then put the tile within the tool and use it to score a mark into the surface of the tile. First, make a mark on the tile to indicate where you want to cut it. After that, make a rapid and sharp motion with the handle of the cutter to break the tile along the scored line. After the last tile has been set into place, proceed to the sixth and final part of the process, which involves allowing the mastic to dry completely over night.
  When you are mixing the grout, it is important to follow the instructions that the manufacturer provides. After that, the grout needs to be spread across the tiles, and then using a rubber float held at a 45-degree angle, it needs to be pressed into the spaces that are between the tiles. To remove any excess, use a towel that has been wet to wipe it off. STEP 7: After giving the grout roughly an hour to cure, clean the foggy surface on the tiles by using moist sponges and scrubbing them frequently as you work. This should be done in order to remove any residue from the grout. To give the tiles their final sheen, polish them with a dry and clean cloth. The cover plates that are placed over the outlets need to be reattached, which is the eighth stage in the process. At the bottom seam, where the backsplash meets the counter right next to the ledger board, a bead of caulk ought to be put in the form of caulk. It is recommended that the caulk and grout have the same color. Change out both the stove and the vent hood. After the ledger board has been removed, the screw holes should be filled with joint compound, the surface should be sanded level after the joint compound has dried, and then the wall should be painted.
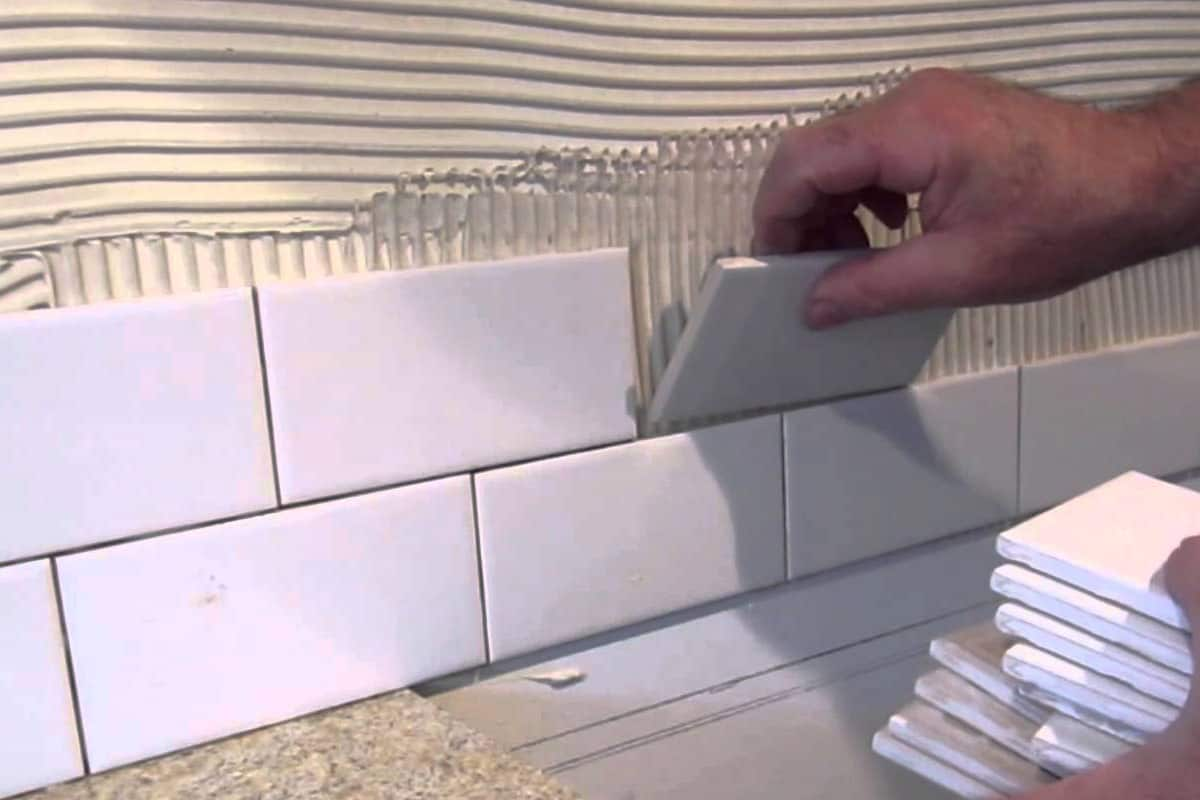
- TIPS
You should think about the possibility of sealing the grout: In light of the fact that grout is prone to becoming discolored, particularly in the kitchen, you ought to give some thought to the possibility of sealing it. Applying a silicone grout sealant after the grout has been allowed to dry completely, which should take about a week, will ensure that the beautiful appearance of your backsplash will be preserved for a considerable amount of time into the foreseeable future. This can be accomplished by allowing the grout to dry completely before applying the sealant. Tile cutters can be rented for between fifteen and twenty dollars per day and cost less than fifty dollars to acquire outright. Tile cutters are available. If you need assistance cutting the tiles, you could consider hiring a tile cutter to do the work for you. There is a professional exporting team behind this website which is ready to cooperate with wholesalers and traders around the world.